
Introduction: Redefining Your Work Experience
In the modern era of remote work and flexible office setups, finding the perfect workstation that meets your needs can be challenging. However, with the rising popularity of standing desk onverters for their health benefits and ergonomic advantages, many individuals are turning to DIY solutions to create their own standing desk converters. In this article, we’ll explore the benefits of DIY standing desk converters and provide a comprehensive guide on how to build one that suits your preferences.
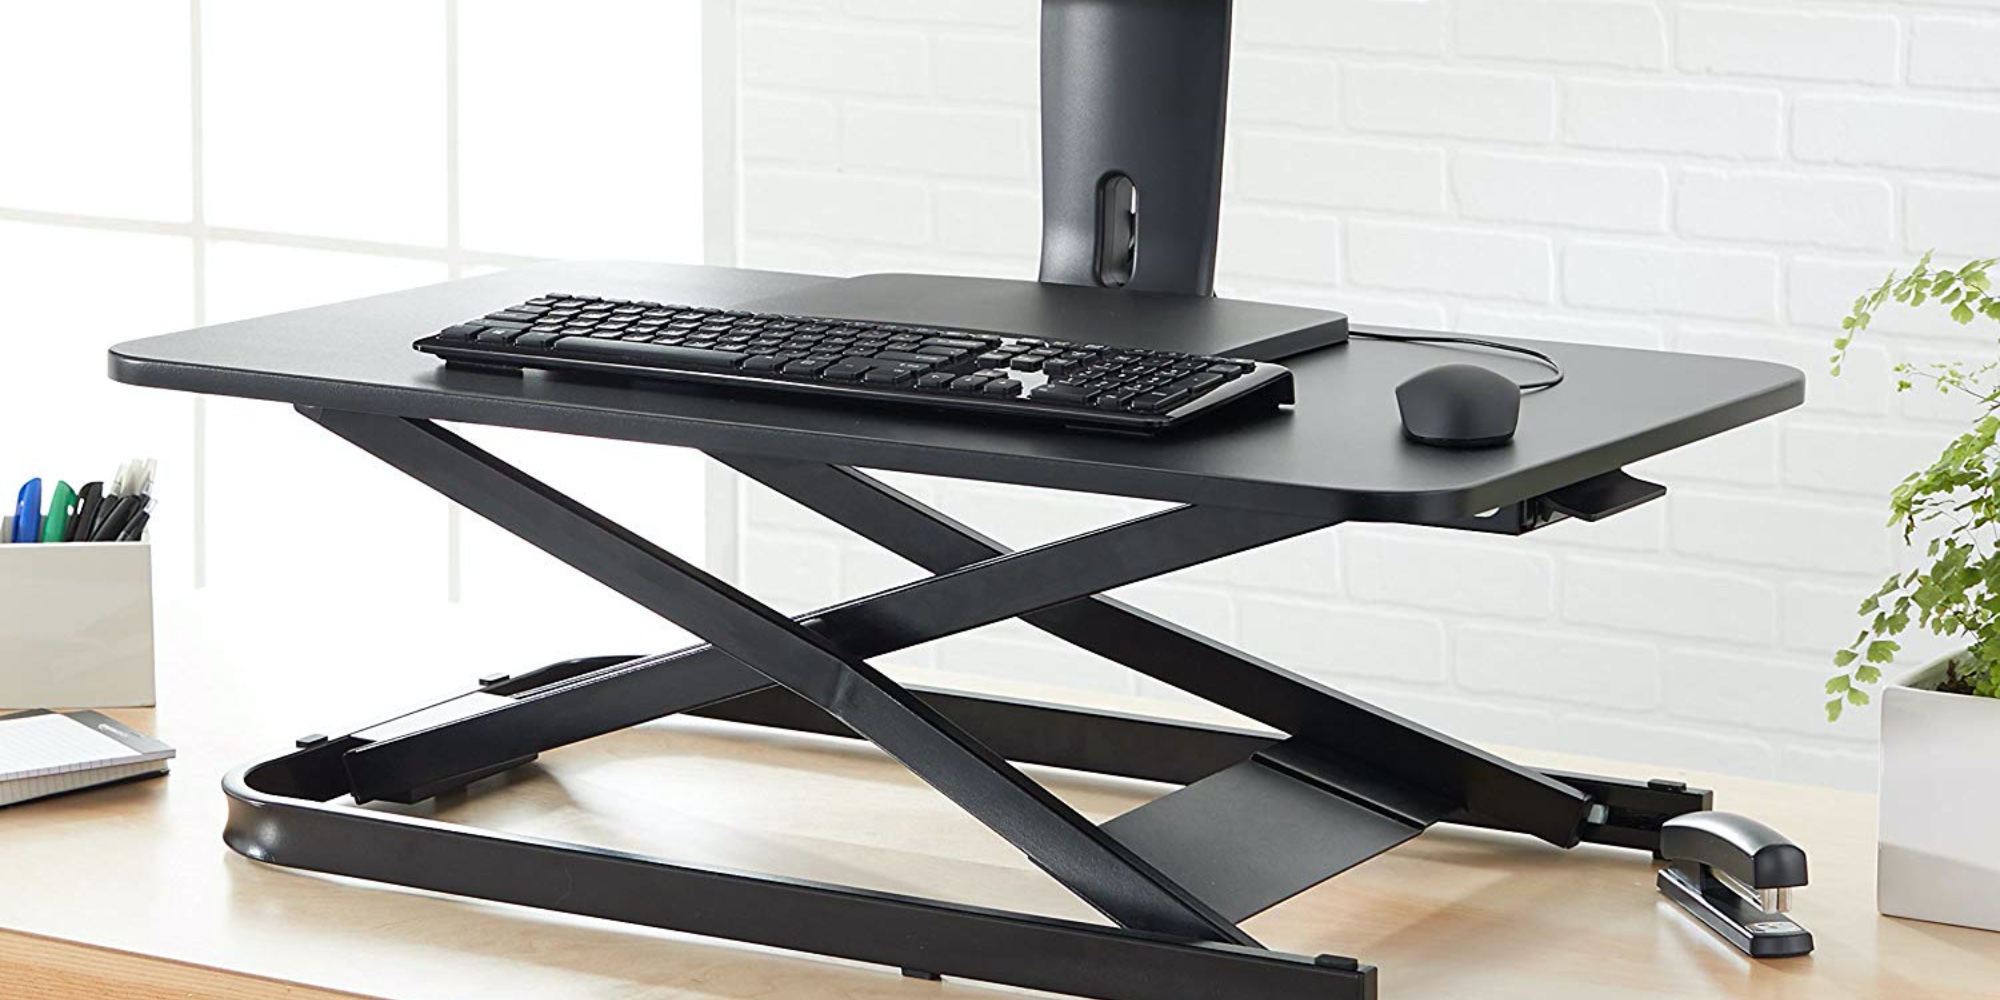
Understanding the Benefits of Standing Desks
Standing desks have gained traction in recent years due to their potential health benefits and ergonomic advantages. Research suggests that alternating between sitting and standing throughout the workday can reduce the risk of obesity, lower blood sugar levels, and alleviate back pain associated with prolonged sitting. Additionally, standing desks promote better posture and increased energy levels, leading to improved focus and productivity.
Cost-Effective Solution: Saving Money Without Sacrificing Quality
One of the primary advantages of DIY standing desk converters is their cost-effectiveness. While commercial standing desks can be expensive, DIY solutions allow individuals to create a customized workstation at a fraction of the cost. By repurposing existing furniture or using affordable materials, you can save money without sacrificing quality or functionality. Plus, DIY projects offer the flexibility to personalize your workstation to suit your specific needs and preferences.
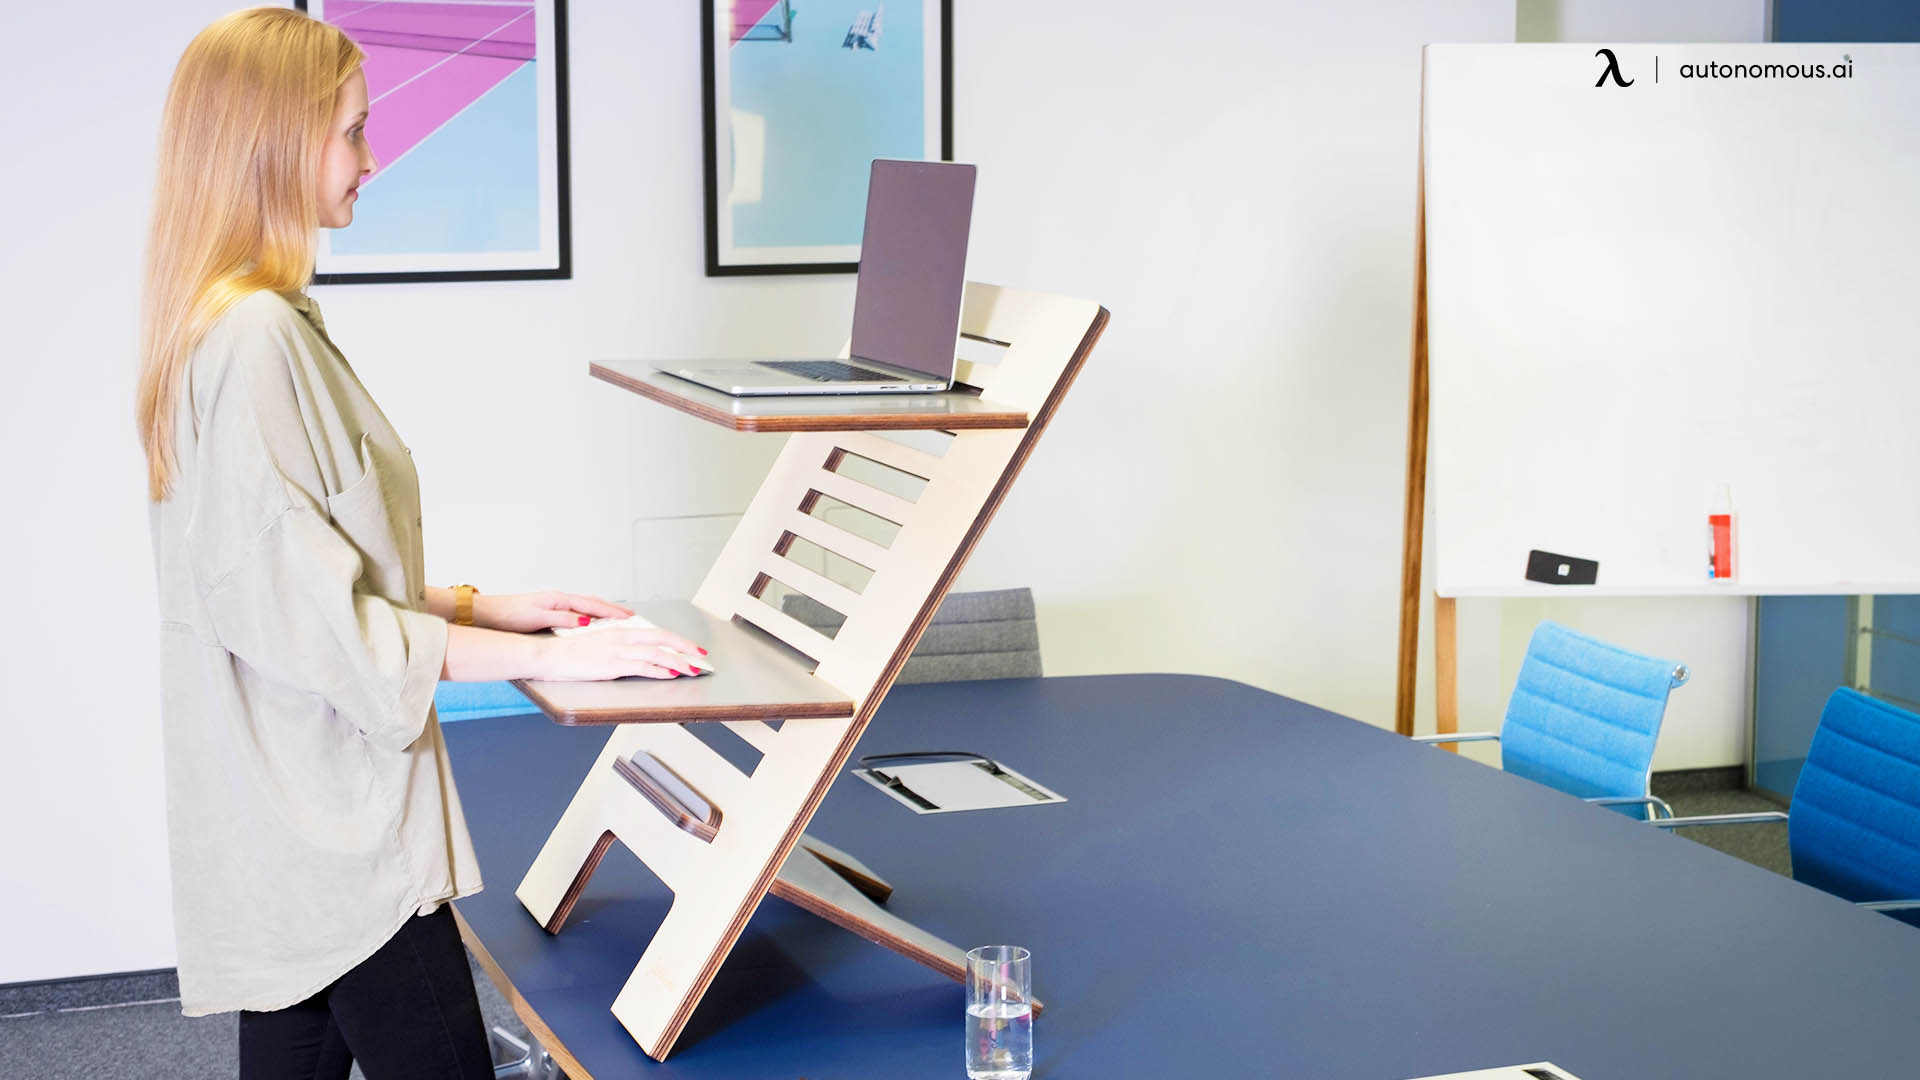
Customizable Design: Tailoring Your Workspace to Fit You
One of the most appealing aspects of DIY standing desk converters is their customizable design. Unlike pre-built options, which may have limited adjustability or features, DIY solutions allow for complete freedom in designing your workstation. Whether you prefer a minimalist setup with just a few shelves or a more elaborate design with built-in storage and cable management, you can tailor your standing desk converter to fit your workspace and workflow seamlessly.
Eco-Friendly Option: Reducing Environmental Impact
In addition to being cost-effective and customizable, DIY standing desk converters offer an eco-friendly alternative to traditional furniture options. By repurposing existing materials or using sustainably sourced resources, you can reduce waste and minimize your environmental impact. Plus, DIY projects often involve fewer transportation emissions compared to purchasing pre-built furniture, further reducing your carbon footprint.
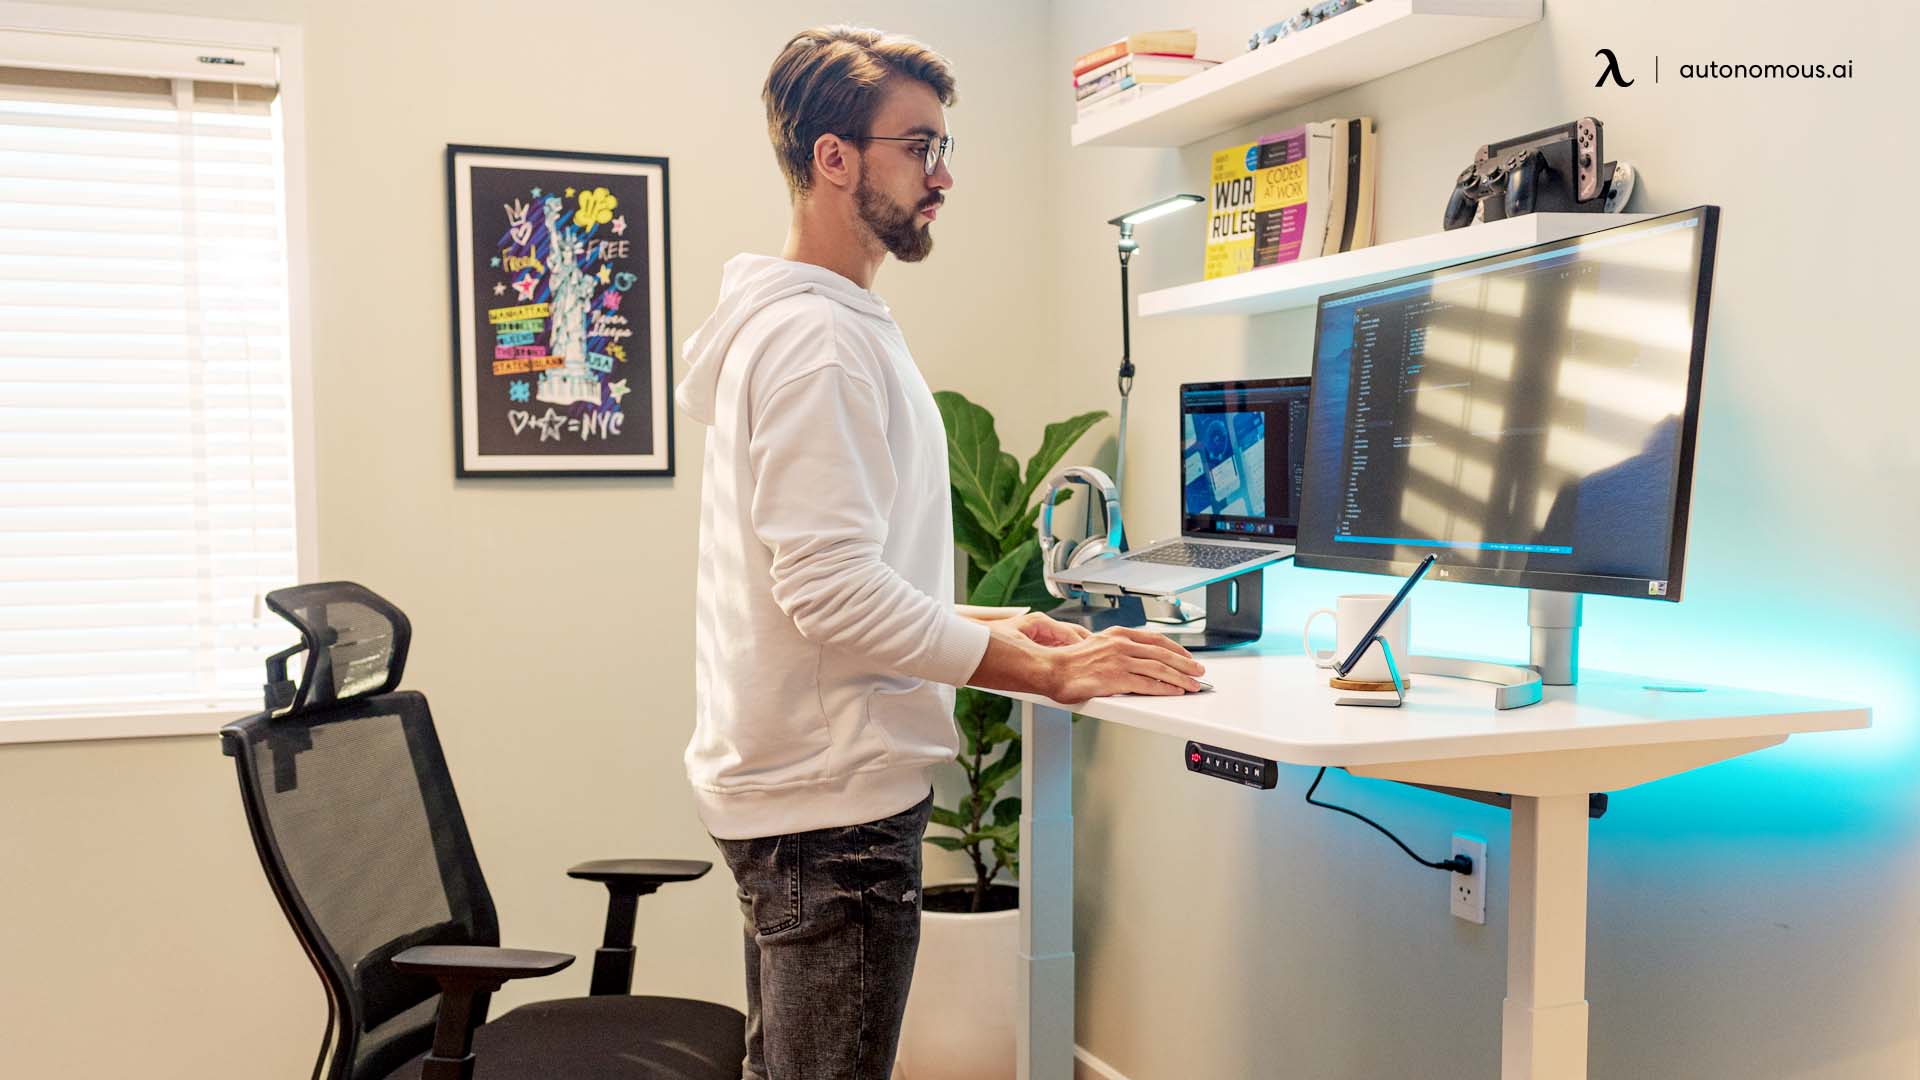
Enhanced Ergonomics: Prioritizing Comfort and Health
Ergonomics play a crucial role in creating a comfortable and healthy workspace, and DIY standing desk converters can be designed with ergonomics in mind. By incorporating adjustable height settings, monitor risers, and keyboard trays, you can optimize your workstation to promote proper posture and reduce strain on your body. With a focus on ergonomics, DIY standing desk converters can help prevent common workplace injuries and improve overall well-being.
Building Your DIY Standing Desk Converter: A Step-by-Step Guide
Now that we’ve explored the benefits of DIY standing desk converters, let’s dive into how to build one that suits your needs. While the specific design and materials may vary depending on your preferences and available resources, the following step-by-step guide will provide a general overview of the process:
- Gather Materials and Tools: Start by gathering the necessary materials and tools for your DIY standing desk converter, including wood or metal for the frame, screws, brackets, hinges, and a power drill.
- Design Your Workstation: Determine the size and layout of your standing desk converter based on your workspace and ergonomic requirements. Consider factors such as monitor placement, keyboard height, and storage needs.
- Prepare the Workspace: Clear the area where you plan to build your standing desk converter and ensure you have enough space to work comfortably.
- Assemble the Frame: Begin by assembling the frame of your standing desk converter using the chosen materials and tools. Follow your design plan carefully, making sure to secure all connections tightly.
- Add Adjustable Features: Incorporate adjustable height settings into your standing desk converter to accommodate both sitting and standing positions. Consider using adjustable legs or risers to achieve the desired height range.
- Install Work Surface: Attach the work surface to the frame of your standing desk converter, ensuring it is stable and level. Use brackets or hinges to secure the surface in place, allowing for easy height adjustments.
- Customize as Needed: Add any additional features or accessories to your standing desk converter, such as monitor stands, keyboard trays, or cable management solutions. Personalize your workstation to fit your workflow and preferences.
- Test and Adjust: Once your DIY standing desk converter is assembled, test it to ensure everything functions smoothly. Make any necessary adjustments to the height or layout to optimize comfort and ergonomics.
- Finalize and Enjoy: Once you’re satisfied with your DIY standing desk converter, finalize any remaining details and enjoy your new workstation! Experiment with different standing and sitting positions to find what works best for you, and don’t forget to take breaks throughout the day to stretch and move around.
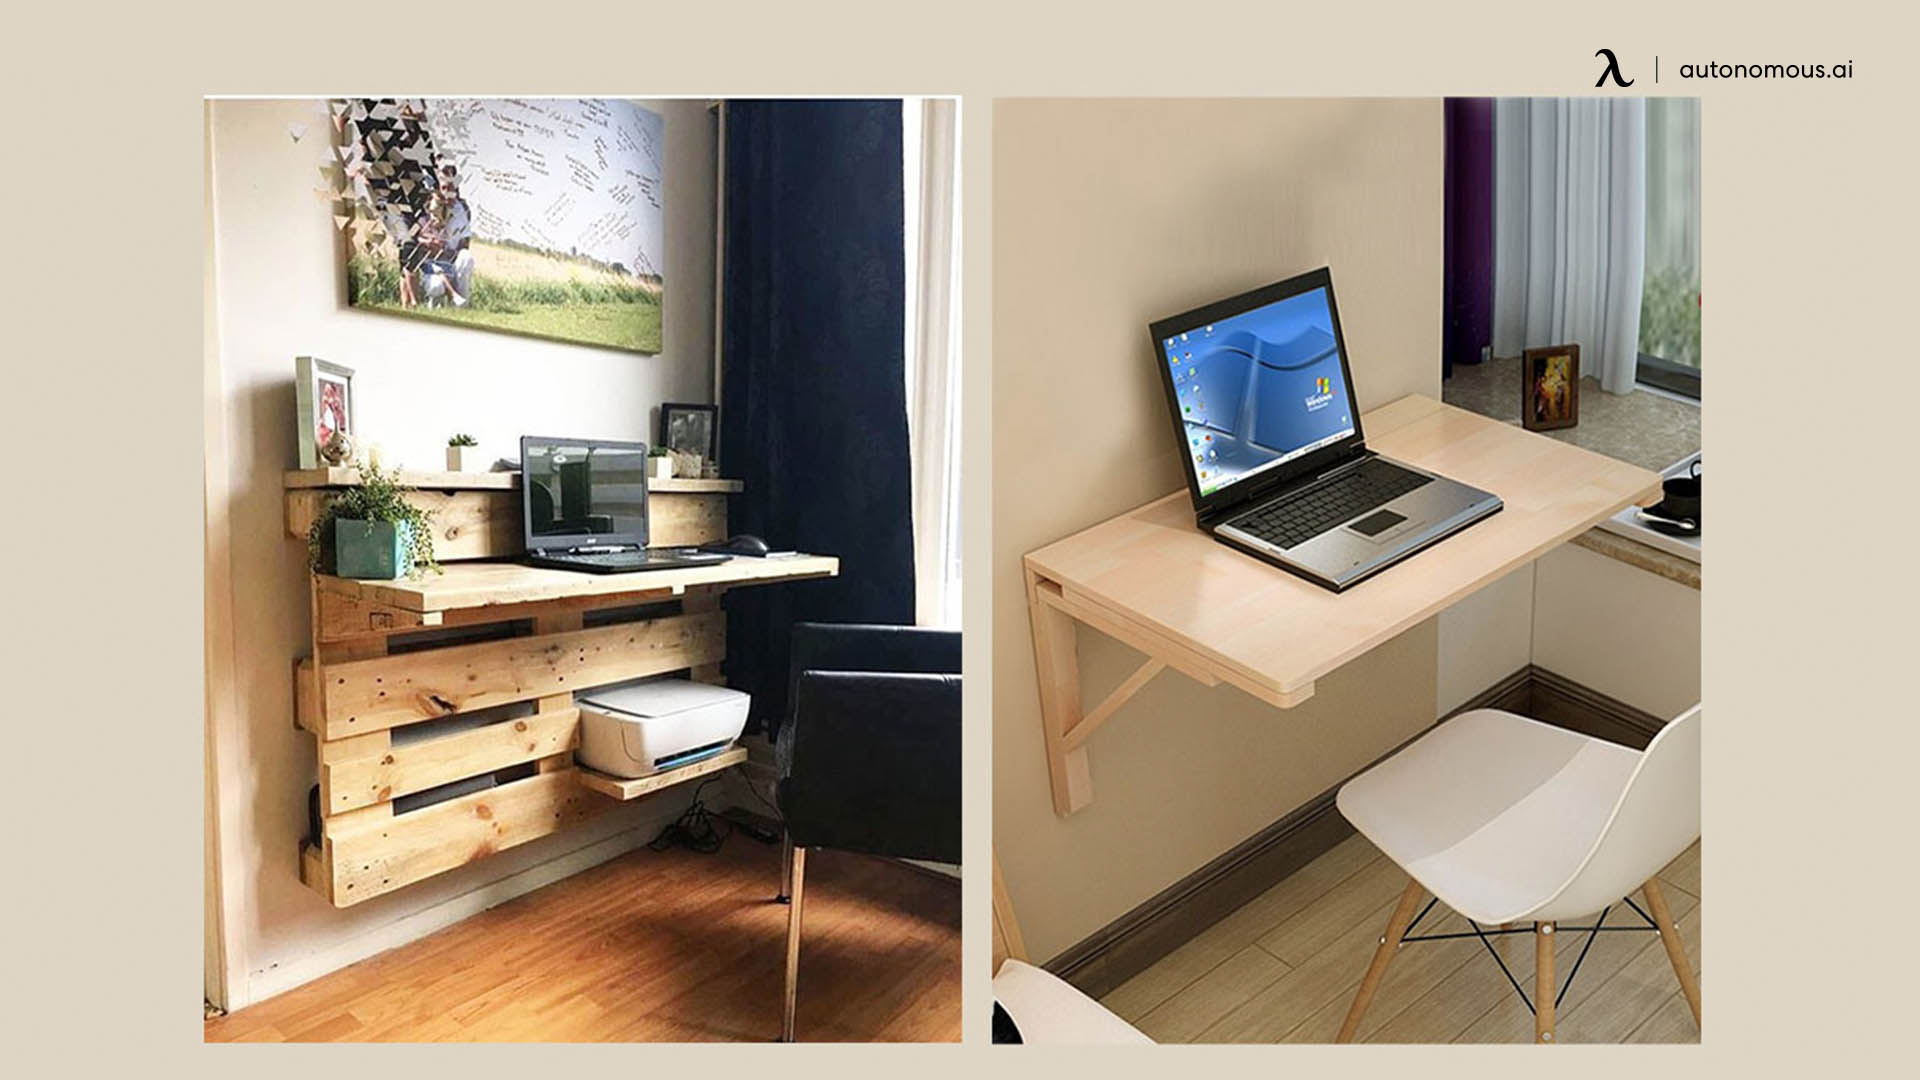
Exploring Design Options: Finding Your Perfect Fit
When it comes to designing your DIY standing desk converter, the possibilities are virtually endless. You can opt for a simple, minimalist design with clean lines and basic functionality, or you can get creative and incorporate additional features to enhance usability and aesthetics. Consider factors such as available space, storage needs, and workflow requirements as you brainstorm design ideas for your workstation. Whether you prefer a sleek and modern look or a rustic, industrial vibe, there’s a design style to suit every taste and workspace.
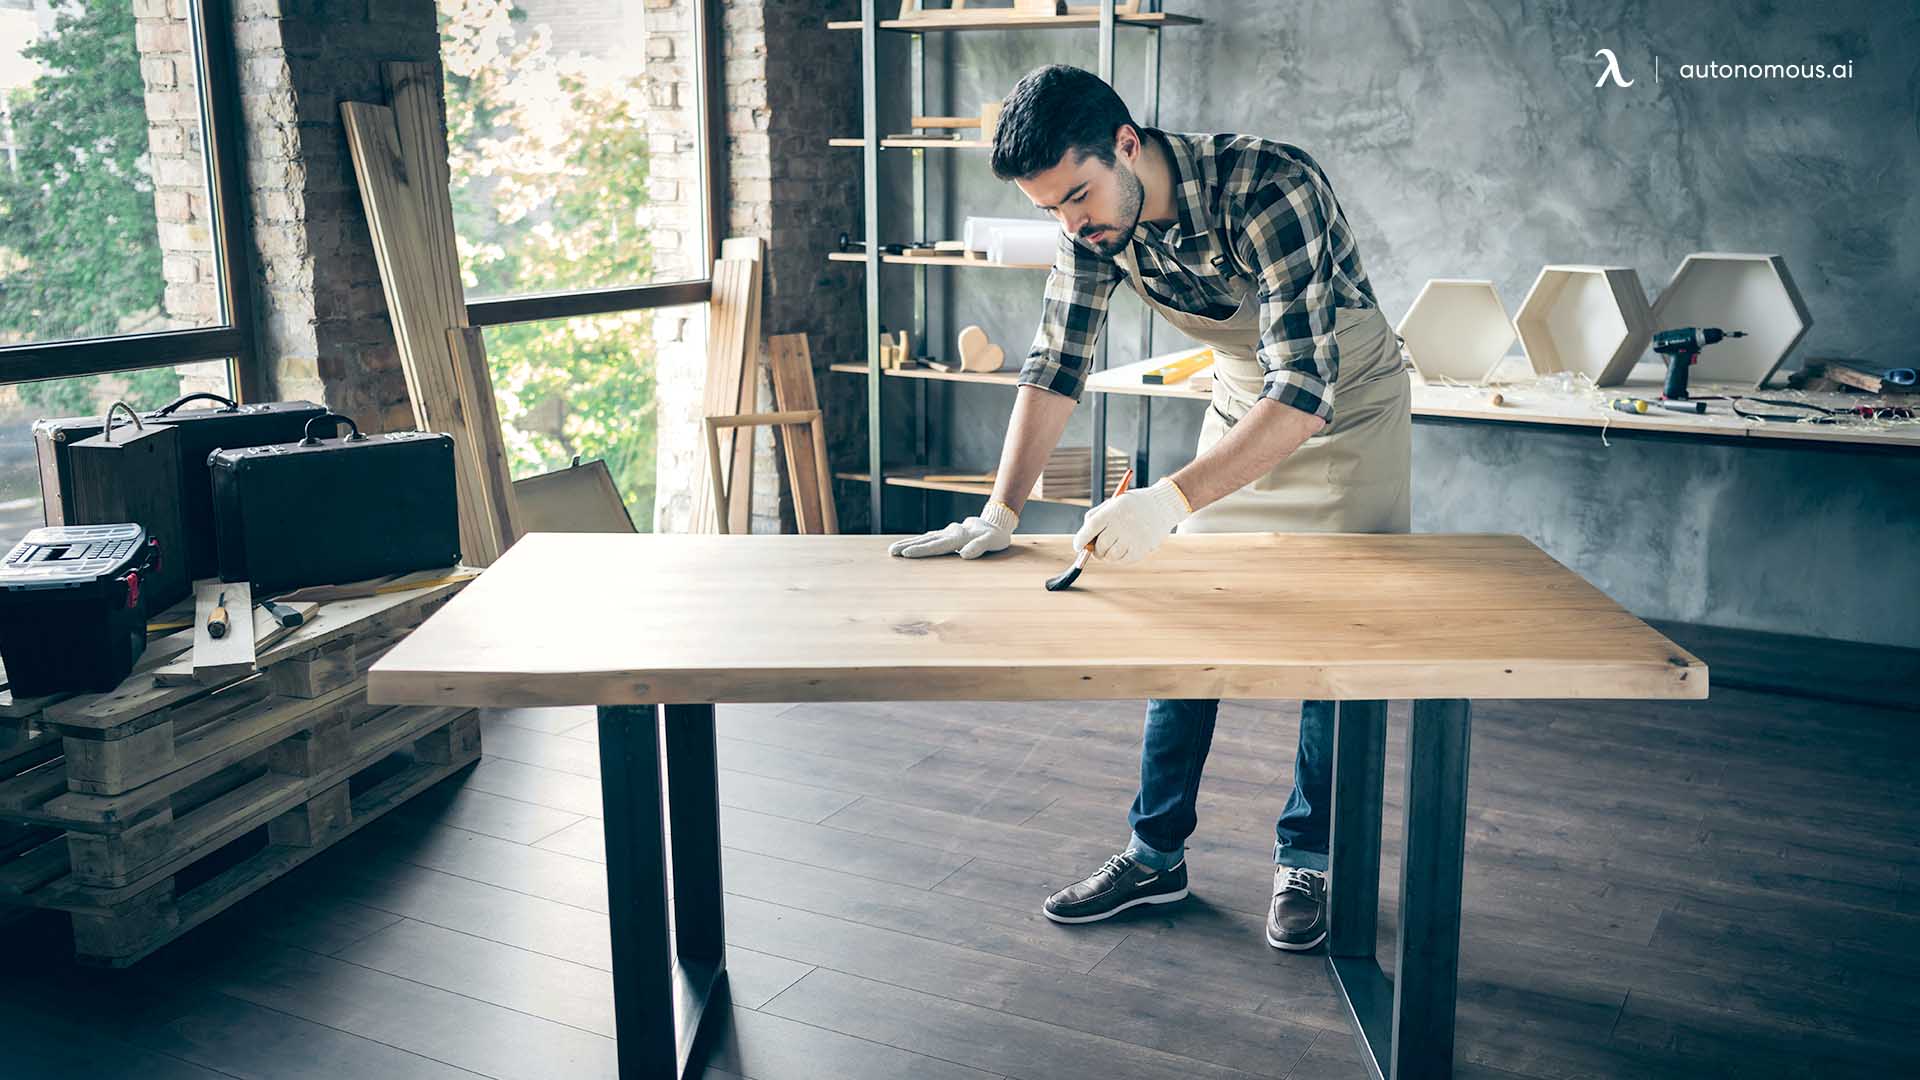
Choosing Materials: Balancing Cost and Quality
The choice of materials is a critical aspect of any DIY project, and building a standing desk converter is no exception. While wood is a popular option for its versatility and affordability, metal frames offer durability and stability for heavier workloads. Consider the pros and cons of each material, as well as your budget and design preferences, when selecting the best option for your standing desk converter. Additionally, explore eco-friendly alternatives such as reclaimed wood or recycled metal to minimize environmental impact and add character to your workstation.
Prioritizing Ergonomics: Putting Comfort First
Ergonomics should be a top priority when designing your DIY standing desk converter. Pay attention to factors such as monitor height, keyboard placement, and foot support to create a comfortable and healthy workspace. Adjustable features such as height settings and tilt angles allow for personalized customization to accommodate different users and preferences. Additionally, consider incorporating ergonomic accessories such as anti-fatigue mats and wrist rests to further enhance comfort and reduce strain during long hours of work.
Conclusion: Empowering You to Work Better
In conclusion, DIY standing desk converters offer a cost-effective, customizable, and eco-friendly solution for creating a healthy and productive workspace. By understanding the benefits of standing desks and following a step-by-step guide to building your own converter, you can elevate your workstation to meet your unique needs and preferences. Whether you’re working from home or in a traditional office setting, a DIY standing desk converter empowers you to work better, feel better, and live better.