In the era of remote work and digital creativity, having a personalized workspace is more than just a luxury; it’s a catalyst for productivity and inspiration. Crafting your own desk not only saves you money but also infuses your workspace with a sense of uniqueness and pride. This beginner’s guide walks you through the process, step by step, ensuring that even with minimal woodworking experience, you can create a desk that perfectly suits your needs and style.
Section 1: Planning Your Perfect Desk
Sketching Your Vision Before any sawdust flies, begin by visualizing your ideal desk. Consider its dimensions, storage needs, and the overall aesthetic you’re aiming for. Will it be a minimalist floating desk or a sturdy corner workstation? Sketch out a few designs, noting measurements and any special features like cable management holes or built-in shelves.
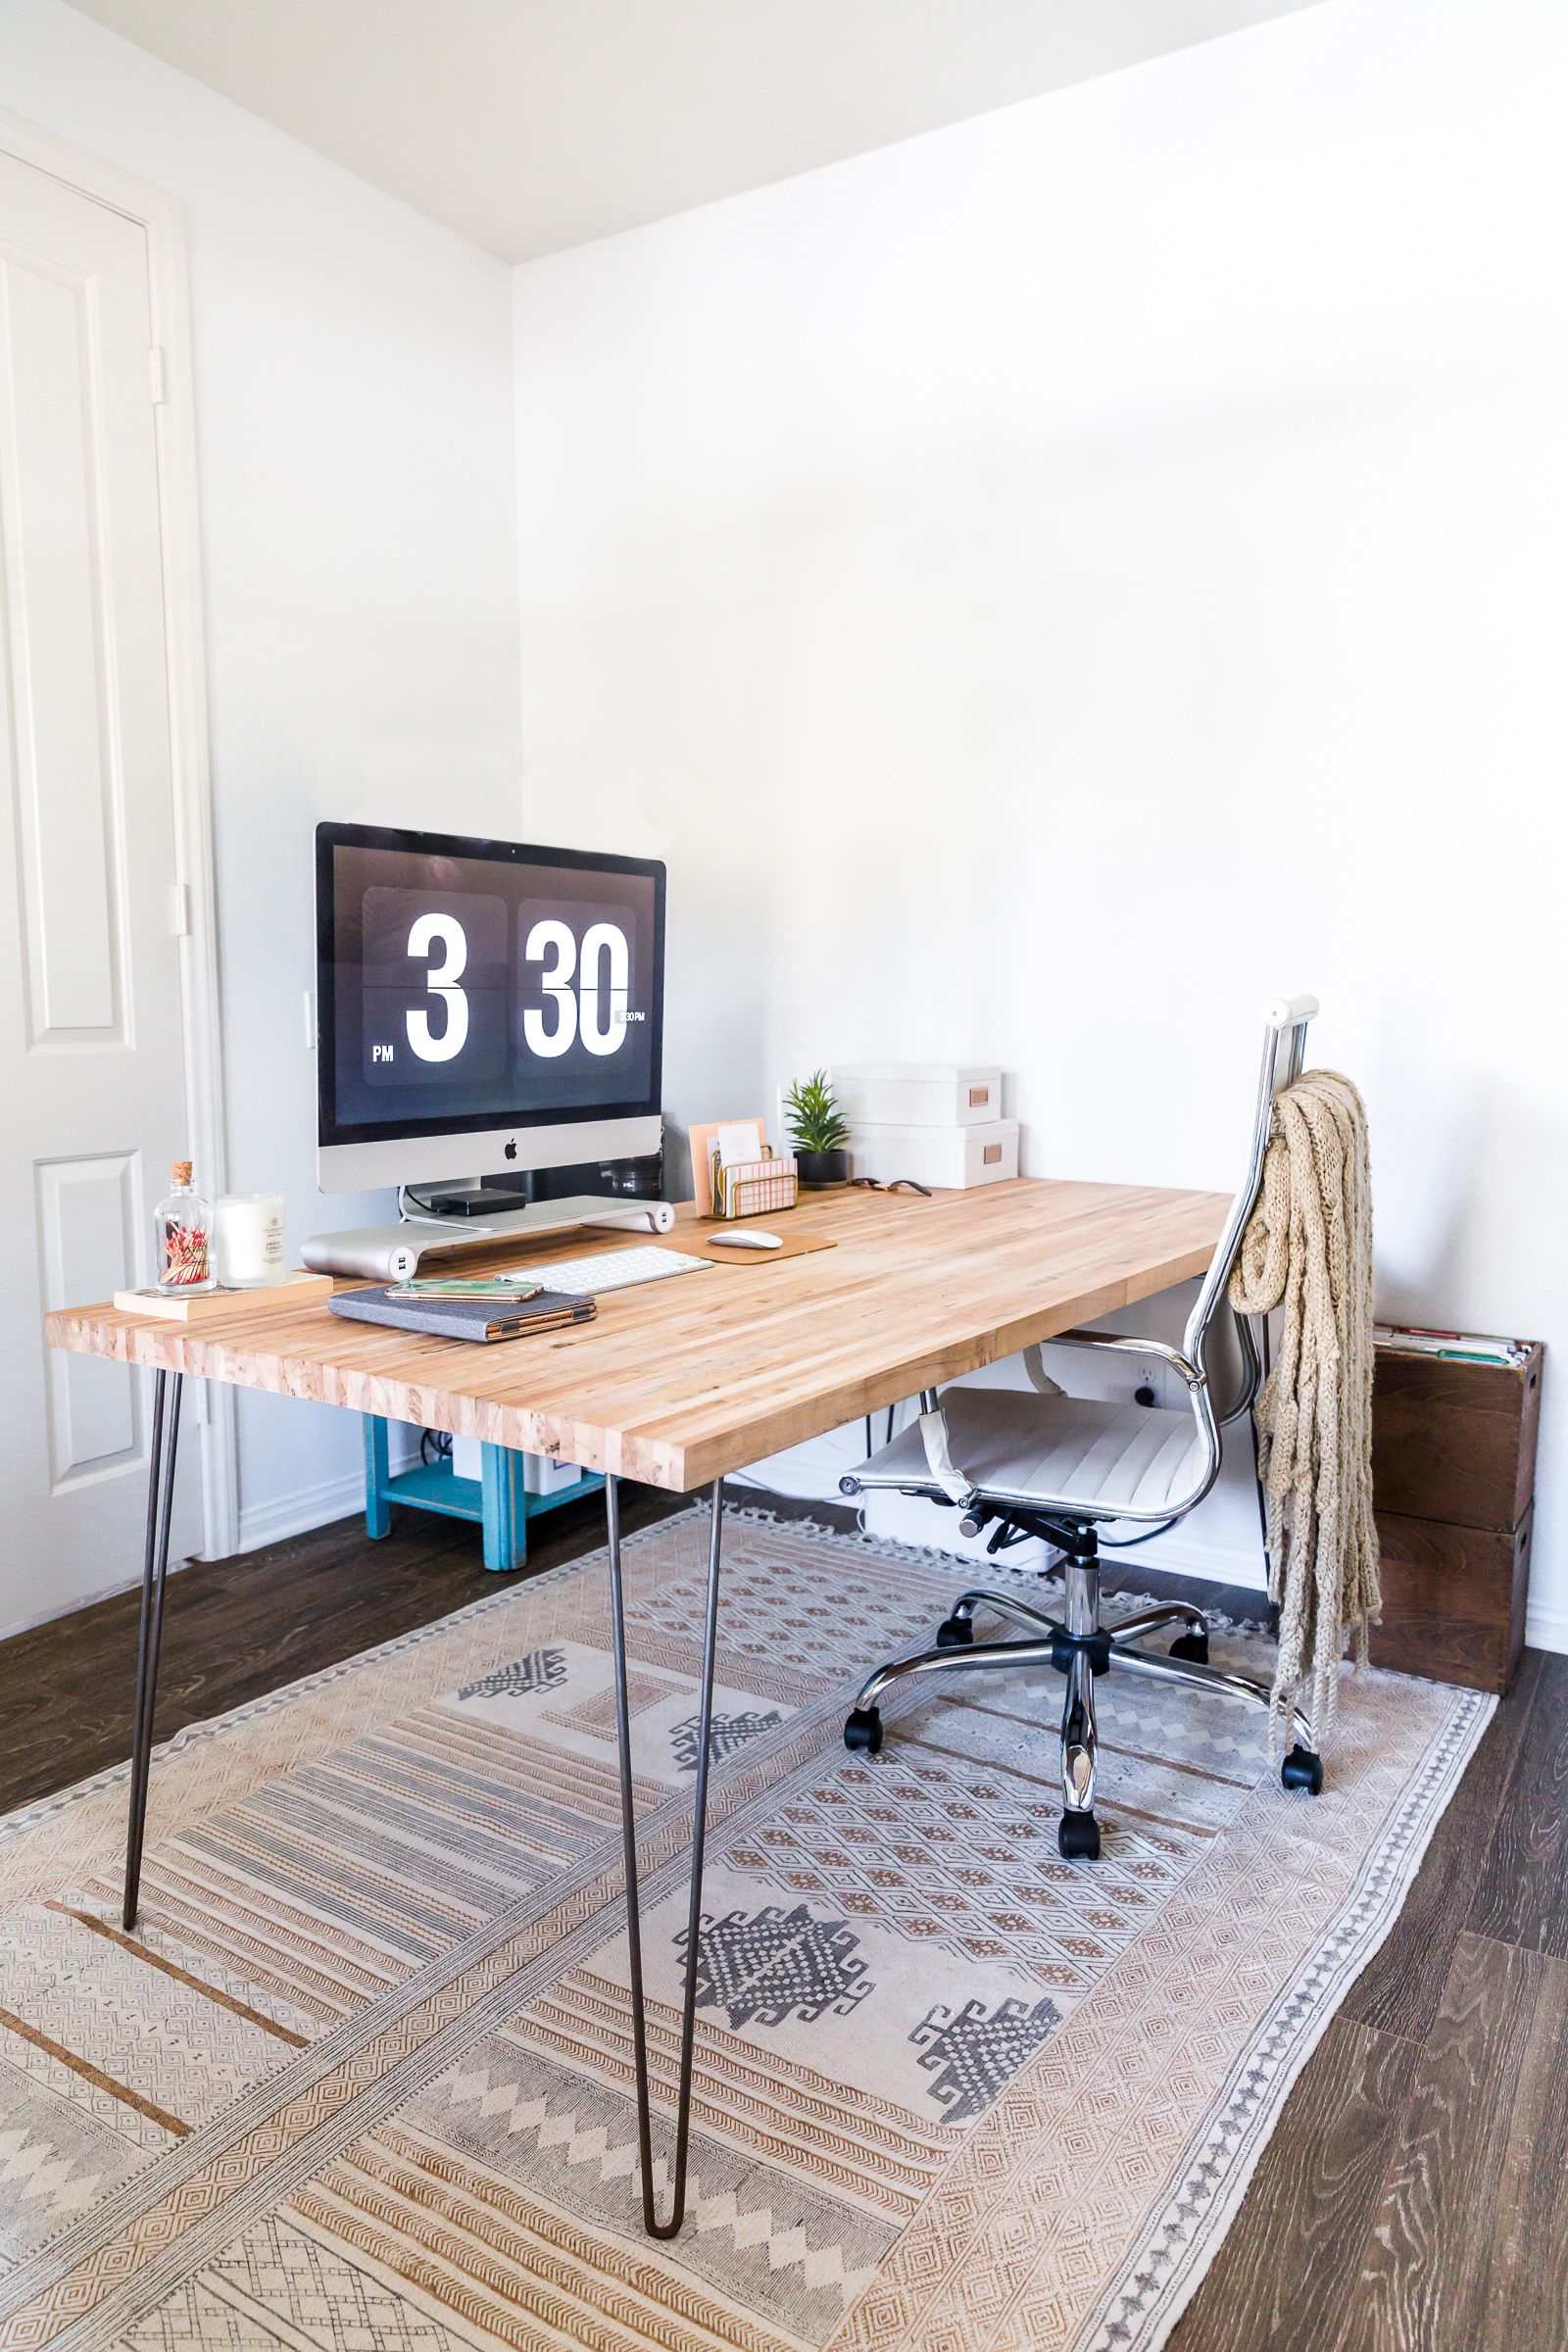
Material Selection Your choice of wood greatly impacts the look, durability, and cost of your desk. Popular options include pine for affordability, oak for strength and beauty, or reclaimed wood for an eco-friendly and rustic touch. Don’t forget about the finish – will it be a natural stain to highlight the wood grain or a bold paint color?
Gathering Tools & Materials Ensure you have the necessary tools: a saw (circular or hand), drill, sandpaper, measuring tape, square, clamps, and a good set of screws. For materials, aside from your chosen wood, you’ll need wood glue, finishing products, and potentially brackets or hardware for additional support.
Section 2: Measuring & Cutting
Precise Measurements Accuracy is key when cutting wood. Double-check your measurements against your workspace and adjust if necessary. Remember to account for the thickness of the wood when calculating the final dimensions.
Cutting with Confidence Using a straight edge as a guide, carefully cut your pieces according to your measurements. Safety first: wear protective gear like goggles and gloves, and ensure your workspace is clear of debris and distractions.
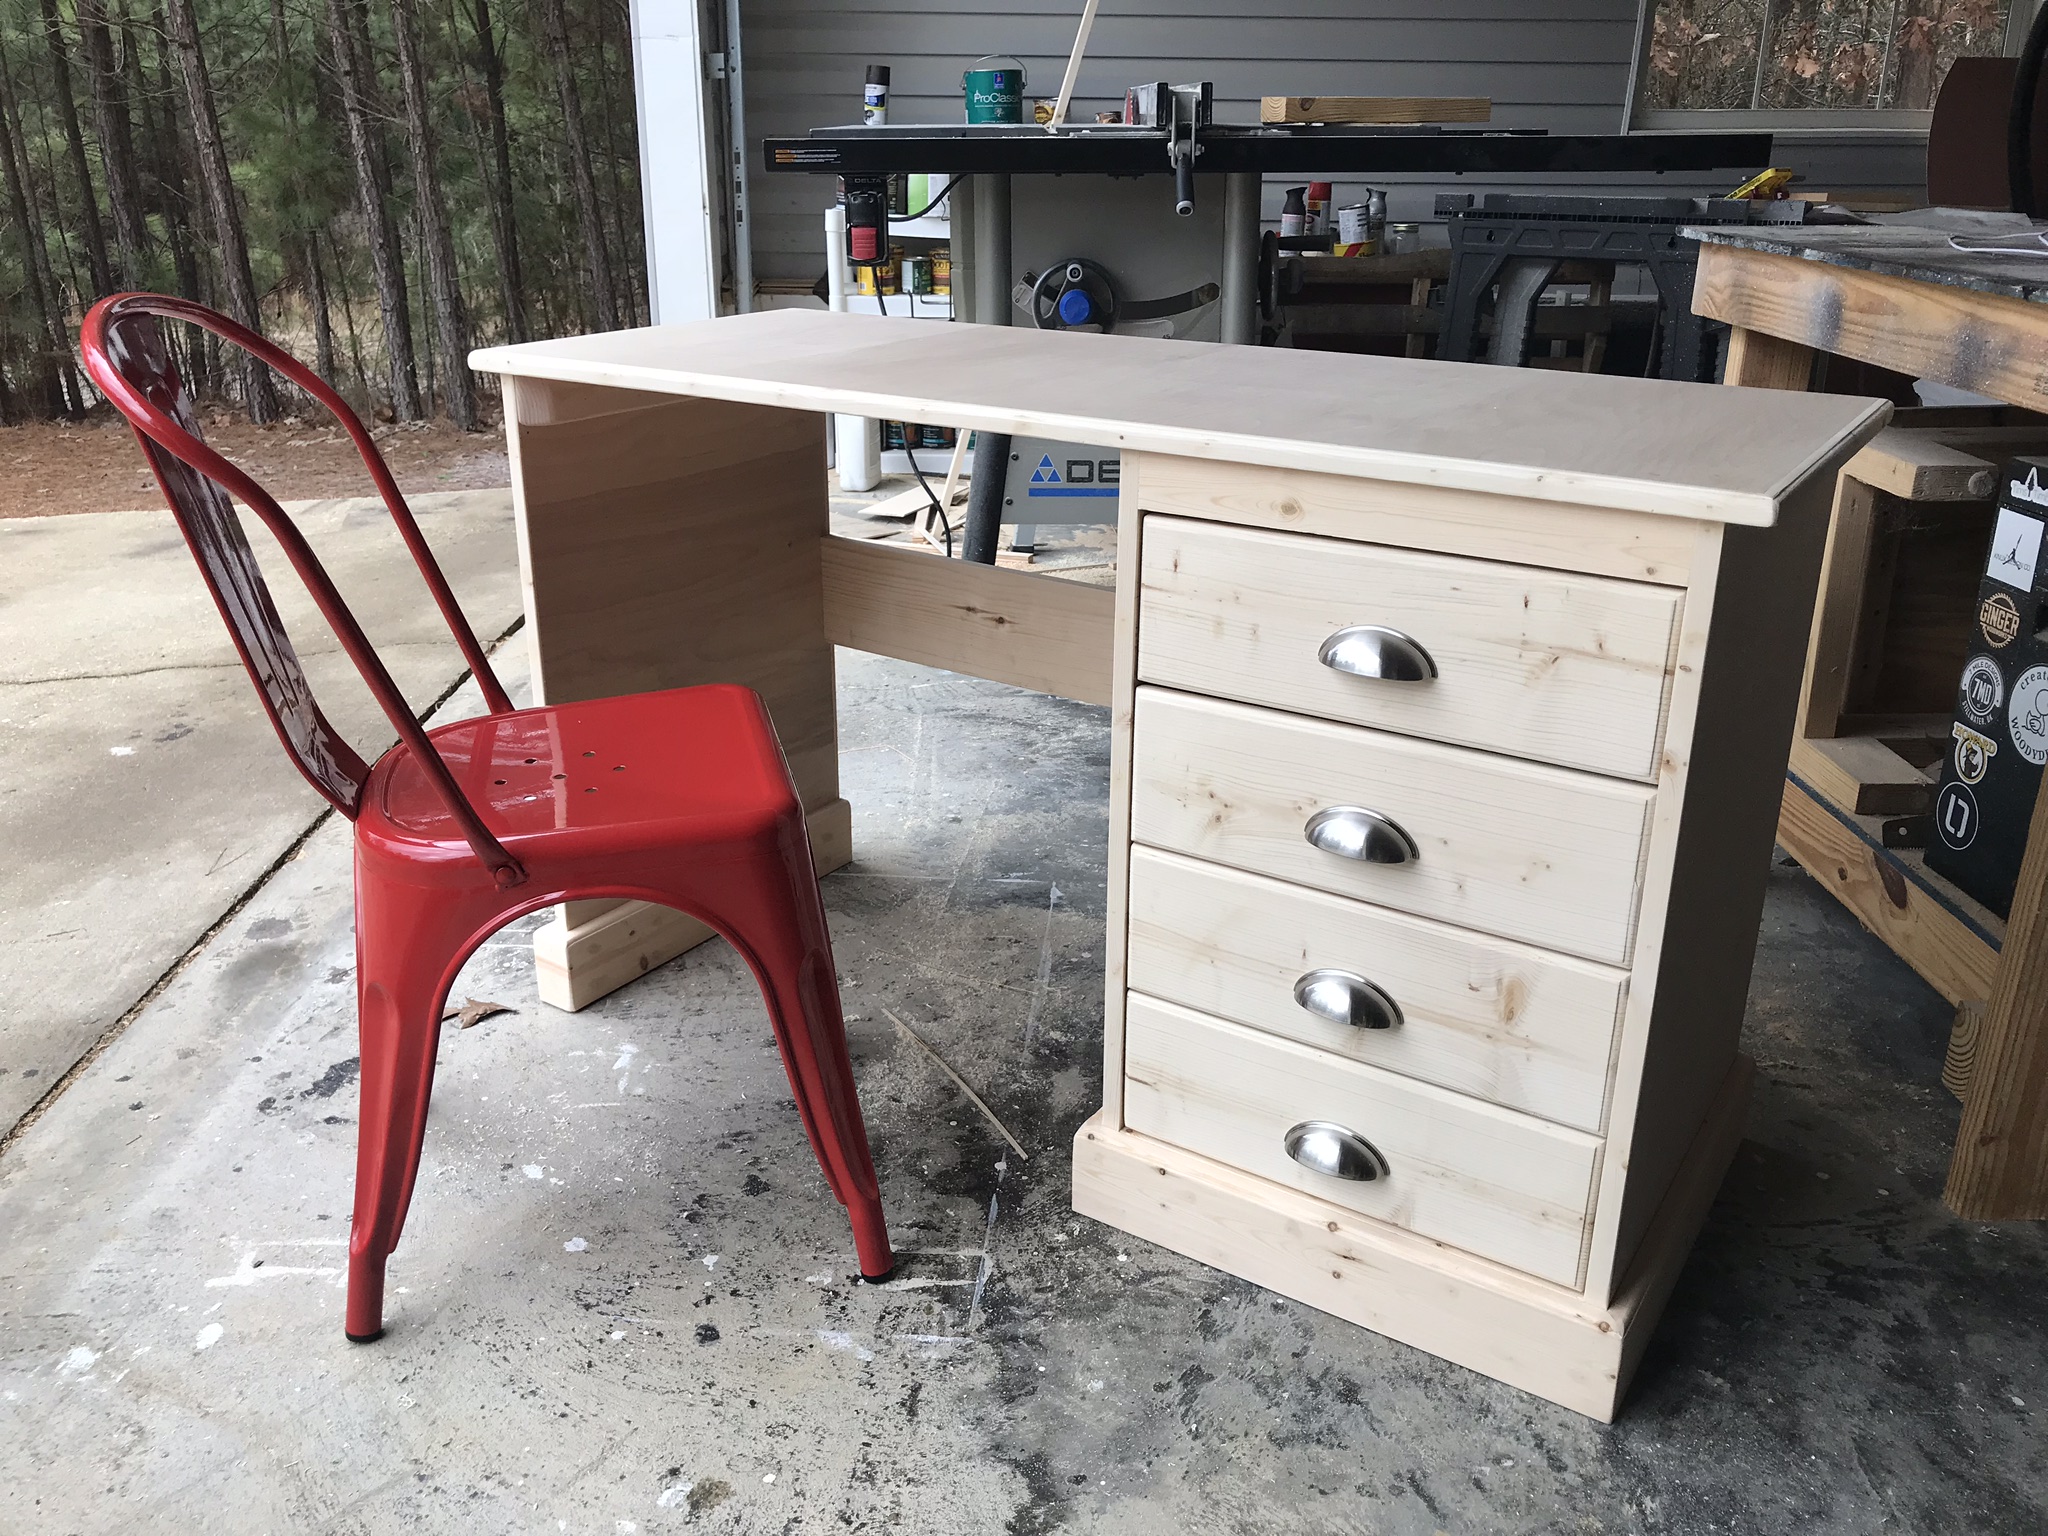
Section 3: Assembly Basics
Dry Fit Before committing with glue and screws, do a dry fit to ensure all pieces align correctly. This step helps identify any adjustments needed before permanent assembly.
Gluing & Screwing Apply a thin layer of wood glue along the edges that will join, then clamp them together until dry. Use screws at strategic points to reinforce joints, being careful not to overtighten and split the wood.
Adding Support For larger desks, consider adding cross braces or using L-brackets to strengthen the structure, especially where legs meet the desktop.
Section 4: Finishing Touches
Sanding for Smoothness Once assembled, sand the entire desk with progressively finer grits of sandpaper, starting from 120 to 220 grit, to achieve a smooth surface ready for finishing.
Finishing Options Choose between staining, painting, or applying a clear coat. Staining enhances the natural beauty of the wood, while paint offers endless color possibilities. A clear coat protects the wood without altering its appearance.
Applying Finish Follow the product instructions carefully, applying thin layers and allowing each coat to dry completely before adding another. Sand lightly between coats for an even finish.

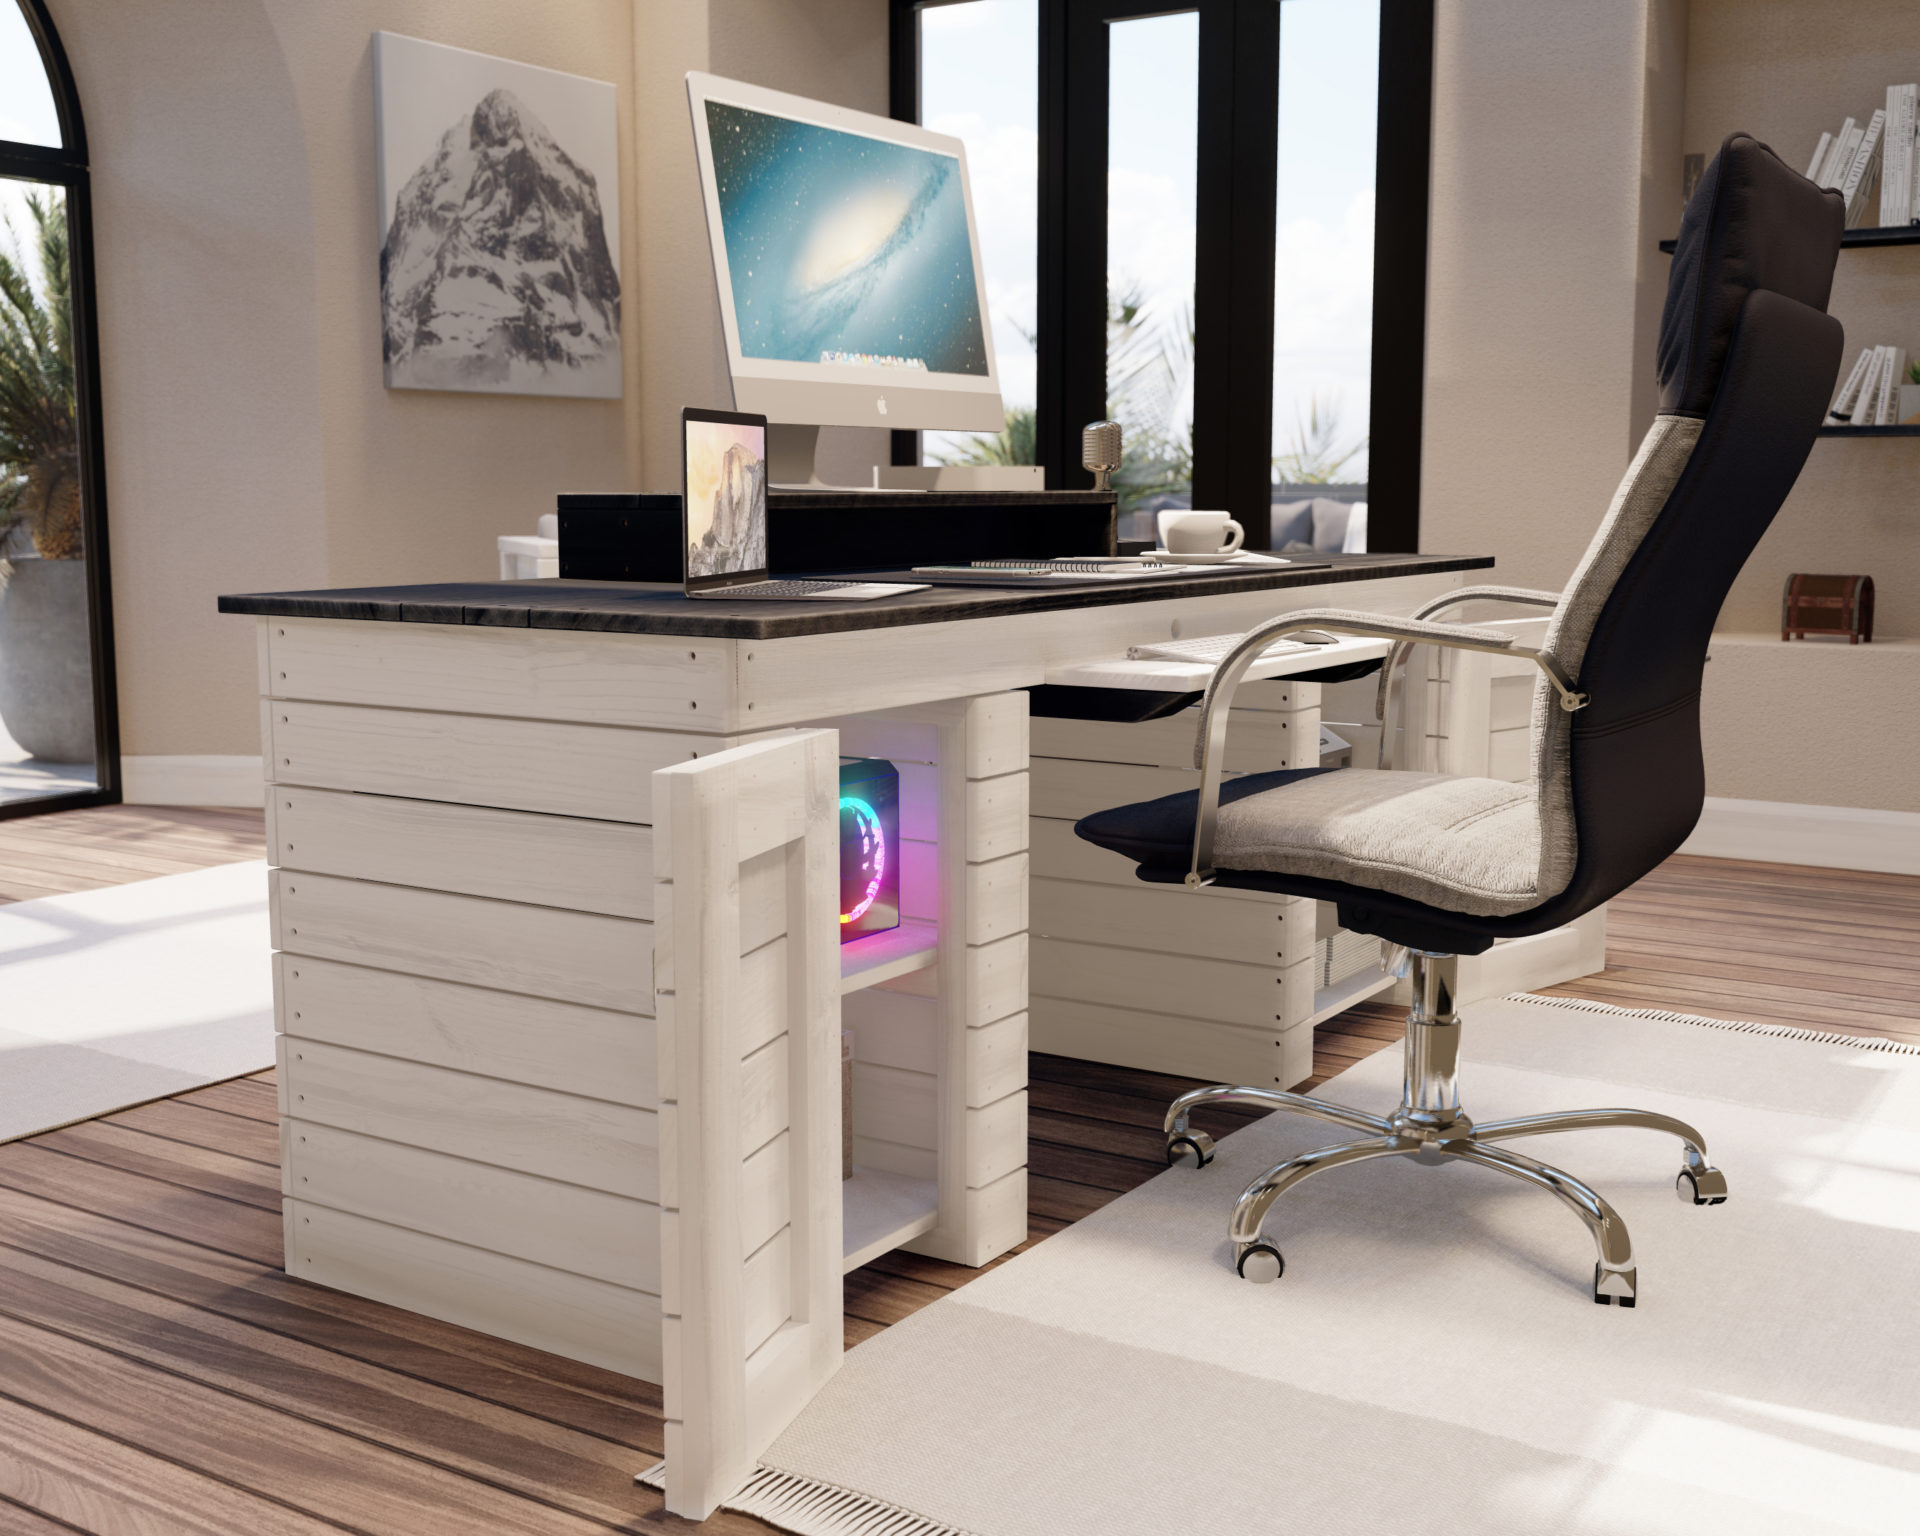
Section 5: Personalization & Functionality
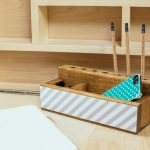
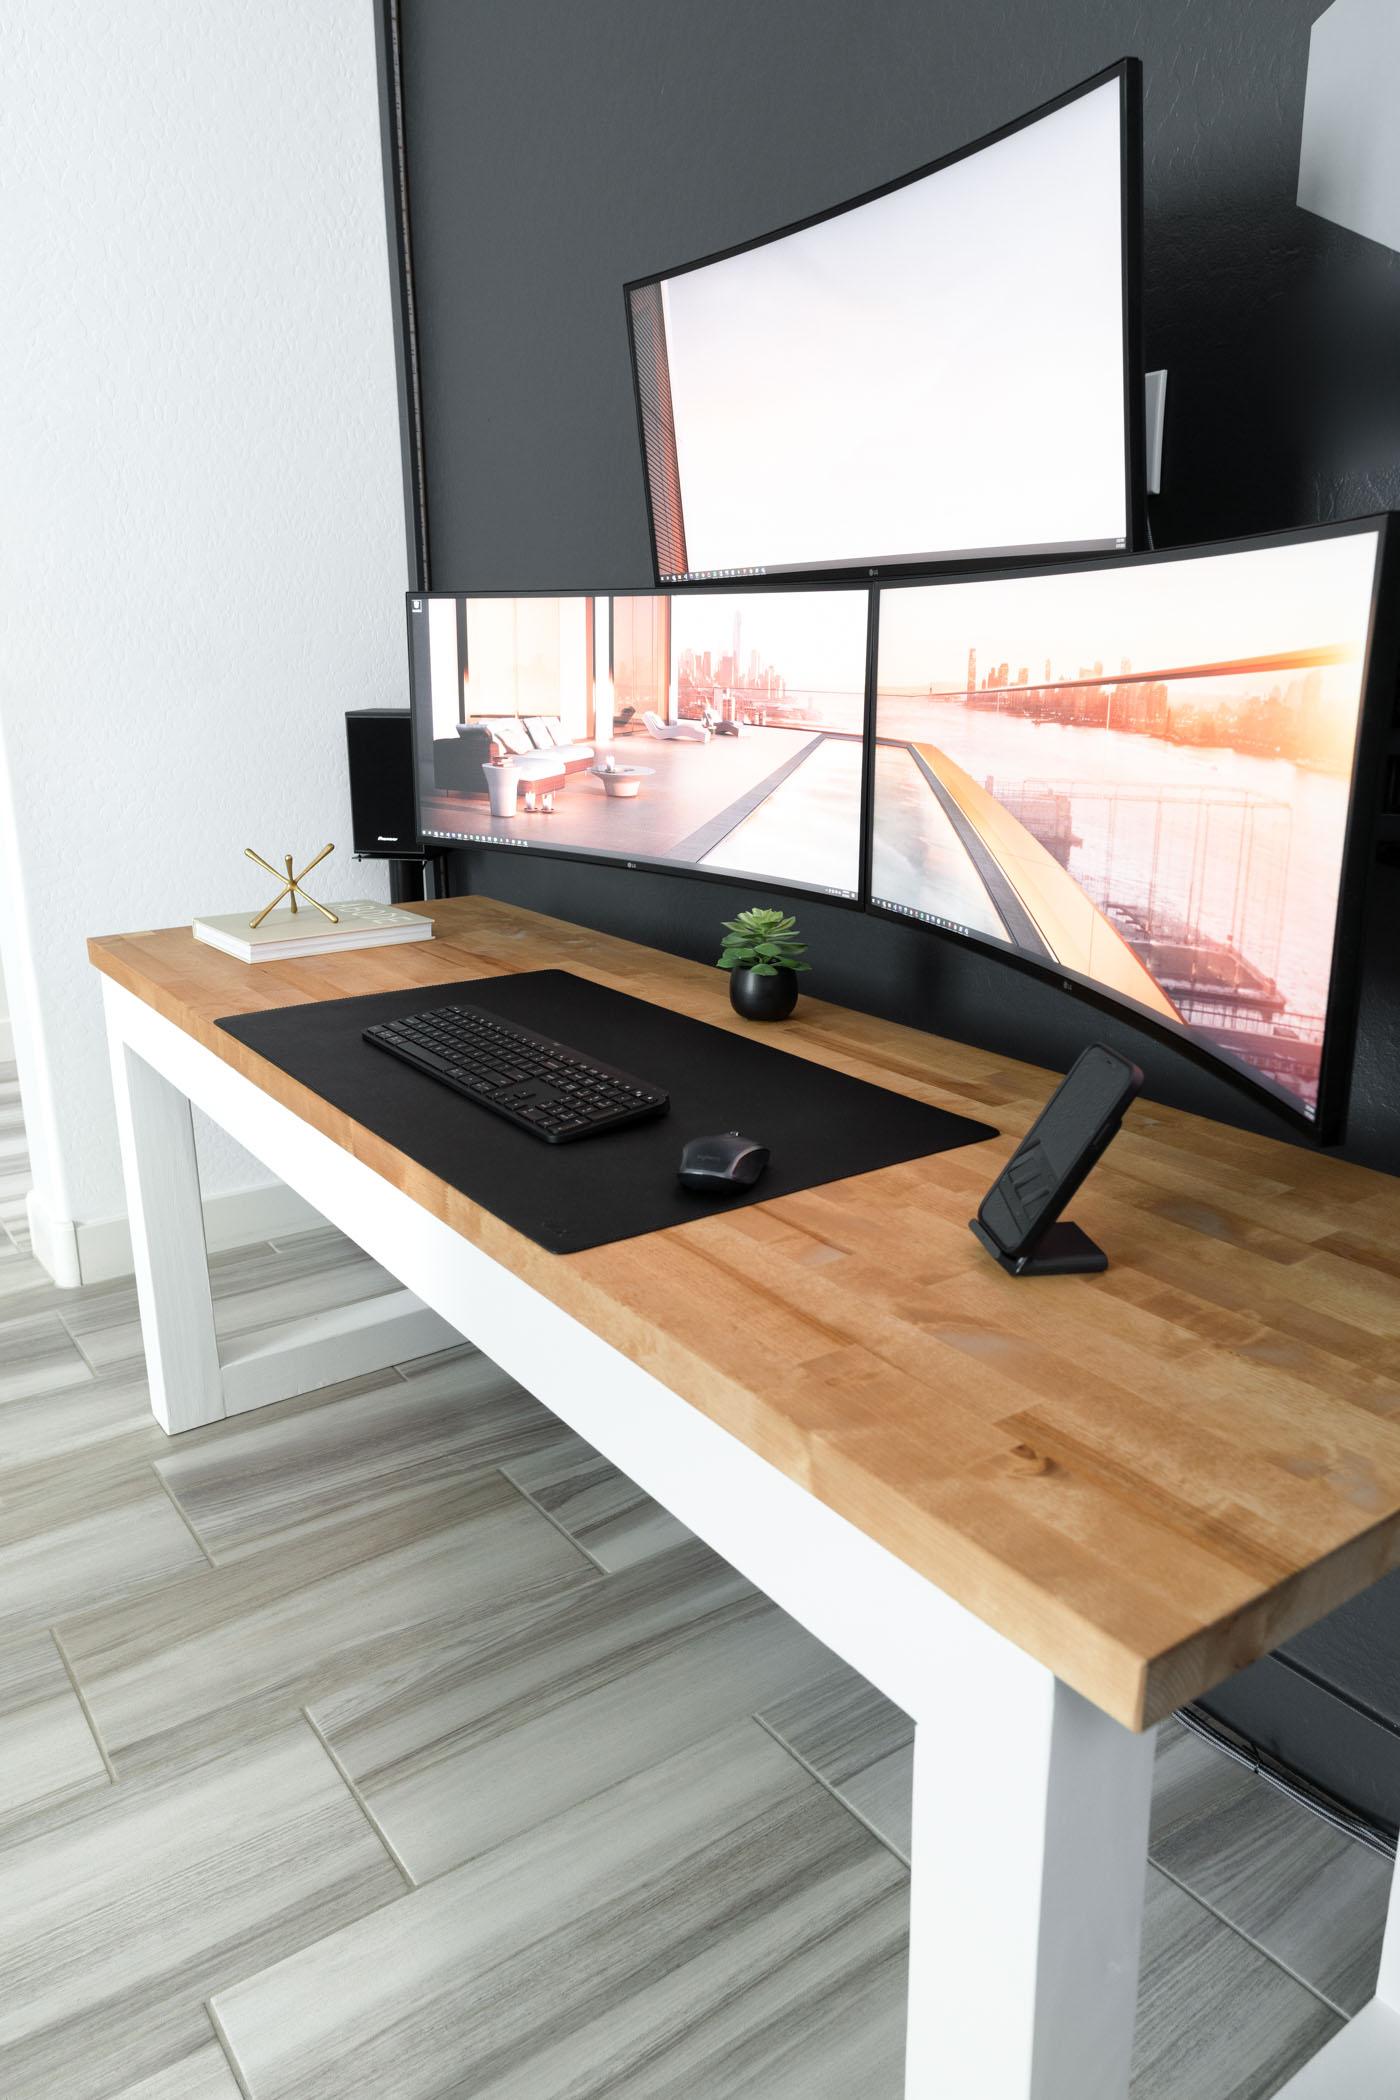
Custom Features Consider adding personal touches such as custom drawer pulls, a built-in charging station, or a cable management system to keep your workspace tidy and efficient.
Ergonomics Matter Ensure your desk height complements your chair, promoting good posture. Adjust leg lengths if necessary to achieve a comfortable working position.
Section 6: Bringing It All Together
Placement & Lighting Find the perfect spot in your home for your new desk, considering natural light sources and minimizing distractions. Proper lighting, whether natural or artificial, is crucial for reducing eye strain.
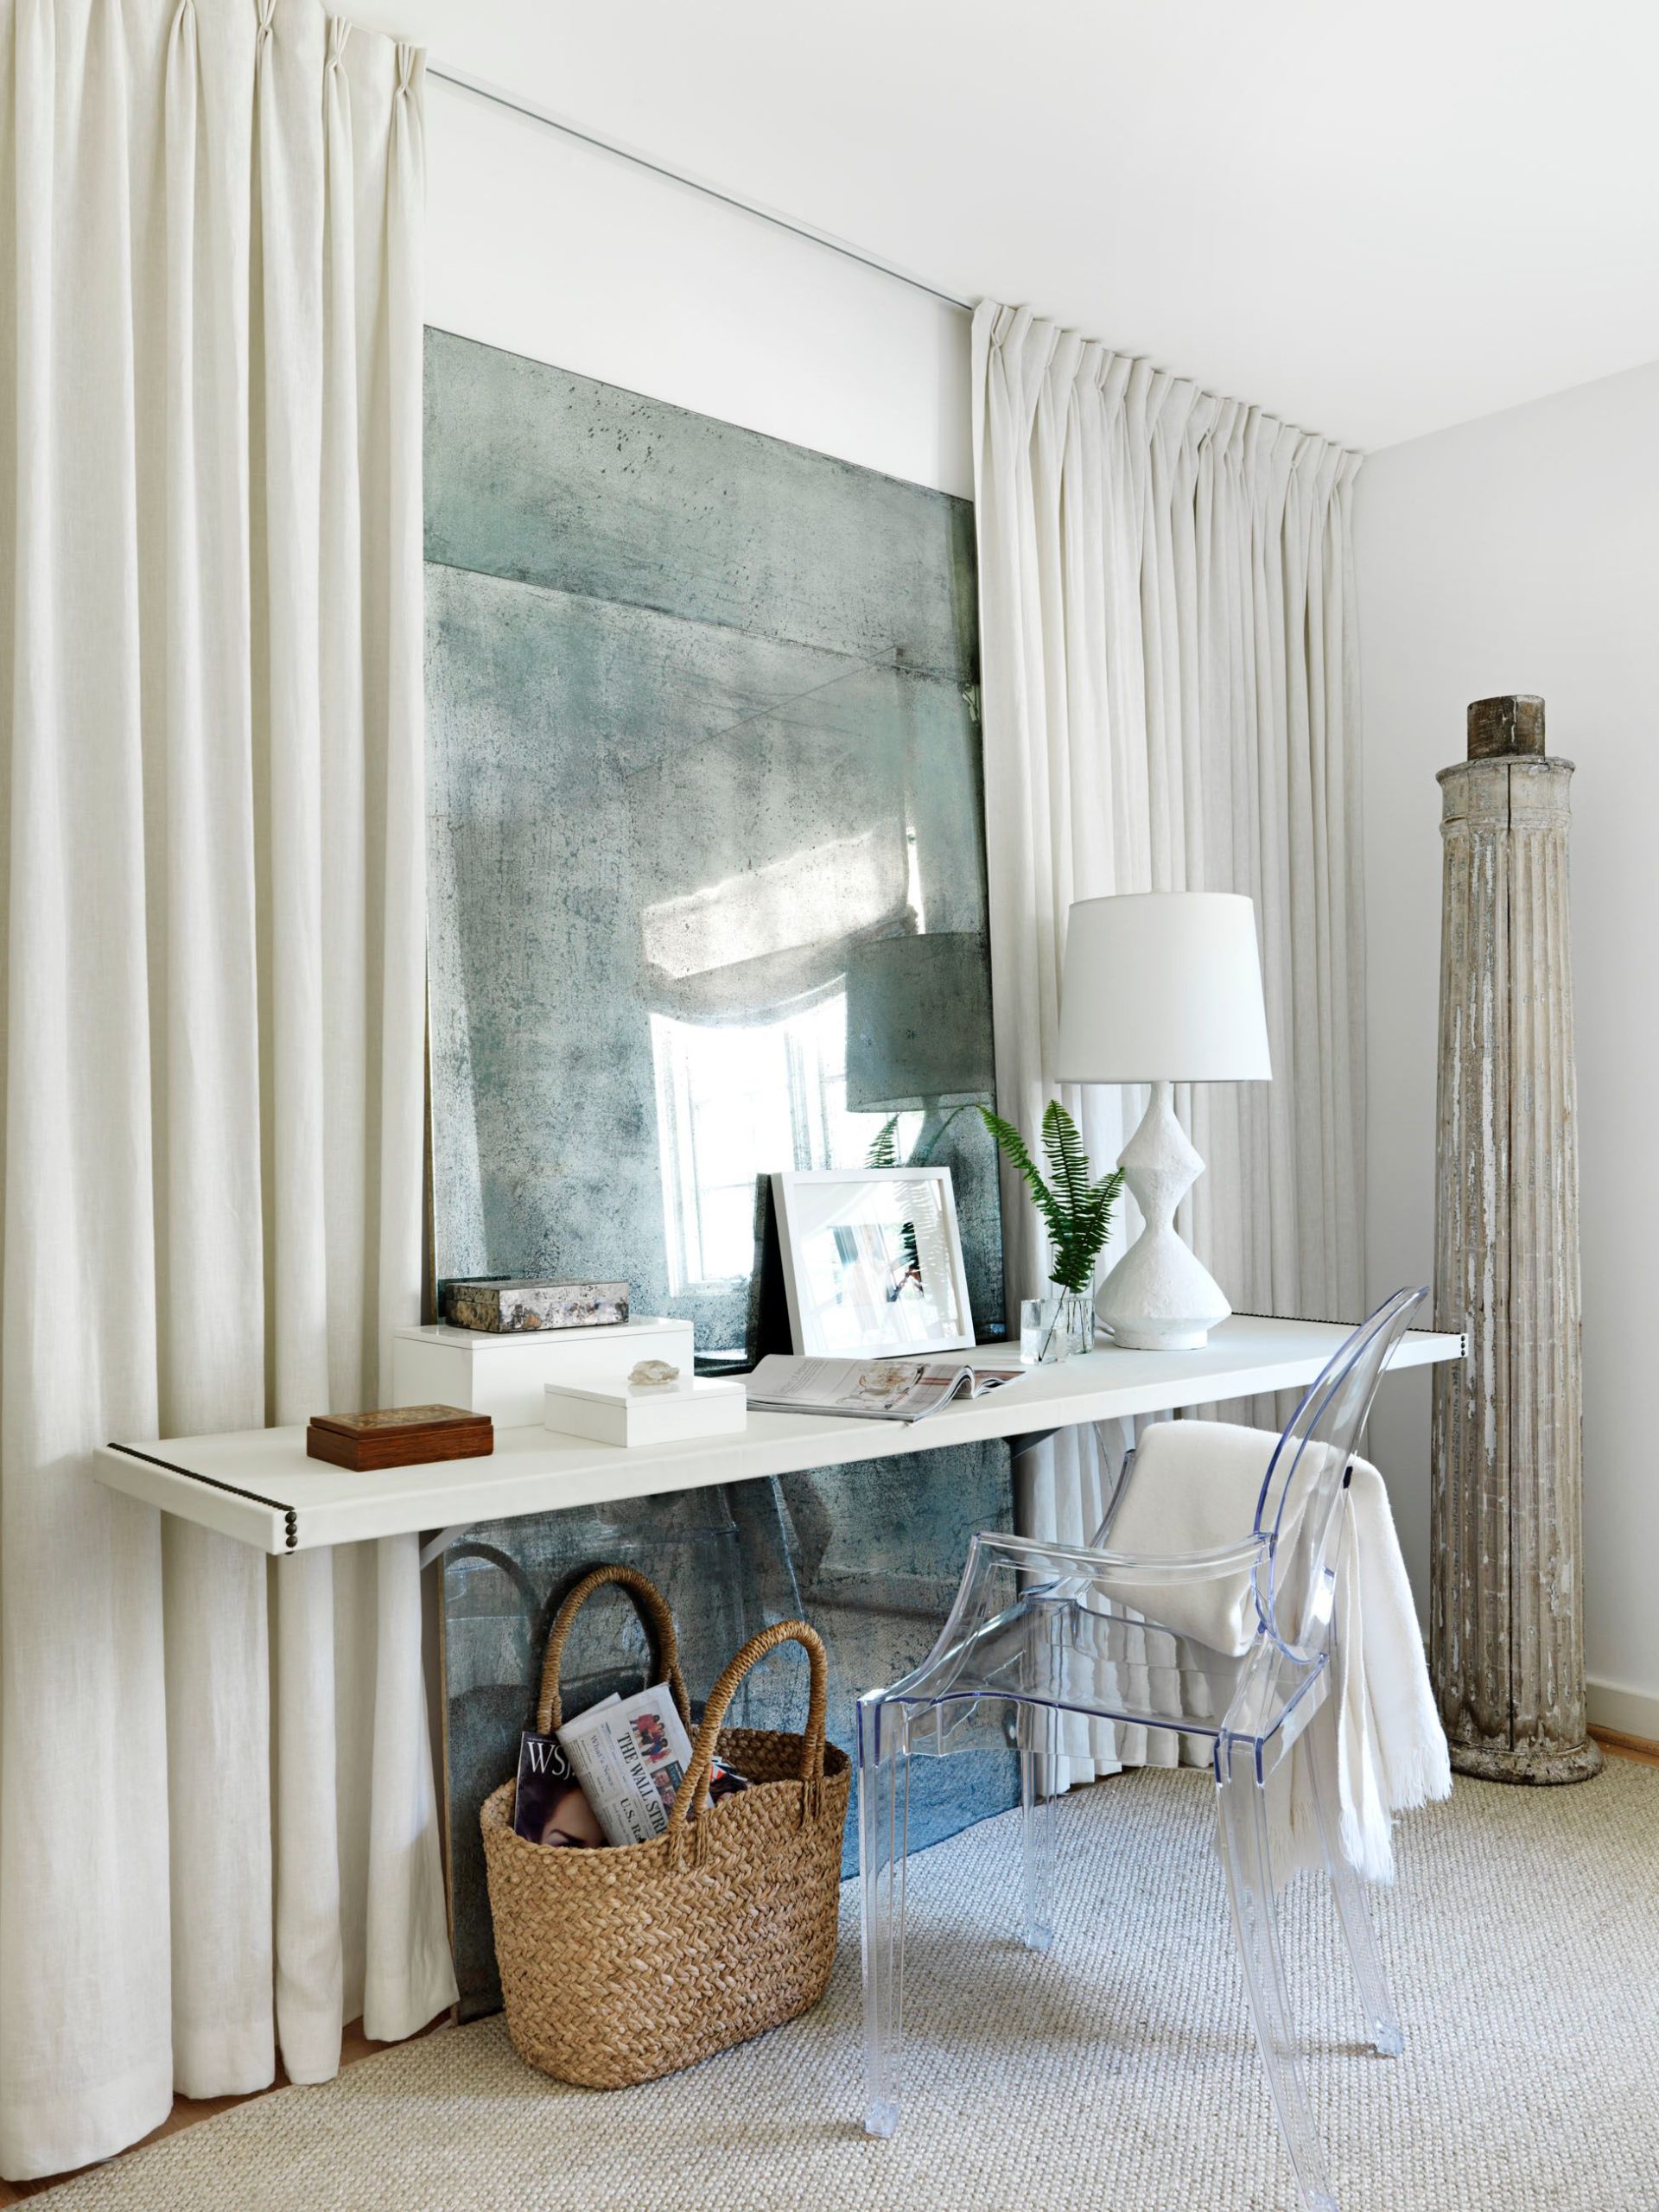
Final Touches Add plants, a stylish desk lamp, or motivational artwork to complete your workspace, making it both functional and inspiring.
Section 7: Maintaining Your Handmade Desk
Cleaning & Care Regular dusting and occasional cleaning with a damp cloth will keep your desk looking new. Avoid harsh chemicals that could damage the finish.
Inspect for Wear Periodically check for signs of wear or loosening joints, addressing any issues promptly to maintain the integrity of your desk.
Section 8: Lessons Learned & Future Projects
Reflecting on the Process Building your own desk is a journey of learning. Take note of what went well and areas where you could improve for future DIY projects.
Expanding Your Skills Consider taking on more complex woodworking projects, like building shelves, cabinets, or even a full office suite, as your skills and confidence grow.
Section 9: Sharing Your Creation
Showcase Your Work Share photos of your homemade desk online or with friends and family. Not only does this inspire others, but it also gives you a sense of accomplishment.
Joining Woodworking Communities Connect with other woodworking enthusiasts through online forums, workshops, or local clubs. These communities offer invaluable tips, feedback, and camaraderie.
Section 10: Embracing the Joy
The Value of Homemade Beyond the practical benefits, your homemade desk represents a personal investment in your work environment. It stands as a testament to your creativity, patience, and the satisfaction that comes from crafting something with your own hands.
Advanced Techniques for Custom Desk Building
Now that you’ve mastered the basics of building your own desk, it’s time to elevate your craftsmanship with advanced techniques that will take your project to the next level. From intricate joinery to advanced finishing methods, these enhancements will not only refine the aesthetics of your desk but also improve its structural integrity and longevity.
Section 1: Mastering Joinery Techniques
Dovetail Joints Renowned for their strength and beauty, dovetail joints are a hallmark of fine woodworking. Used primarily for drawers or as a decorative element, these interlocking fingers provide a strong bond without the need for mechanical fasteners. Practice with a dovetail saw and chisels or invest in a dovetail jig for precision cuts.
In conclusion, building a homemade desk is a rewarding project that combines functionality with personal expression. With careful planning, attention to detail, and a bit of elbow grease, you can create a workspace that not only meets your practical needs but also inspires creativity and boosts productivity. Remember, the true beauty lies in the journey itself and the unique story behind every cut, sand, and finish. Happy crafting!