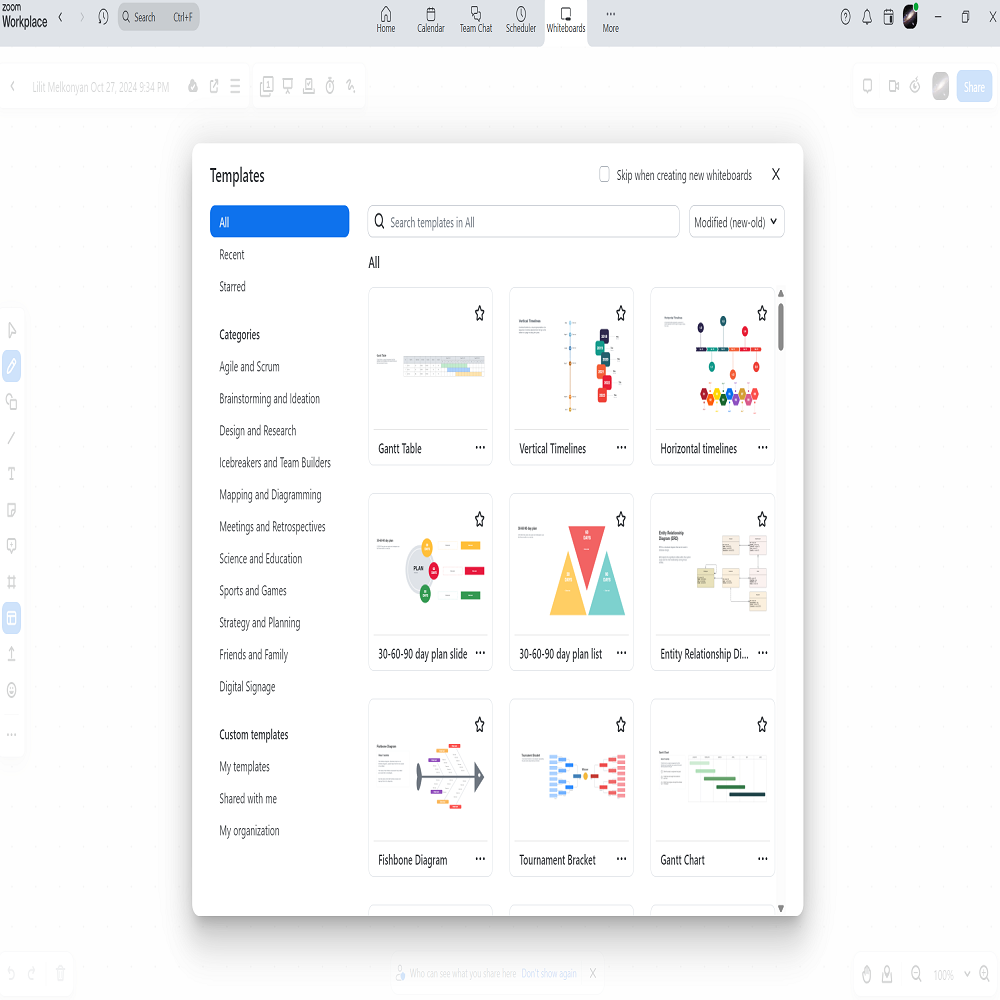
Introduction to Zoom Whiteboard
Zoom’s whiteboard feature has revolutionized virtual collaboration, meeting the demands of remote teams and educators worldwide. It’s an interactive, digital canvas that lets users sketch, write, and engage with content during online meetings.
Before diving into how to use whiteboard on Zoom, let’s understand why it’s beneficial. The Zoom whiteboard enhances visual communication, makes ideas clear, and facilitates a hands-on learning experience. It’s perfect for brainstorming sessions, presentations, and distance education.
A fundamental step in mastering the Zoom whiteboard is to familiarize yourself with its interface. When you start or join a Zoom meeting, you’ll find the whiteboard option within the screen share menu. With a simple click, you can begin your interactive session. The whiteboard comes with various tools like pens, markers, shapes, and texts that help in creating dynamic and informative presentations.
As we expand on how to use whiteboard on Zoom, remember that practice is key. Begin with simple tasks, and as you get comfortable, explore more complex features. Whether you’re leading a remote team or conducting an online class, the Zoom whiteboard is your ally in effective communication and collaboration.
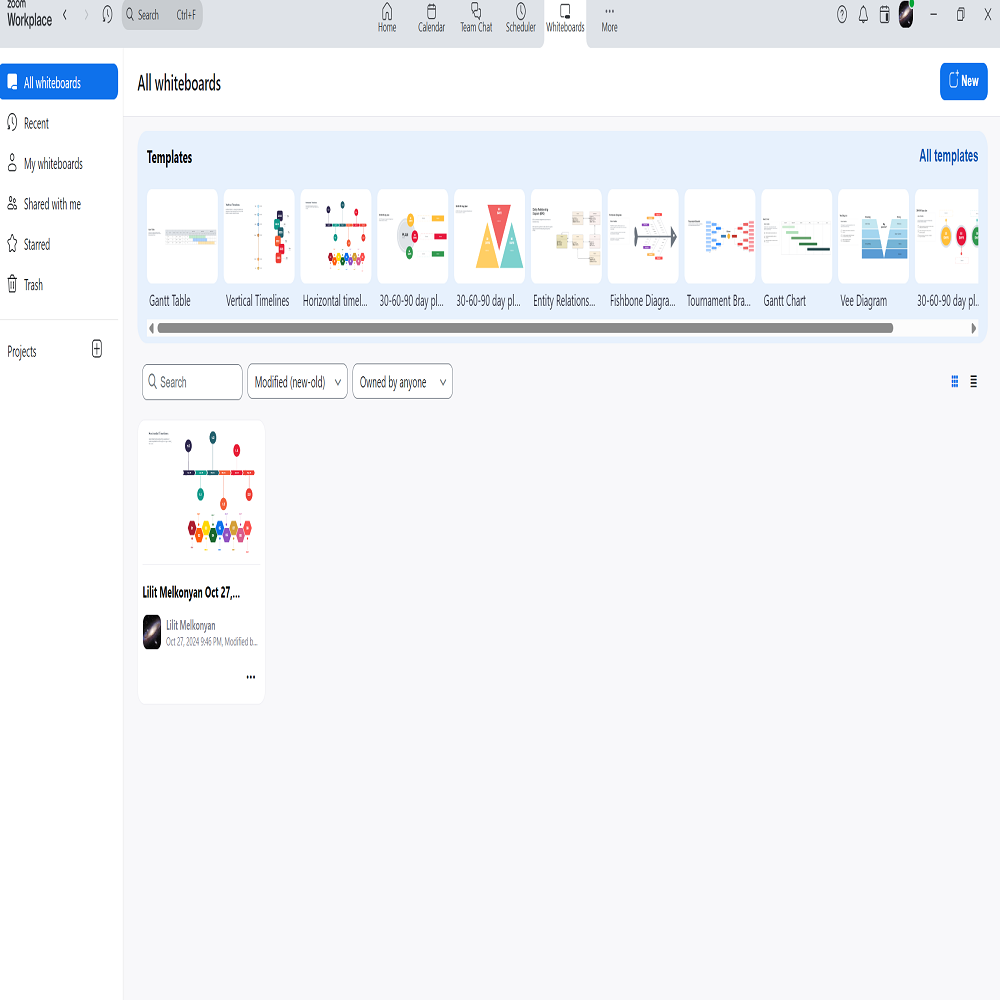
Preparing for Your Zoom Whiteboard Session
Before launching a whiteboard session on Zoom, good preparation is essential. Here’s how to effectively prepare to ensure your session is successful and seamless.
Set Clear Objectives
Start by defining what you want to accomplish with your whiteboard session. Are you brainstorming ideas, delivering a presentation, or teaching a lesson? Setting clear objectives helps in determining the tools and features you might need.
Check Technical Requirements
Ensure that your device meets the Zoom software requirements. Install the latest version of Zoom to access advanced whiteboard features. Also, check your internet connection to avoid disruptions during the session.
Gather Necessary Materials
Prepare any necessary materials beforehand. This might include notes, images, or digital assets you intend to use. Having these ready will save time and make your whiteboard presentation more efficient.
Familiarize Yourself with Whiteboard Tools
Spend some time getting to know the whiteboard tools. Practice using pens, markers, shapes, and text tools. Familiarity with these tools will help you navigate your session smoothly.
Inform and Prepare Participants
If you’re hosting, inform participants about the session’s purpose and what will be required from them. Encourage them to prepare questions or topics beforehand to make the session interactive.
By following these steps, you’ll be well-prepared to use the whiteboard on Zoom effectively, enhancing both communication and collaboration.
Starting a Whiteboard Session on Zoom
Once you’re prepared, starting a whiteboard session on Zoom is straightforward. First, join or start a Zoom meeting. In the meeting control bar, you’ll find the ‘Share Screen’ button. Click on it, and a window with sharing options will appear. Among the options, you’ll see ‘Whiteboard’. Select it and click ‘Share’.
The whiteboard will now be visible to all participants in the Zoom meeting. At this point, as the host, you have the tools to begin your collaborative session. You can select from pens, markers, shapes, and text to start adding content. It’s helpful to begin with an outline or a welcome message to orient participants.
Remember to use the annotation tool for feedback or interactive activities. You can allow participants to annotate by clicking on the ‘More’ option in the meeting control bar and selecting ‘Allow Participants to Annotate’. This feature makes the session collaborative and engaging.
It’s essential to manage the whiteboard effectively. Keep track of who is annotating and address any relevant points they bring up. This keeps the session on track and ensures that all contributions are acknowledged.
Following these steps on how to use whiteboard on Zoom will kick-start your session and set the stage for productive collaboration. Keep your objectives in mind and use the whiteboard features to achieve them.
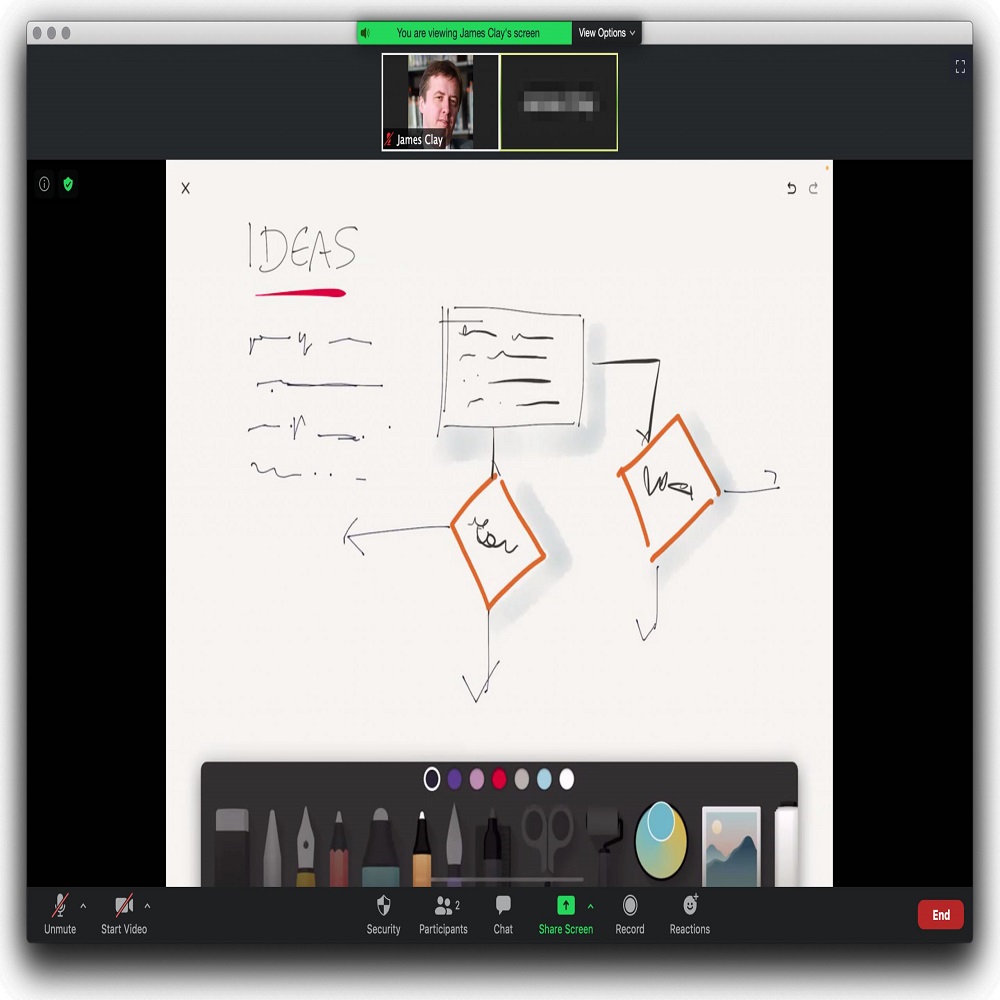
Zoom Whiteboard Tools and Features
Zoom Whiteboard has a variety of tools and features designed to enhance your interactive sessions. Understanding these can help you make the most out of your Zoom presentations or collaborative efforts.
- Drawing Tools: The primary tools include pens, markers, and highlighters of different colors and thicknesses. These allow you to draw freely on the whiteboard, differentiating concepts or highlighting important information.
- Shapes and Lines: You can insert shapes like rectangles, circles, or lines to organize content and visually separate different ideas on the whiteboard. These shapes can be resized and colored as needed.
- Text Tool: There’s a text function that lets you type directly onto the whiteboard. This is particularly useful for writing down key points or instructions that need to stand out.
- Eraser and Undo Options: Mistakes are inevitable, but Zoom Whiteboard has got you covered with eraser and undo options. This helps in maintaining a neat and professional appearance of your whiteboard throughout the session.
- Background Options: You can change the background of the whiteboard to different colors or grid patterns, which can be helpful in enhancing the visibility of your content.
- Sticky Notes: This feature lets you add sticky notes to the whiteboard. It’s useful for jotting down quick ideas or organizing feedback from participants.
Each of these tools contributes to a more productive and engaging whiteboard experience on Zoom. Remember, practicing how to use whiteboard on Zoom will make you fluent in utilizing these features effectively during your sessions.
Collaborating with Participants on Zoom Whiteboard
Collaborating on Zoom Whiteboard is key for engaging remote or online participants effectively. Here are strategies to ensure active and productive collaboration during your Zoom whiteboard session.
Encourage Active Participation
Start by motivating participants to engage actively. Ask direct questions and encourage them to use the annotation tools provided in Zoom. This interaction fosters a collaborative environment.
Utilize Real-Time Feedback
Leverage the immediate feedback feature by allowing participants to annotate on the whiteboard. This allows for real-time interaction and clarifications, making the session more dynamic.
Assign Roles
Assign specific roles to participants. For example, one can manage the information flow while another organizes responses on the whiteboard. This division of labor keeps the session orderly.
Allow participants to take control of the whiteboard intermittently. This shares the responsibility of leading and can stimulate more engagement from the group.
Conduct Breakout Sessions
Utilize Zoom’s breakout rooms for smaller group discussions. Each group can work on parts of the whiteboard separately, then share insights with the larger group. This enhances detailed discussion and idea generation.
By implementing these techniques, you can maximize participation and productivity in your Zoom whiteboard sessions, making them more effective and collaborative.
Saving and Sharing Your Zoom Whiteboard
Once you have finished your Zoom whiteboard session, saving and sharing the content is vital. Here’s a step-by-step guide for doing both effectively.
How to Save Your Zoom Whiteboard
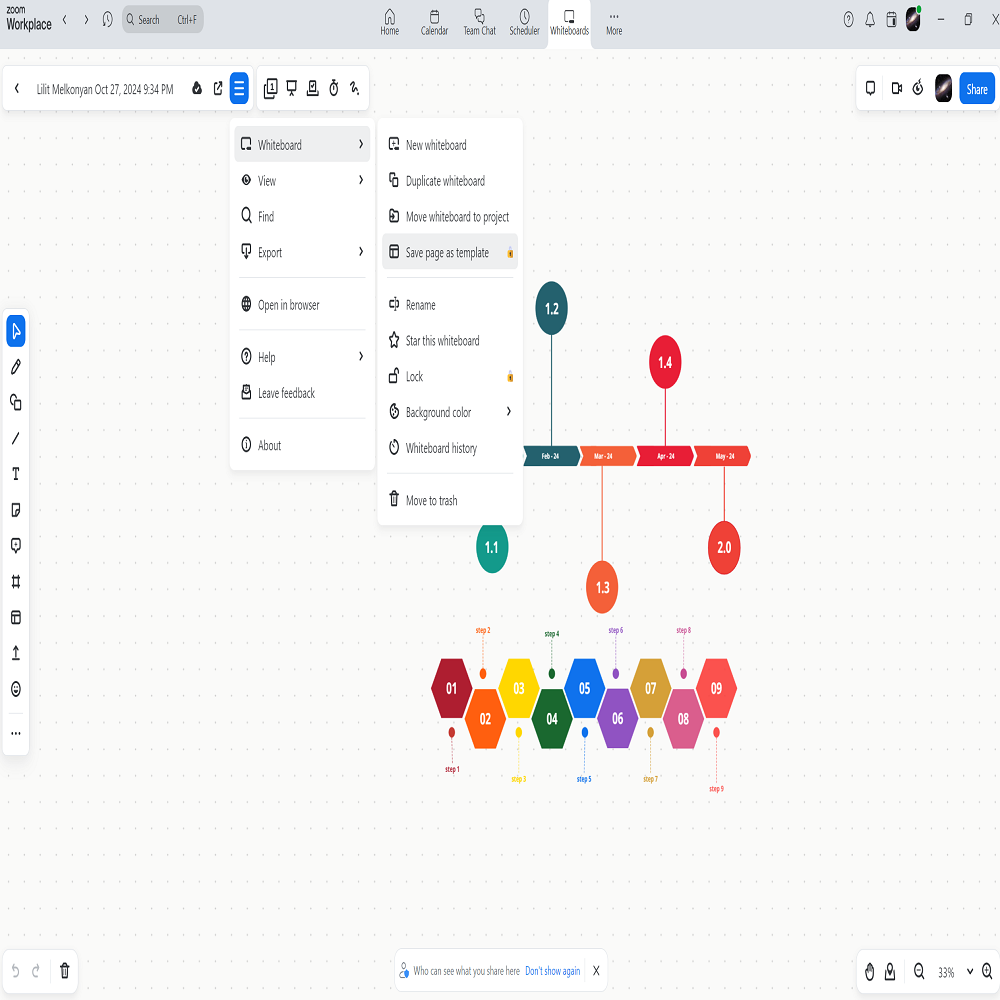
- Access the Save Option: At the top of the whiteboard screen, click on the three dots for more options. Look for the ‘Save’ button.
- Choose the Format: Decide if you want to save the whiteboard as a PNG or PDF. These formats are easy to share and view.
- Confirm the Save: Once you click ‘Save’, you will see a confirmation that your whiteboard has been saved successfully.
- Locate the File: Zoom saves whiteboard files in a default folder. Check your Zoom folder in your computer’s documents to find it.
Saving your work allows you to refer back to it or share it with participants who could not attend.
- Use Zoom Chat: During or after your session, you can share the whiteboard through Zoom chat. Simply attach the saved file.
- Send via Email: Email the saved whiteboard to your meeting participants for their reference.
- Upload to Cloud Services: Share a link by uploading the whiteboard to a cloud service like Google Drive, Dropbox, or OneDrive.
- Integrate with Project Management Tools: If you use project management platforms, you can upload your whiteboard directly within the project’s documents or files section.
Sharing the contents of your Zoom whiteboard session ensures that the collaboration continues, even once the meeting has ended. It allows participants to have a record of the proceedings for review or further work. By following these steps on how to use whiteboard on Zoom, you’ll provide a comprehensive experience for everyone involved.
Tips and Tricks for Effective Whiteboard Sessions
To enhance your proficiency with the Zoom whiteboard, consider these practical tips and tricks:
- Begin with a Plan: Like any effective meeting, start with a clear agenda. Outline what you intend to cover.
- Use Colors Wisely: Different colors can highlight various points. Use them to distinguish between ideas or topics.
- Shortcuts Are Key: Learn keyboard shortcuts for quick access to tools. This speeds up your workflow during the session.
- Create Templates: Save time by preparing templates for frequent use cases, like SWOT analysis or meeting agendas.
- Regular Breaks: Long sessions can lead to fatigue. Schedule breaks to keep participants fresh and focused.
- Summarize Frequently: Pause to summarize key points. It keeps everyone on the same page and reinforces understanding.
- Gain Comfort with Features: Practice using all the features outside of important meetings. Comfort breeds confidence.
- Encourage Questions: Prompt participants to ask questions throughout the session. This ensures clarity and continuous engagement.
- Feedback Loop: End the session with a feedback request. It helps improve future whiteboard sessions.
- Follow-Up: After the meeting, send a follow-up email with the whiteboard content. It helps in retaining information.
Using these tips on how to use whiteboard on Zoom will make your sessions more productive and meaningful for all participants.
Common Issues and Troubleshooting Zoom Whiteboard
Even with the best preparation, you might encounter issues when learning how to use whiteboard on Zoom. Common problems can include issues with accessing the whiteboard, difficulty with tools, or challenges during collaboration. Knowing how to troubleshoot these issues will ensure your whiteboard sessions run smoothly. Here are some common problems and their solutions.
Whiteboard Access Problems
If you or your participants are having trouble accessing the whiteboard, here are a few steps to consider:
- Check Zoom Permissions: Ensure that Zoom has the necessary permissions to share your screen.
- Update Zoom: Running an outdated version of Zoom can lead to problems. Make sure everyone has the latest version installed.
- Internet Connection: A poor internet connection can affect access. Verify that the connection is stable.
Tool Functionality Issues
Encountering issues with whiteboard tools is not uncommon. Here’s how to address them:
- Re-select Tools: Sometimes, deselecting and then re-selecting a tool can resolve the issue.
- Check Participant Settings: Ensure participants have permission to use tools. Adjust settings as needed.
- Restart Zoom: If tools are still not working, try restarting the Zoom application.
Collaboration Challenges
Effective collaboration can sometimes be hindered by technical issues. Here are ways to tackle them:
- Audio/Video Quality: If participants have audio or video issues, ask them to check their equipment settings.
- Annotation Permissions: Confirm that participants have permission to annotate if they cannot contribute.
- Use Breakout Rooms: For lag or confusion with many participants, try dividing into smaller breakout rooms.
By addressing these common issues, your Zoom whiteboard sessions will be less likely to face interruptions. Keep these troubleshooting tips in mind as they can be the key to a successful and smooth Zoom whiteboard experience.
