Getting Started with Whiteboard in Teams
Whiteboard in Teams is a digital canvas for collaboration. It allows you to bring your ideas and brainstorming sessions to life in Microsoft Teams. Whether you’re working on a project with colleagues or planning a lesson with fellow educators, Whiteboard in Teams offers a versatile space to create, share, and innovate together.
Creating a New Whiteboard in Teams
To kick off your whiteboarding experience, you first need to create a new whiteboard. Here’s how:
- Open Microsoft Teams.
- Navigate to the tab where you want to use Whiteboard.
- Click the ‘+’ button to add a new tab.
- Select ‘Whiteboard’ from the options available.
- Click ‘Save’ to add the Whiteboard to your Teams workspace.
Now you’re ready to start drawing out your ideas and organizing your thoughts!
Accessing and Managing Existing Whiteboards
Managing your whiteboards is straightforward. If you’ve already created whiteboards, you can access them easily:
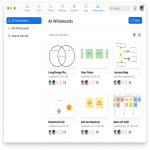
- Go to the board picker from within the Whiteboard tab in Teams.
- Here, you can see all your saved whiteboards.
- To manage a whiteboard, select it from the list.
- Use options like rename, share, or delete to organize your workspace.
Remember to sign in with your Microsoft account to sync and access your whiteboards across devices. This way, you’ll always have your ideas and projects at your fingertips, ready for collaboration or individual work.
Basic Features of Whiteboard
Understanding the basic features of Whiteboard in Teams is key to using it effectively. Let’s explore the tools and options available that make this digital canvas so versatile and user-friendly.
Using Different Inking Modes and Tools
Whiteboard in Teams offers an array of inking modes and tools that cater to various needs. You can choose from pens with adjustable color and thickness, highlighters for emphasis, and even an eraser to correct mistakes. There’s also a lasso tool for selecting multiple items at once, which can be extremely handy for making quick adjustments. With these tools, expressing your ideas visually becomes intuitive and engaging.
Utilizing the Create Panel for Items like Sticky Notes and Images
In addition to drawing tools, the Create panel on the left side of the Whiteboard enhances your brainstorming sessions. Here, you can add items such as sticky notes for quick reminders or tasks, text for detailed annotations, images to support visual thinking, or shapes to organize information. These elements help structure your ideas and make collaboration more dynamic.
Customizing the Whiteboard Settings
Personalization is possible with Whiteboard’s customizable settings. You can tailor the Whiteboard according to your project or presentation needs. This includes altering the background format, exporting your whiteboard as an image, and accessing help for any queries. Through the settings option, you can tailor your workspace, creating a comfortable environment for creativity to flourish.
Real-time Collaboration on Whiteboard
Real-time collaboration is at the core of Whiteboard in Teams. This feature allows team members to work together, no matter where they are.
Sharing and Collaborating in Microsoft Teams Meetings
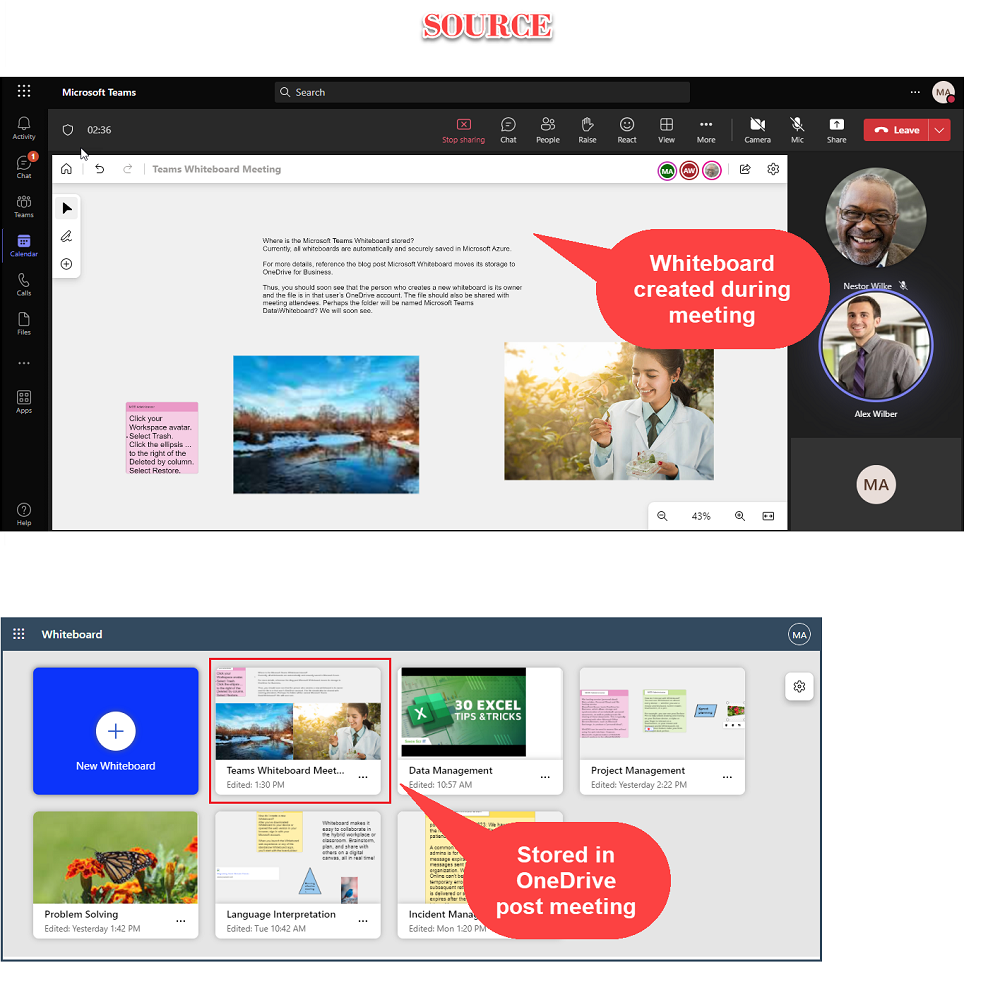
Easily share your Whiteboard during a Teams meeting by following these steps:
- Open Microsoft Teams and join your meeting.
- Click on the share icon in the meeting controls.
- Choose your Whiteboard from the list of available windows.
- Start collaborating with participants in real-time.
Participants can view and contribute to the whiteboard simultaneously. This way, everyone can engage in the discussion, add ideas, or provide feedback. Remember to save changes to keep the team’s progress intact.
Adding Whiteboard to Teams Channel or Chat
Whiteboard also integrates into Teams channels or chat. It helps keep conversations and ideas organized. Here’s how to add it:
- Go to your desired Teams channel or chat.
- Click the ‘+’ button at the top of the screen.
- Search for and select ‘Whiteboard’.
- Confirm by clicking ‘Save’.
Now, the group chat includes a dedicated Whiteboard tab. Team members can access and update it anytime. This setup is perfect for continuous projects or when you want to keep the conversation and ideas flowing between meetings.
By integrating Whiteboard in Teams channels and chats, you create a shared space. This space supports brainstorming and project tracking with ease. It also ensures that team members always have the tools they need to collaborate effectively.
Interaction Methods with Whiteboard
Whiteboard in Teams lets you interact in ways that work best for you. This flexibility is essential for a smooth and natural brainstorming experience. Here are the input options:
Input Options: Mouse, Keyboard, Touchscreen, and Pen
You can use a mouse and keyboard for precision inputs, which is ideal for detailed work. Touchscreens allow for a direct and hands-on approach, great for quick sketches and notes. The pen input is perfect for free-form drawing and handwriting, making your inputs feel personal and engaging.
Ink Beautification and Display Options
Ink beautification enhances your writing and sketches, making them clean and visually appealing. Display options enable you to adjust your view, zoom in on important details, or get an overview of the whole board. These features help maintain clarity, no matter the complexity of your ideas.
Whiteboard for Student Collaboration
Whiteboard in Teams is not only ideal for professionals but also enhances student collaboration. It seamlessly integrates into educational settings, particularly for group projects and brainstorming sessions. This section delves into how to effectively use Whiteboard in Teams for educational purposes, with a focus on setting up group projects and utilizing various templates and tools.
Setting Up Group Projects in Teams
To begin a group project using Whiteboard in Teams, start by creating a group chat in Microsoft Teams. This will be the main communication channel for all participants. Here’s how to set it up:
- Open Microsoft Teams and navigate to the desired course or group.
- Click on the ‘+’ icon at the top of your Teams interface to create a new chat.
- Name the chat according to the project or group’s name.
- Add all project participants to this group chat.
Once the group chat is set up, integrate a Whiteboard by following these simple steps:
- In the chat, click on the ‘+’, and choose ‘Whiteboard’ from the options.
- Select ‘Save’ to add the Whiteboard to your chat.
This setup facilitates collaborative brainstorming where all members can contribute in real-time, ensuring that everyone’s ideas are visualized and considered.
Utilizing Whiteboard Templates and Tools
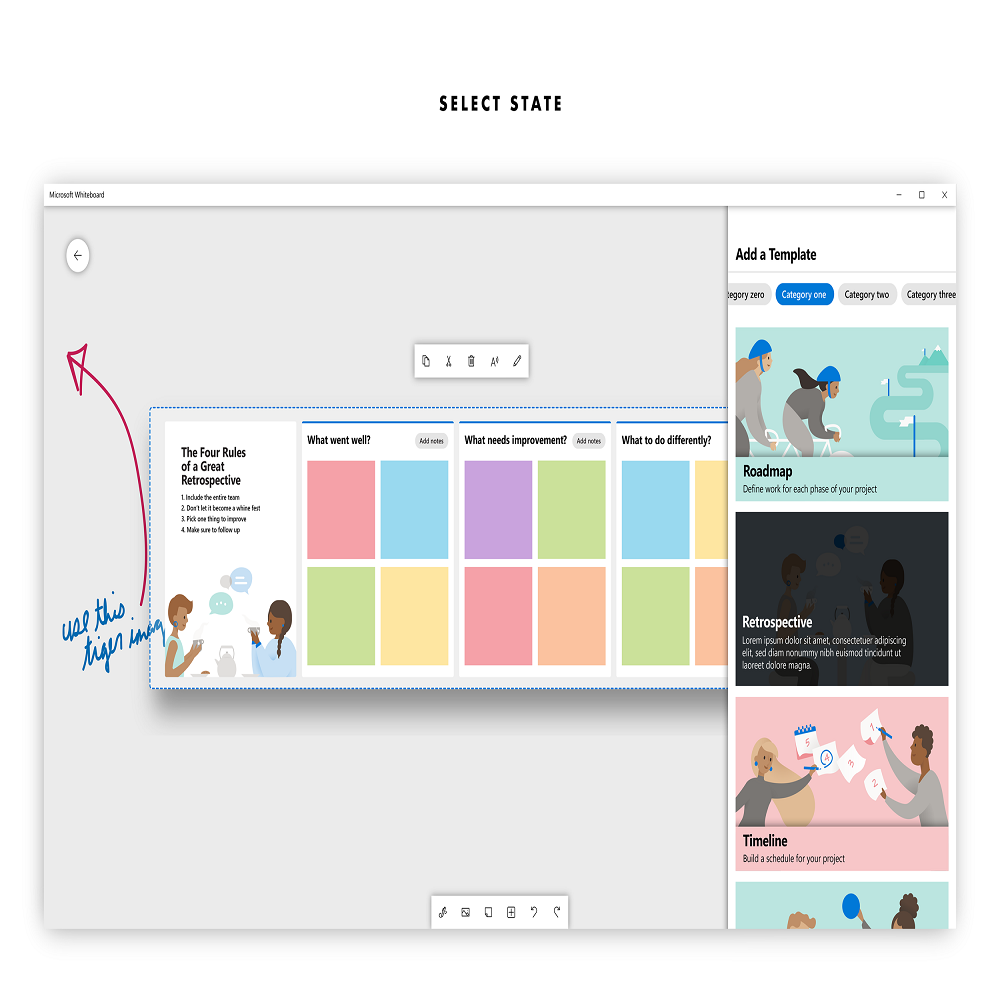
Whiteboard comes equipped with a variety of templates and tools designed to streamline the brainstorming and project management process. These include:
- Brainstorming Templates: Kickstart your session with ready-to-use templates that inspire creative thinking.
- Sticky Notes and Text Boxes: Ideal for jotting down quick ideas or more detailed explanatory notes.
- Shapes and Images: Help visualize data and concepts, making them clearer and easier to understand.
These tools are accessible from the Create panel on the left side of the Whiteboard. They are instrumental in organizing thoughts, drawing insights, and maintaining an interactive and engaging project development space. Encourage students to experiment with these features to discover the most effective ways to communicate and document their ideas.
Best Practices for Collaborating on Whiteboard
Utilizing Microsoft Teams Whiteboard for collaborative projects can be a boon to productivity and creativity. However, to get the most out of your whiteboard sessions, consider these best practices.
Organizing Your Ideas Effectively
Organizing your ideas on Whiteboard is crucial for a smooth workflow. Start by using the different inking modes to color code your thoughts or track different aspects of the project. Group related ideas with shapes or draw connecting lines between them. Sticky notes are excellent for quick thoughts or questions, and can be easily moved around to form a structured layout. Make use of the infinite canvas by spreading out your ideas, minimizing clutter.
Use the lasso tool to group items together, or to reposition them as your session evolves. Consistency in the placement of similar items or topics can help your team understand and follow the thought process. Make sure to label different sections or ideas clearly using text boxes, which can be customized in size and color to highlight importance.
Keeping Group Work Focused and Private
When collaborating in a group, it’s essential to keep the work focused and private. In Microsoft Teams, use group chats for each project to maintain conversations and whiteboard sessions within the concerned group. Avoid using a team or channel unless the session is meant to be public. This helps in minimizing distractions and keeping contributions targeted to the task at hand.
For sensitive projects, control access to the whiteboard by managing the sharing options. Only invite those who require access. In Teams, you can adjust who has the ability to edit or view the Whiteboard, ensuring that only relevant team members can make changes. Communicate clear guidelines on how the Whiteboard should be used, what content should be added, and establish norms for virtual collaboration. This way, everyone onboard knows what’s expected, leading to more efficient and secure teamwork.
By following these practices, you can maximize the effectiveness of Whiteboard in Teams, creating a seamless and secure environment for collaboration.
After the Collaboration Session
Collaborative sessions using Whiteboard in Teams often yield a wealth of ideas and insights. Properly concluding these sessions is crucial to ensure all the hard work is preserved and shared appropriately.
Finalizing and Sharing the Whiteboard Content
Once your collaborative session concludes, take a moment to finalize the whiteboard content. This involves:
- Reviewing all the inputs and making sure they are clear and organized.
- Adding final touches like labeling different sections or correcting any errors.
Sharing the finalized whiteboard is straightforward in Teams:
- Click the ‘Share’ link on the whiteboard interface.
- Choose whether to send a link via Teams chat or email.
- Ensure that all participants have the necessary permissions to view or edit the content as needed.
This process ensures that every participant has access to the final version of the whiteboard, which can be referred to or further modified as needed.
Exporting Whiteboard Content for Submission
In some cases, you might need to submit the whiteboard content for formal review or assessment. Here’s how to export your content:
- Navigate to the whiteboard settings in Teams.
- Click on ‘Export’ and choose the desired file format, typically PNG or PDF.
- Save the file to a designated location.
Exporting the whiteboard content allows you to create a static record of your collaborative work. It can be easily shared as an attachment or printed for physical submission. This method is particularly useful for keeping a record of milestone discussions, decision makings, or official submissions.
By effectively managing the finalization, sharing, and exporting of whiteboard sessions, you ensure that the collaborative efforts are well-documented and accessible when needed in the future.

