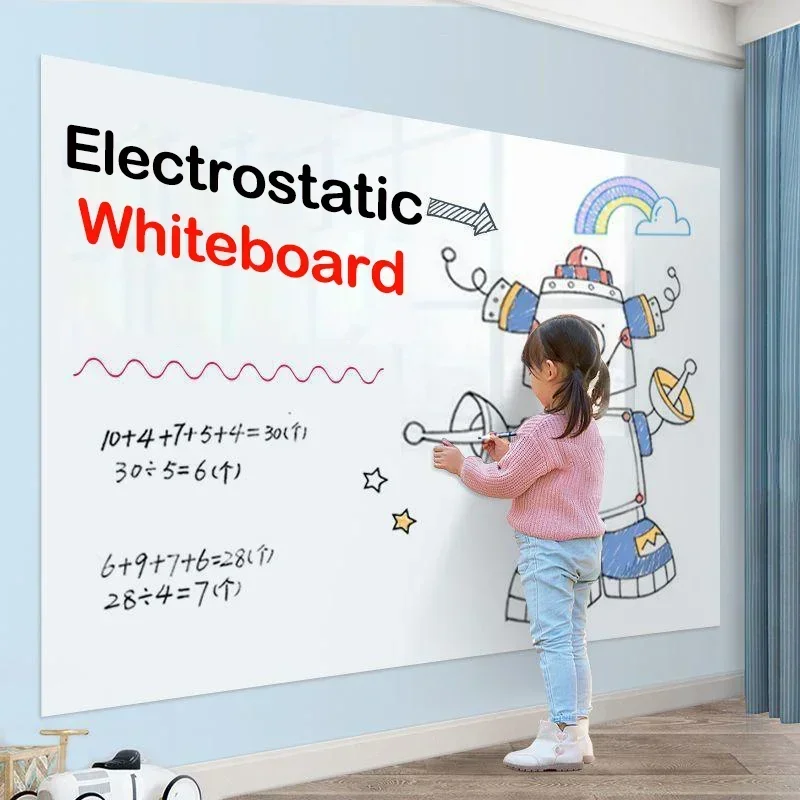
A whiteboard is a versatile tool for brainstorming, jotting down ideas, creating to-do lists, or organizing your thoughts. While traditional whiteboards can be expensive and may not fit the unique space or design preferences of your home or office, creating a custom DIY whiteboard is a simple and cost-effective solution. Whether you’re looking to install a whiteboard in your home office, classroom, or even in your kitchen for family organization, making your own gives you the flexibility to design it exactly as you need. This article will walk you through the steps to create a custom DIY whiteboard, along with tips on materials, installation, and usage.
Why Create a DIY Whiteboard?
The Benefits of a DIY Whiteboard
Before diving into the specifics of creating your own whiteboard, it’s important to understand why it might be a great idea. A DIY whiteboard offers several advantages over store-bought options, including:
- Cost-Effective: A DIY whiteboard is typically far cheaper than purchasing one from a store. By reusing materials or using inexpensive alternatives, you can make a whiteboard for a fraction of the cost.
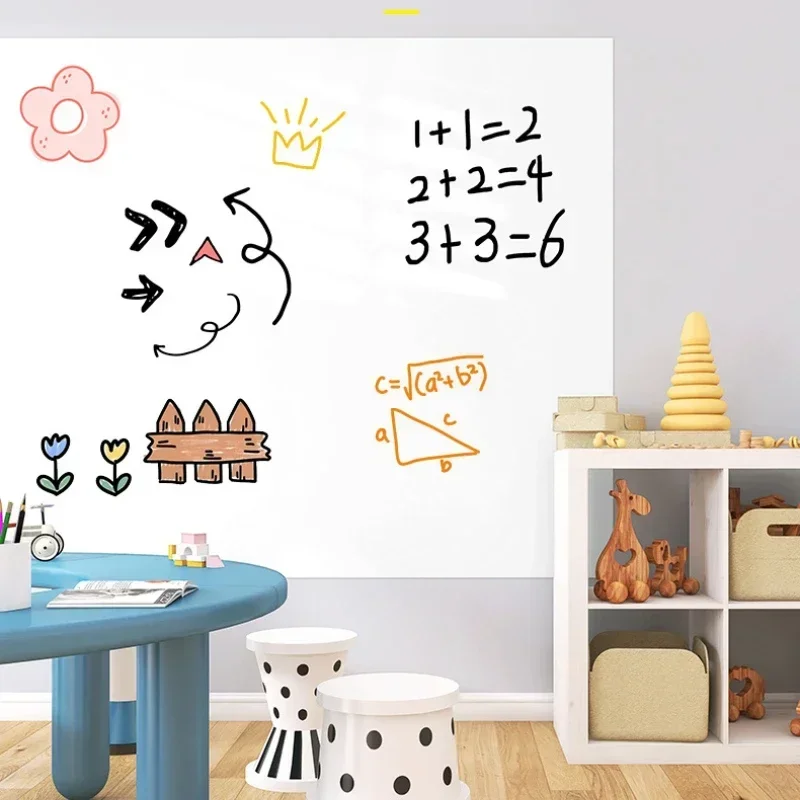
- Customization: When you create your own whiteboard, you can personalize it to suit your space, aesthetic preferences, and specific needs. Whether you want a full wall of whiteboard space or a smaller, portable version, a DIY project allows you to decide.
- Satisfaction of Craftsmanship: There’s something gratifying about building a functional item with your own hands. It adds a personal touch to your space and can be a fun, creative project.
In the next sections, we will walk you through the process of creating a DIY whiteboard from start to finish.
Materials You Will Need
Essential Materials for a DIY Whiteboard
Creating your own whiteboard doesn’t require a lot of specialized tools, but having the right materials is essential for a successful project. Below are the basic items you will need:
- Whiteboard Surface: The most important part of the project is the surface itself. You can use a variety of materials to create the writing surface:
- MDF (Medium Density Fiberboard): MDF is a great choice because it’s smooth, relatively inexpensive, and easy to work with. It’s commonly used for furniture and cabinetry.
- Plexiglass or Acrylic Sheets: These materials offer a glossy finish and are durable. They provide a smooth writing surface and can be cut to size easily.
- Shiny Metal: If you prefer a more industrial look, you can use a shiny metal sheet, such as aluminum or stainless steel. These are durable and give your DIY whiteboard a modern aesthetic.
- Whiteboard Paint: If you want to make a larger whiteboard or convert a wall into a writing surface, whiteboard paint is an excellent option. It’s easy to apply and creates a durable, wipeable surface. Some popular brands include IdeaPaint or Rust-Oleum Dry Erase Paint.
- Frame (optional): If you want your whiteboard to have a finished, framed look, you will need materials for a frame. You can use wood, metal, or even upcycled materials from old frames or furniture.
- Ruler, Pencil, and Level: These tools are essential for measuring and ensuring that your whiteboard is installed or framed evenly.
- Fasteners or Adhesive: Depending on the method of installation, you will need screws, nails, or heavy-duty adhesive to secure your whiteboard in place.
- Sandpaper or a Smoothing Tool: If you’re using MDF or other wood-based surfaces, sanding the edges and surface is necessary to ensure smoothness.
Additional Optional Materials
- Magnetic Backing: If you want your whiteboard to hold magnets, consider using magnetic paint or applying a magnetic sheet behind the whiteboard surface.
- Decorative Finishes: To match the design of your room, you can add accents like washi tape, custom borders, or even paint the frame with your favorite color.
Once you have gathered the materials, you’re ready to move on to the next step—preparing the surface.
Preparing the Whiteboard Surface
Cutting and Smoothing the Surface
If you’re using MDF, Plexiglass, or a similar material, you’ll need to cut it to the desired size. Measure the space where you plan to install the whiteboard carefully. If you’re working with a large sheet of material, use a circular saw or jigsaw for cutting. Ensure that the edges are smooth, as rough edges can affect both the aesthetic and functionality of the board.
- Tip for cutting MDF: Use a fine-toothed saw blade to ensure smooth cuts.
Once cut, you may notice rough edges or splinters, especially if using wood or MDF. Sand the edges with medium to fine-grit sandpaper to eliminate any sharpness. Also, lightly sand the surface of your whiteboard material, especially if it’s wood, to remove any imperfections.
- For Acrylic or Plexiglass: If you’re using acrylic sheets, use a fine-grit sandpaper or a specialized acrylic polishing compound to smooth out the surface after cutting. This will ensure your writing surface is clear and free of scratches.
Applying Whiteboard Paint
Transforming a Wall or Surface into a Whiteboard
If you prefer a large whiteboard or want to turn an entire wall into a functional writing space, whiteboard paint is a great option. Applying this paint is relatively simple but requires patience.
- Prep the Wall or Surface: Start by ensuring that the surface is clean and smooth. If you are working with a wall, patch any holes and sand the surface smooth. Clean the surface thoroughly with a damp cloth to remove dust or debris.
- Apply the Primer (if needed): Some whiteboard paints require a primer for optimal adhesion. Check the manufacturer’s instructions for the specific paint you’ve chosen.
- Paint the Surface: Use a roller or brush to apply a thin, even coat of whiteboard paint. You will need to apply multiple layers to get a smooth, durable surface. Allow each coat to dry before applying the next one. Follow the paint’s instructions regarding drying times between coats.
- Curing the Surface: After the final coat of whiteboard paint, let it cure for the recommended time, usually 3-7 days, to ensure the surface is fully dry and ready for use.
- Cleaning Up: Once the paint has dried, clean your tools and dispose of any leftover materials properly. Your wall is now ready to be used as a giant whiteboard!
Framing the Whiteboard
Adding a Finished Frame to Your DIY Whiteboard
While a framed whiteboard is not strictly necessary, it can give your DIY creation a professional and polished look. You can use pre-made frames or create your own from wood or metal.
- Measure the Whiteboard Surface: Before building or buying a frame, measure the dimensions of your whiteboard carefully. Ensure that your frame fits the board properly.
- Cut the Frame Pieces: If you’re building the frame from scratch, use a saw to cut your wood or metal to the correct lengths. Be sure the corners are square for a clean, sharp look. If using wood, you can sand the edges for a smoother finish.
- Assemble the Frame: Use wood glue and small nails or screws to assemble the frame. For metal frames, you may need to weld or use specialized connectors. Attach the frame to the edges of the whiteboard surface.
- Attach the Frame to the Wall: Once your frame is complete, you can either hang it using screws or nails, or mount it directly to the wall. Ensure the frame is level before securing it to avoid crooked installation.
Installing Your DIY Whiteboard
Mounting Your Whiteboard on the Wall
The final step is installing your new whiteboard in your desired location. Depending on the size and weight of the board, you will need different methods of installation.
- Small Boards: For smaller whiteboards (under 24 inches), you can typically use heavy-duty adhesive strips or small picture-hanging hooks to attach it to the wall. Ensure that the wall surface is clean and free of dust before applying adhesive strips.
- Large Boards: For larger boards, you’ll likely need screws or anchors to secure the whiteboard. Use a stud finder to locate the studs in your wall and ensure that the board is properly anchored.
- Magnetic Whiteboards: If you’ve made a magnetic whiteboard, ensure you apply a magnetic backing or use a magnetic paint to allow magnets to adhere to the surface.
Once installed, step back and admire your work! You’ve created a functional, customized whiteboard that will serve your space perfectly.
Tips for Using and Maintaining Your DIY Whiteboard
Keeping Your Whiteboard in Top Condition
A DIY whiteboard can last for years with proper maintenance. Here are some tips to keep it looking great:
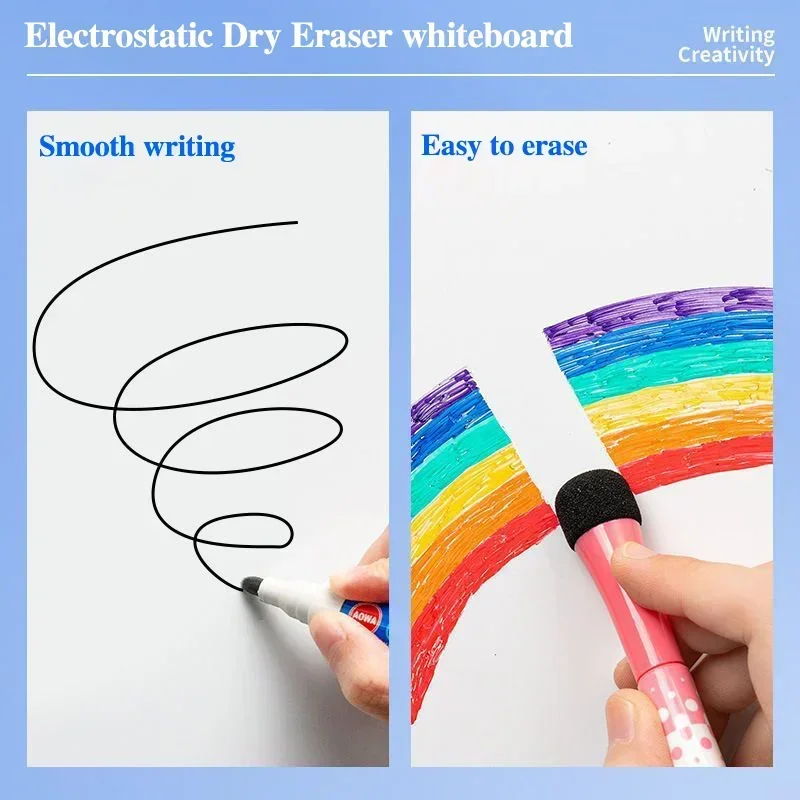
- Cleaning: Use a dry erase cleaner or a soft cloth to wipe off markers. Avoid abrasive cleaning agents that could scratch the surface.
- Avoid Permanent Marks: Be cautious not to leave permanent marker or other staining materials on the board for too long. If this happens, use rubbing alcohol or a whiteboard cleaner to remove the stains.
- Refill Your Supplies: Keep dry erase markers and an eraser handy for regular use.
