Creating a comfortable and functional workspace is crucial, especially in today’s world where many people work from home. An office chair is one of the most important pieces of furniture that can significantly impact your productivity and comfort. Building your own DIY office chair not only allows you to customize it to your personal preferences but also provides a unique and cost-effective solution to your seating needs. In this comprehensive guide, we will explore the steps, materials, and tips for crafting your perfect office chair.
Understanding the Importance of an Ergonomic Chair
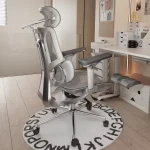
What is an Ergonomic Chair?
An ergonomic chair is designed to support the body comfortably during prolonged periods of sitting. Unlike standard chairs, which may lead to discomfort and strain, ergonomic chairs promote a healthy posture. They typically feature adjustable components that allow users to modify height, seat depth, armrest position, and lumbar support. By understanding these elements, you can build a chair that effectively meets your ergonomic needs.
Health Benefits of Using an Ergonomic Chair
Investing time in creating an ergonomic chair can yield numerous health benefits. Poor seating posture can lead to chronic back pain, neck strain, and poor circulation. An ergonomic chair helps mitigate these issues by promoting proper alignment of the spine and reducing pressure on various body parts. Additionally, having a comfortable seating option can enhance focus and productivity, making your workspace more efficient overall.

Assessing Your Personal Needs
Before embarking on your DIY project, it’s essential to assess your specific needs. Consider how long you spend sitting each day, any existing discomforts or health issues, and your working habits. For instance, if you often work at a desk for hours on end, investing more effort into lumbar support and cushioning is vital. By evaluating your requirements, you can design a chair that genuinely enhances your work experience.
Gathering Materials for Your DIY Office Chair
Essential Components You Will Need
To create your DIY office chair, you will need a variety of materials. The essential components include a sturdy base (which can be made from wood or metal), a comfortable seat cushion, armrests, and a backrest for support. Additionally, you will require screws, glue, and tools such as a saw, drill, and screwdriver. Depending on your design choice, you might also want to incorporate wheels for mobility or upholstery fabric to enhance aesthetics.
Choosing the Right Wood or Metal
Selecting the right material for your chair frame is crucial for durability and stability. While wood offers a traditional aesthetic and can be more comfortable, metal frames provide a modern touch and greater strength. If you opt for wood, consider hardwood options like oak or maple for their durability. If you prefer metal, ensure it is thick enough to support weight without bending. Ultimately, the choice between wood and metal will depend on your style preference and the design you envision.
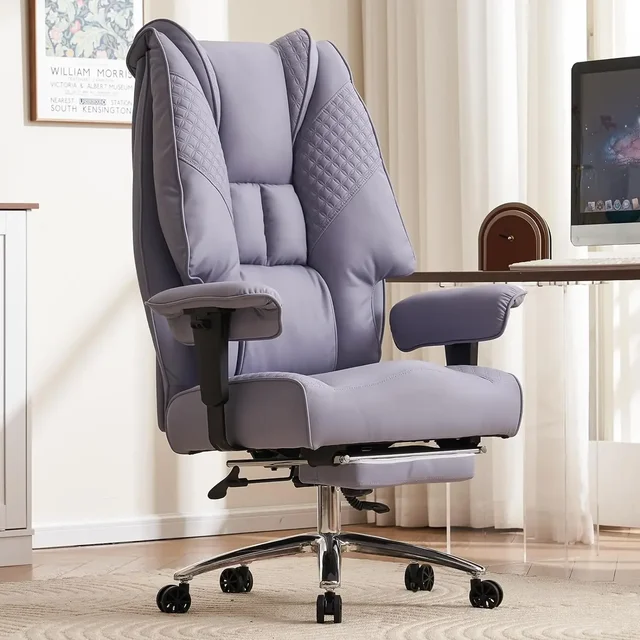
Additional Comfort Features
To take your DIY office chair to the next level, consider adding features that enhance comfort. Memory foam seat cushions can provide excellent support and pressure relief, while adjustable armrests can help alleviate tension in your shoulders. Additionally, incorporating lumbar support is crucial for maintaining good posture. Evaluate what features matter most to you and prioritize them in your design.
Designing Your Chair: Sketching and Planning
Creating a Design Blueprint
Once you have gathered your materials, the next step is to create a design blueprint for your chair. Take measurements of your workspace to ensure the chair fits well with your desk height and overall room layout. Sketch your design, paying attention to dimensions for the seat, backrest, and armrests. Using software tools like SketchUp can help visualize your design and make necessary adjustments before construction begins.
Ergonomic Considerations in Your Design
When designing your chair, prioritize ergonomic principles to ensure comfort and support. The seat height should allow your feet to rest flat on the ground, with knees at a 90-degree angle. The backrest should support the natural curve of your spine, and armrests should be positioned to allow relaxed shoulders. Incorporate adjustable features, if possible, to accommodate different body types and preferences.
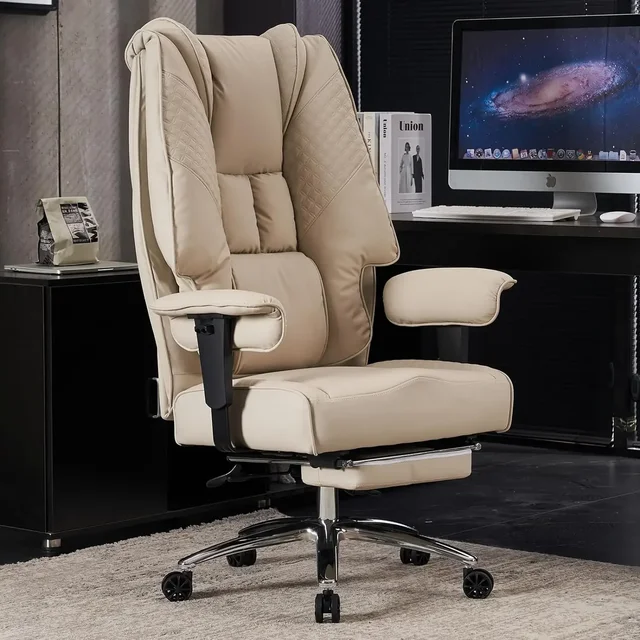
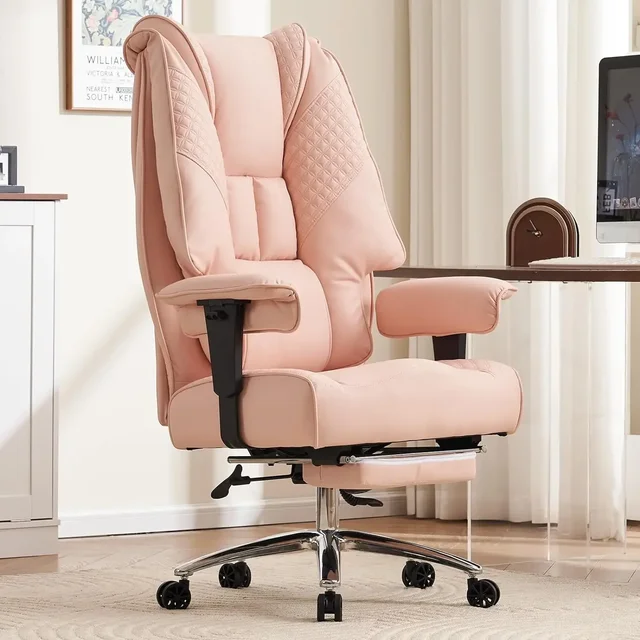
Choosing Aesthetic Elements
Finally, consider the visual appeal of your chair. Select colors, patterns, and materials that complement your workspace. Whether you prefer a minimalist look or something more vibrant, your chair should reflect your personal style. Don’t hesitate to experiment with different fabrics or finishes to achieve the desired effect. Remember, a visually appealing workspace can enhance motivation and creativity.
Step-by-Step Assembly Instructions
Preparing the Base and Frame
Start by cutting the wood or metal to the required dimensions based on your design blueprint. If you’re using wood, sand down any rough edges to prevent splinters. Assemble the base of the chair first, ensuring it is sturdy enough to support the entire structure. If utilizing metal, ensure all joints are securely welded or bolted together. At this stage, double-check all measurements to avoid any discrepancies during assembly.
Attaching the Seat and Backrest
Next, attach the seat cushion to the frame. Use screws or brackets to secure it firmly in place. It’s crucial to ensure that the seat is level and stable. After securing the seat, attach the backrest. This part is essential for providing lumbar support, so ensure it is at the correct angle and height. You may want to test the chair’s stability at this point to ensure everything feels secure.
Adding Armrests and Final Touches
After assembling the main components, it’s time to add the armrests. Ensure they are comfortable and at an appropriate height to support relaxed arms. If your design includes wheels, now is the time to attach them; this added mobility can greatly enhance functionality. Finally, add any upholstery or finishing touches to improve the chair’s appearance and comfort.
Upholstering Your Chair: Tips and Techniques
Selecting Upholstery Fabric
Choosing the right upholstery fabric is key to both comfort and aesthetics. Opt for breathable materials such as cotton or linen for the seat and backrest. If you want something durable and easy to clean, consider synthetic options like polyester. Remember to choose colors and patterns that match your workspace, as this will tie your design together beautifully.
Techniques for Upholstering
Upholstering requires careful techniques to ensure a professional finish. Start by cutting the fabric to size, allowing extra material for wrapping around edges. Use a staple gun to secure the fabric to the underside of the seat and backrest, pulling the fabric tightly to avoid wrinkles. Make sure to fold corners neatly for a clean look. After securing the fabric, trim any excess material, and check for any loose ends or imperfections.
Adding Padding for Extra Comfort
For maximum comfort, consider adding additional padding under the upholstery. Foam cushioning can significantly enhance the feel of your chair, providing softness while maintaining support. Cut the foam to the appropriate size and shape, then attach it to the seat and backrest before covering with fabric. This extra layer will make a noticeable difference in the overall comfort level of your DIY office chair.
Maintaining Your DIY Office Chair
Regular Cleaning and Care
Maintenance is essential for prolonging the life of your DIY office chair. Regularly clean the upholstery using appropriate methods based on the fabric type. For most materials, a damp cloth and mild detergent will do the trick. Avoid harsh chemicals that could damage the fabric. Additionally, periodically check the screws and joints for tightness to ensure stability.
Addressing Wear and Tear
Over time, wear and tear are inevitable. If you notice any scratches or dents on the frame, consider sanding them down and applying touch-up paint or varnish. For upholstery, you can patch small tears or reupholster sections if necessary. By being proactive about maintenance, you can keep your chair looking and feeling great for years to come.
Upgrading Features Over Time
As your needs change or as new ergonomic options become available, you may want to upgrade certain features of your chair. Consider adding more advanced lumbar support or replacing the seat cushion for enhanced comfort. Since you built the chair yourself, modifying it to suit your evolving requirements is straightforward and can further enhance your work experience.
Conclusion: Enjoying Your Customized Workspace
Building your own DIY office chair is a rewarding project that allows you to tailor your workspace according to your specific needs and preferences. By understanding the importance of ergonomics, gathering the right materials, designing thoughtfully, and following the assembly steps, you can create a comfortable and aesthetically pleasing chair. Regular maintenance and potential upgrades will help ensure that your chair remains effective for years to come. Ultimately, a well-constructed DIY office chair can transform your workspace, making it a haven for productivity and creativity. Enjoy the fruits of your labor, and embrace the comfort of your personalized office chair!