
Disassemble an office chair can seem daunting, but with the right tools and guidance, it can be a straightforward process. Whether you’re moving, repairing, or upgrading your chair, knowing how to break it down properly is essential. This guide will walk you through each step to ensure a smooth disassembly experience.
Understanding Your Office Chair
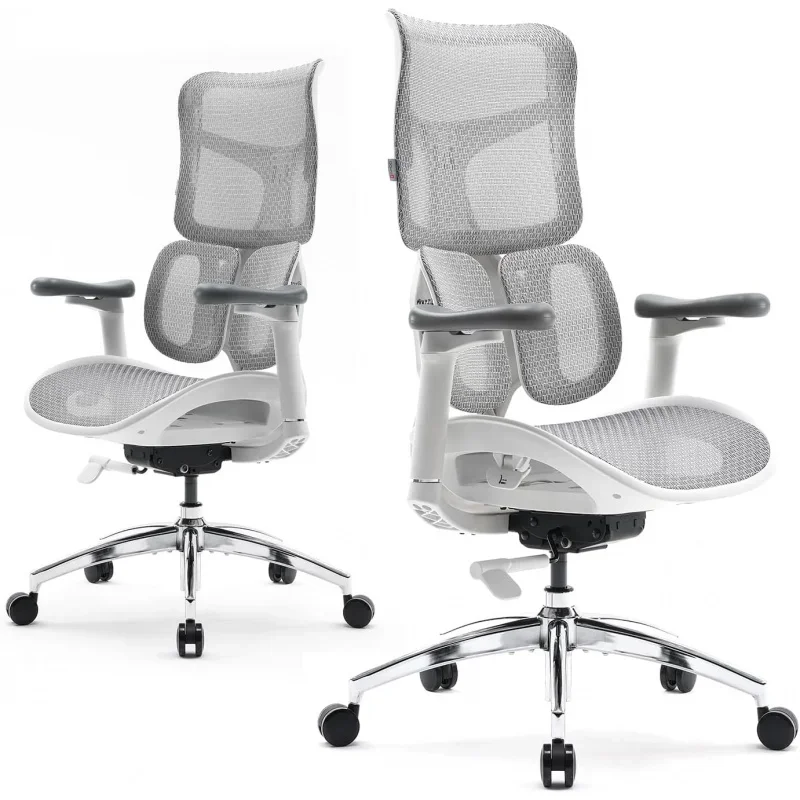
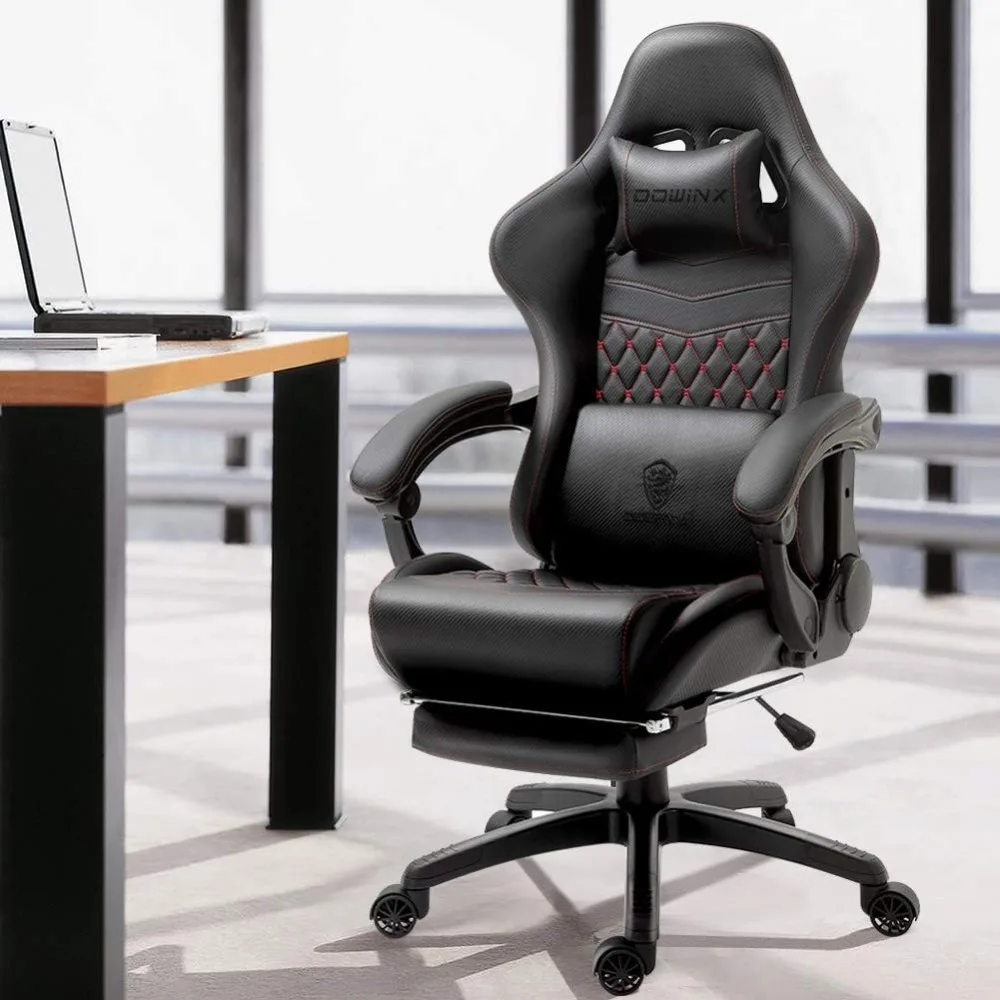
Types of Office Chairs
Before diving into the disassembly process, it’s important to understand the type of office chair you have. Office chairs can range from simple task chairs to more complex ergonomic models. Common types include executive chairs, task chairs, and gaming chairs. Each design may have unique components and assembly methods, which can affect how you approach disassembly. Knowing your chair’s style will help you anticipate the tools needed and the steps required.
Familiarizing Yourself with Components
Once you’ve identified the type of chair, take a moment to familiarize yourself with its components. Most office chairs consist of a seat, backrest, armrests, base, and casters. Some chairs may have additional features like tilt mechanisms or adjustable lumbar support. Understanding these parts will allow you to disassemble your chair methodically and prevent damage during the process.
Gathering Necessary Tools
Essential Tools for Disassembly
To effectively disassemble your office chair, you’ll need a few basic tools. A Phillips screwdriver and a flathead screwdriver are typically essential, as most chairs are assembled with screws. Additionally, a hex key or Allen wrench may be necessary for models that use hex screws. Having a pair of pliers handy can also be helpful for gripping stubborn parts.
Preparing Your Workspace
Before starting the disassembly process, it’s crucial to prepare your workspace. Find a clean, flat surface to work on, ensuring you have enough room to lay out the chair components as you remove them. A soft mat or carpet can help prevent scratches on the chair and your floor. Consider using a container or bag to keep screws and small parts organized, making reassembly easier later on.
Step-by-Step Disassembly Process
Removing the Armrests
The first step in disassemble your office chair is typically to remove the armrests. Start by locating the screws or bolts that secure the armrests to the seat. Use your screwdriver or hex key to remove these fasteners. Once the screws are out, gently pull the armrests away from the seat. If they seem stuck, check for any additional screws or clips that might be holding them in place. Set the armrests aside in your prepared workspace.
Detaching the Backrest
Next, you’ll want to detach the backrest from the seat. Look for the bolts or screws that connect the backrest to the seat base. In most chairs, these fasteners are located at the rear of the seat. Using your screwdriver, carefully remove these screws, and gently pull the backrest away from the seat. Be cautious, as some chairs have a tilting mechanism that might require additional steps for detachment. If your chair has a mechanism, consult the manufacturer’s guide for specific instructions.
Taking Off the Seat Cushion
Once the backrest is removed, it’s time to take off the seat cushion. Many office chairs have the seat cushion attached with screws or clips. Flip the chair upside down to access the underside of the seat. Look for any screws securing the cushion and remove them. In some cases, the cushion may be glued or stapled, requiring more effort to detach. If that’s the case, gently pry it off using a flathead screwdriver, taking care not to damage the seat itself.
Disassembling the Base
After removing the seat cushion, focus on disassembling the chair base. The base is usually attached to the gas lift cylinder, which may require unscrewing or releasing a clip. If your chair has wheels, they often pop out easily, but some might be secured with screws. Gently pull out each caster while supporting the base to prevent damage. If there are any screws securing the base to the cylinder, remove them carefully.
Removing the Gas Lift Cylinder
With the base disassembled, the next step is to remove the gas lift cylinder. Most cylinders are simply held in place by friction, but some may have a retaining clip. If you see a clip, use your pliers to remove it before attempting to pull the cylinder out. Gently wiggle the cylinder as you pull it out; if it’s stuck, avoid using excessive force, as this could damage the mechanism.
Organizing Your Parts
As you disassemble the chair, it’s crucial to keep everything organized. Place each component in separate bags or containers labeled with its respective part. This practice will save you time during reassembly, as you’ll know exactly where each screw and part belongs. Additionally, taking photos of each step can help you visualize the assembly process later on, ensuring you don’t miss any steps.

Troubleshooting Common Issues
Stuck or Stubborn Screws
During disassembly, you may encounter stubborn screws that are difficult to remove. If a screw is stripped or stuck, try using a rubber band to improve grip, or apply a penetrating oil to loosen it. Allow the oil to sit for a few minutes before attempting to remove the screw again. If necessary, use a screw extractor kit for stripped screws.
Damage Prevention Tips
To avoid damaging your chair during disassembly, always use the correct tools and apply gentle pressure. If a part seems resistant, double-check for hidden screws or clips. Be mindful of the materials involved; for example, plastic components can break if forced. Taking your time and being patient will help you successfully disassemble your chair without any damage.
Cleaning and Maintenance
Cleaning Components During Disassembly
Disassembling your office chair presents a perfect opportunity to clean each component thoroughly. Use a damp cloth to wipe down the seat, backrest, and armrests, removing dust and grime that may have accumulated over time. For the base and casters, consider using a mild detergent and warm water to eliminate stubborn stains or dirt. Allow all parts to dry completely before reassembly.
Inspecting for Wear and Tear
While disassembling, take the time to inspect each component for signs of wear and tear. Check the fabric for any rips or stains, and look for cracks in the plastic or metal parts. If you notice any significant damage, it might be worth considering repairs or replacements before putting the chair back together. Addressing these issues now can extend the lifespan of your chair.
Reassembly Process
Step-by-Step Reassembly
When you’re ready to reassemble the chair, refer to your organized parts and any photos taken during disassembly. Start with the gas lift cylinder, inserting it back into the base. Secure it with any retaining clips if necessary. Next, reattach the base to the seat, ensuring all screws are tightened appropriately.
Final Adjustments and Testing
After reassembling, take a moment to adjust the chair to your preferred settings. Test the functionality of the gas lift and any tilt mechanisms to ensure everything is working smoothly. Make sure the wheels roll freely, and the armrests are securely attached. Conduct a thorough inspection of your chair to confirm that all components are correctly assembled and secure.
Conclusion: Benefits of Knowing How to Disassemble
Understanding how to disassemble your office chair can save you time and money in the long run. Whether for repairs, cleaning, or upgrades, being familiar with the components and processes ensures you can maintain your chair effectively. With this step-by-step guide, you’re now equipped with the knowledge to disassemble and reassemble your office chair with confidence. Embrace the DIY spirit and enjoy a chair that feels fresh and new!