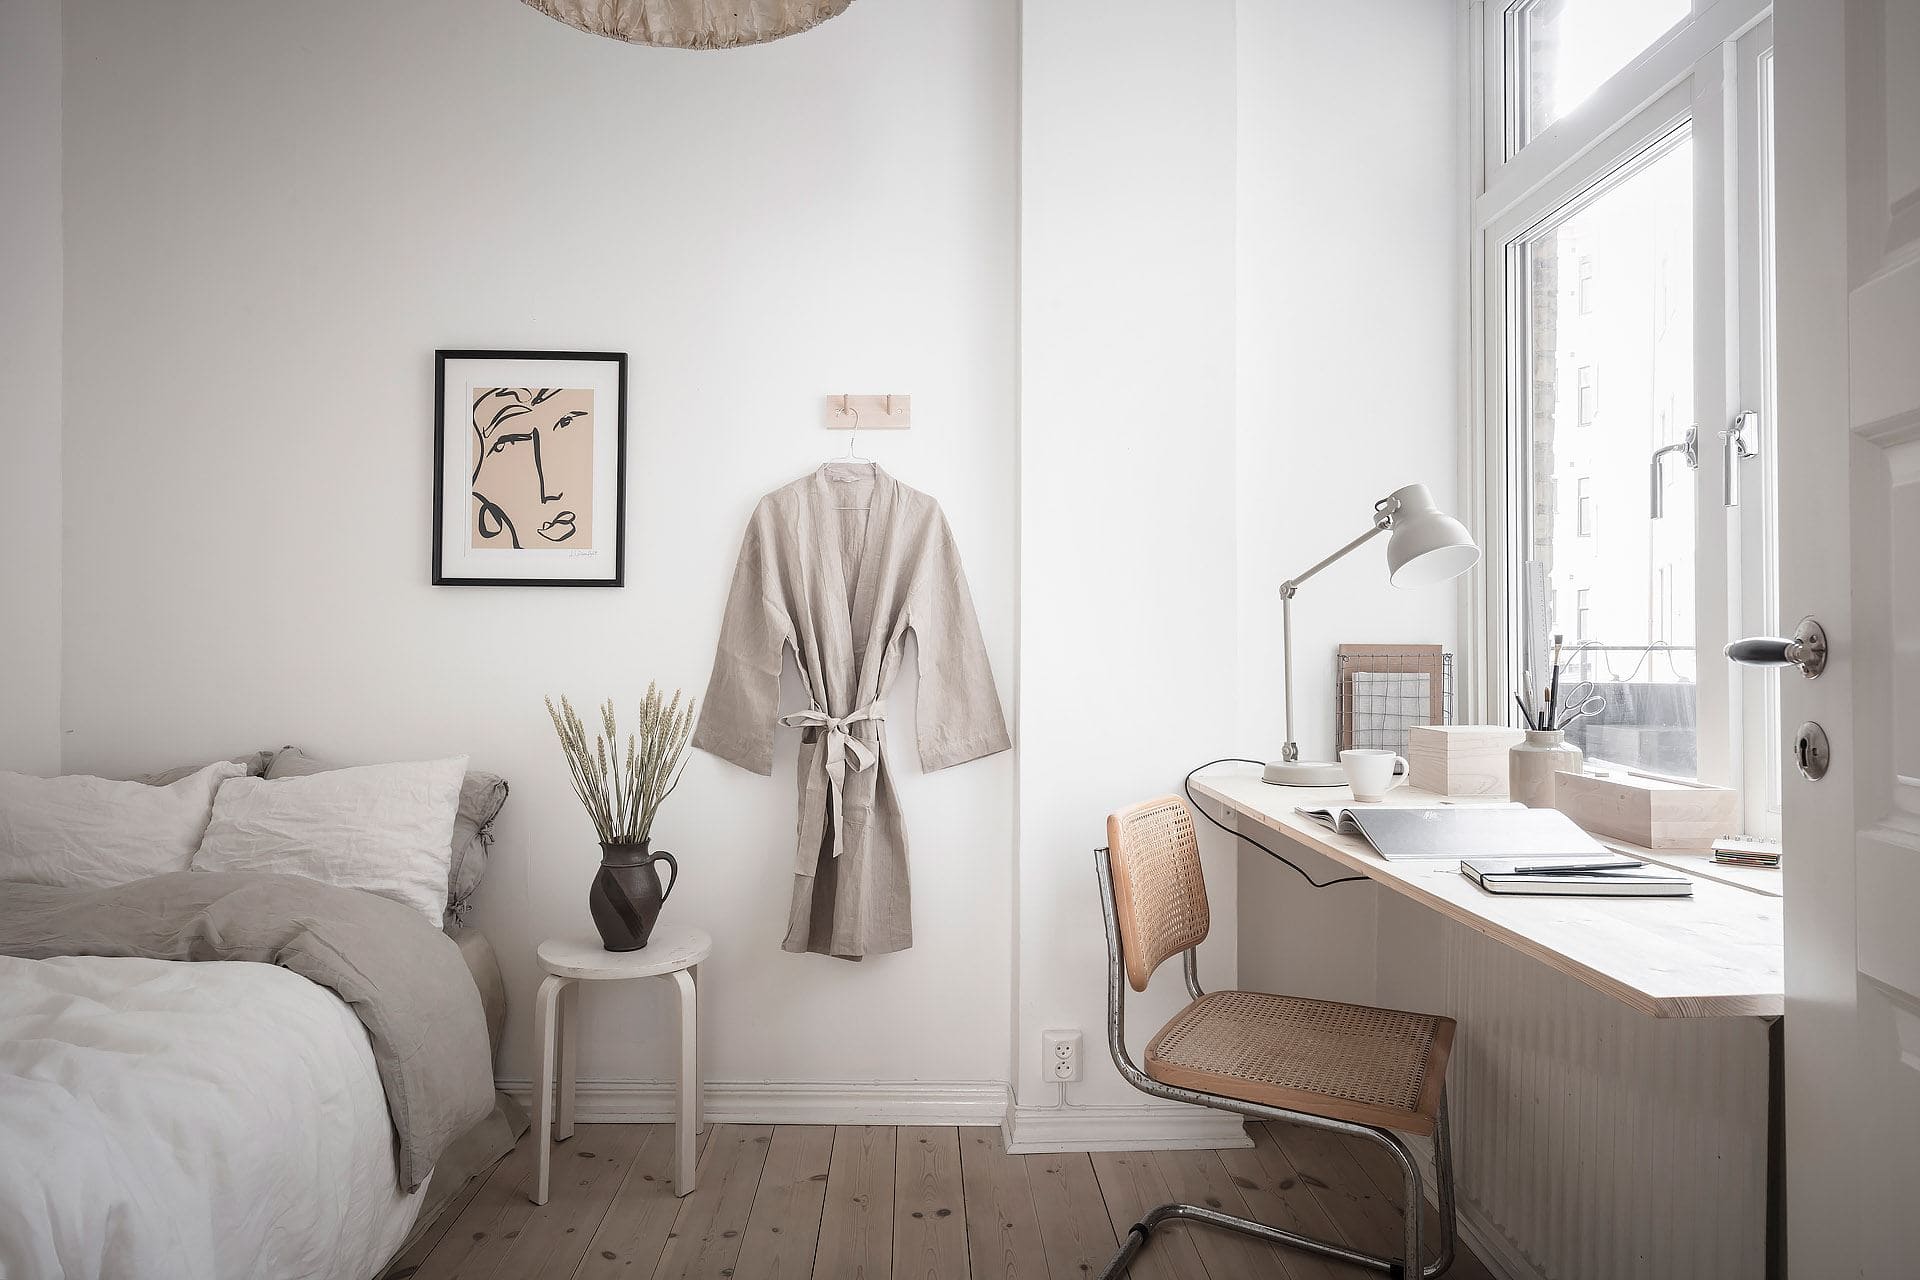
1. Introduction: Transforming Your Workspace
Your workspace should be a reflection of your personality and style, inspiring creativity and productivity every time you sit down to work. One way to revitalize your workspace is by giving your desk a fresh coat of paint. Whether you’re looking to add a pop of color or create a cohesive look with your existing decor, painting your desk can breathe new life into your workspace. In this guide, we’ll explore the step-by-step process of painting a desk, from preparation and priming to painting and finishing touches. Get ready to transform your workspace and unleash your creativity with a freshly painted desk!
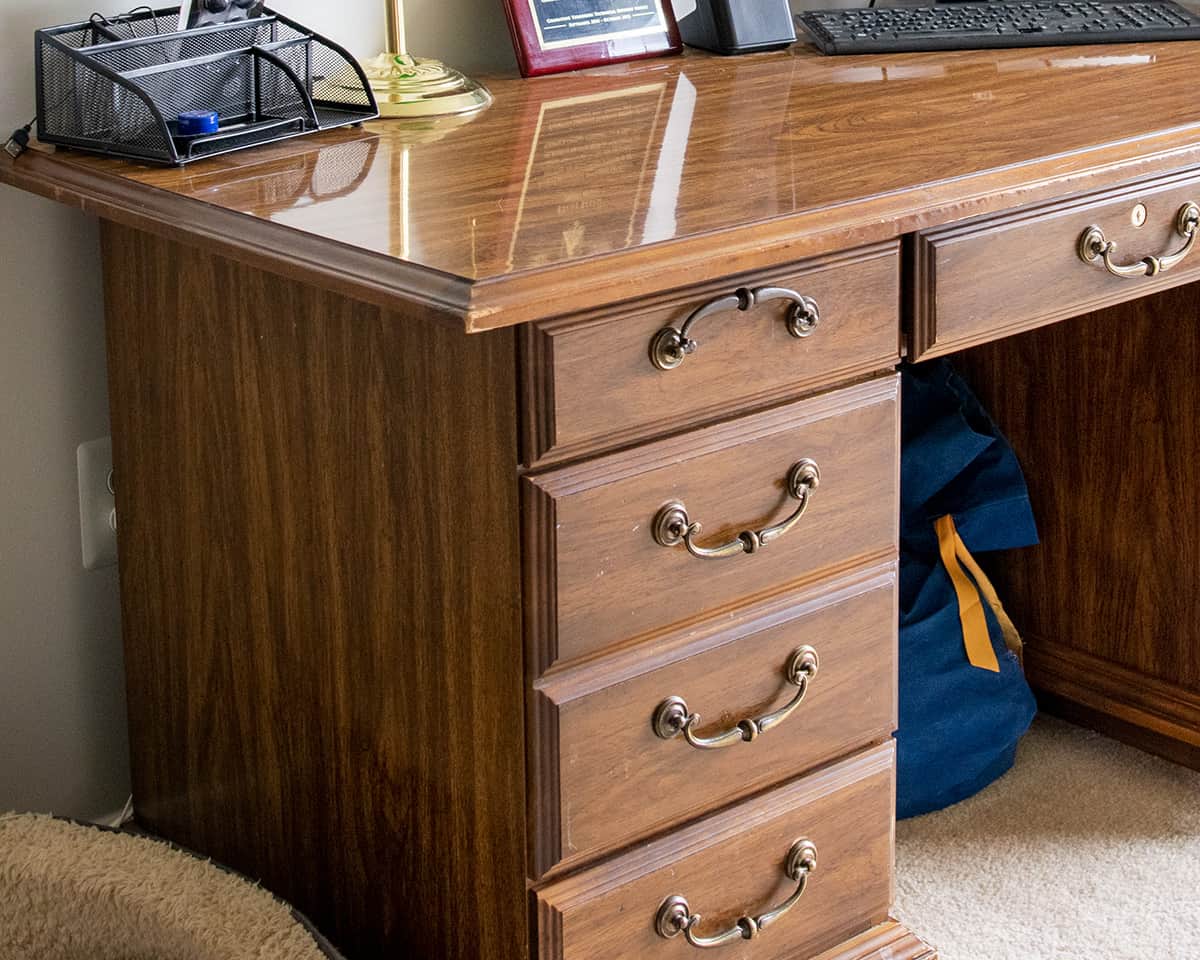
2. Choosing the Right Desk: Assessing Materials and Condition
Before you begin the painting process, it’s essential to assess your desk’s material and condition to ensure optimal results. Wood desks are ideal candidates for painting, as they provide a smooth and durable surface that readily accepts paint. However, laminate or metal desks may require additional preparation, such as sanding or priming, to promote paint adhesion and durability. Additionally, inspect your desk for any damage or imperfections that may need to be addressed before painting, such as scratches, dents, or loose hardware. By starting with a clean and structurally sound surface, you’ll achieve professional-looking results that stand the test of time.
3. Gathering Supplies: Essential Tools and Materials
To paint your desk effectively, you’ll need a variety of tools and materials to prepare the surface, apply paint, and protect surrounding areas. Here’s a list of essential supplies to gather before you begin:
- Sandpaper or sanding block (medium and fine grit)
- Tack cloth or damp cloth
- Painter’s tape
- Drop cloths or plastic sheeting
- Primer suitable for your desk’s material (e.g., wood primer, metal primer)
- Paintbrushes or foam rollers
- Paint in your desired color and finish
- Clear topcoat or sealant (optional)
- Stir sticks and paint trays
- Protective gloves and respirator mask (for safety)
By assembling these supplies in advance, you’ll have everything you need to tackle each step of the painting process efficiently and effectively.
4. Preparing the Workspace: Setting the Stage for Success
Before you start painting, it’s essential to prepare your workspace to minimize mess and ensure a smooth painting process. Start by clearing your desk of any items, such as papers, office supplies, or electronics, and relocating them to a safe area. Next, cover surrounding surfaces, such as floors and walls, with drop cloths or plastic sheeting to protect them from paint splatter and spills. Use painter’s tape to mask off any areas you don’t want to paint, such as drawer pulls or hardware. Finally, ensure adequate ventilation in your workspace by opening windows or using a fan to circulate air and reduce fumes.
5. Sanding and Cleaning: Creating a Smooth Surface
Once your workspace is prepared, it’s time to prepare the desk surface for painting. Begin by sanding the desk with medium-grit sandpaper or a sanding block to remove any existing finish, roughen the surface, and promote paint adhesion. Pay special attention to areas with visible damage or imperfections, such as scratches or dents, and sand them smooth. After sanding, wipe down the entire desk surface with a tack cloth or damp cloth to remove dust and debris. This step ensures that your desk is clean and free of any contaminants that could affect the quality of the paint finish.
6. Applying Primer: Setting the Foundation for Paint
Priming is a crucial step in the painting process, especially for surfaces that are not naturally porous, such as laminate or metal. Apply a coat of primer suitable for your desk’s material, following the manufacturer’s instructions for application and drying times. Use a high-quality paintbrush or foam roller to apply the primer evenly, working in smooth, overlapping strokes to cover the entire surface. Allow the primer to dry completely before proceeding to the next step. Primer not only helps the paint adhere better to the surface but also provides additional durability and coverage, ensuring a long-lasting finish.
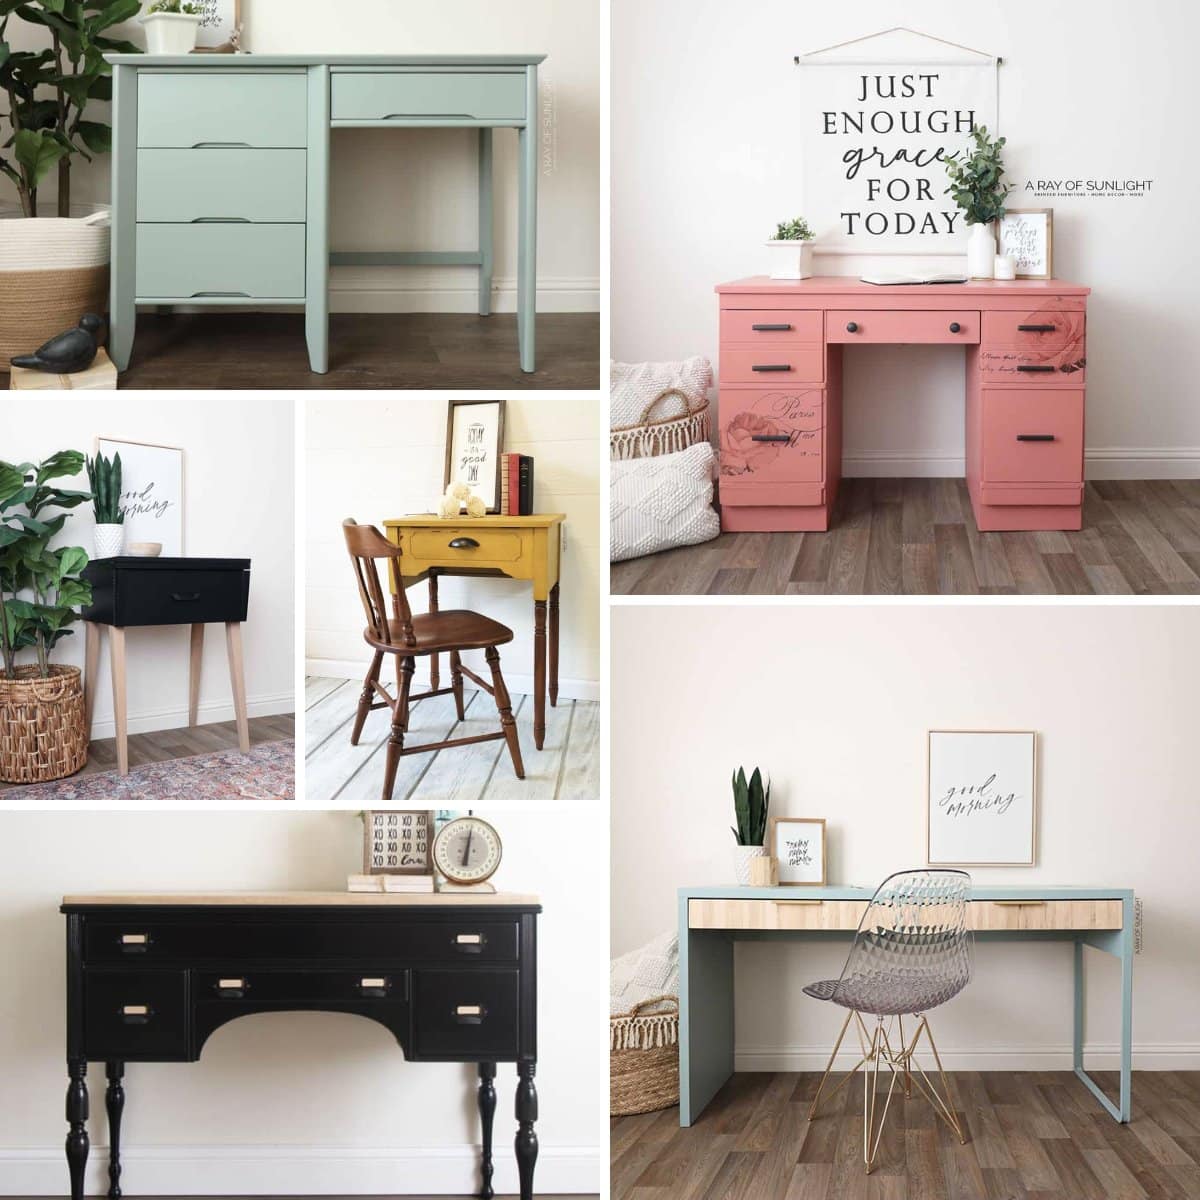
7. Painting the Desk: Adding Color and Personality
With the primer dry and the surface prepared, it’s time to apply the paint to your desk. Choose a high-quality paint in your desired color and finish, such as satin, semi-gloss, or matte, depending on your preference and the style of your workspace. Stir the paint thoroughly with a stir stick to ensure an even consistency, then pour it into a paint tray for easy application. Use a paintbrush or foam roller to apply the paint to the desk surface, working in long, overlapping strokes to achieve uniform coverage. Be sure to apply multiple thin coats of paint rather than a single thick coat, allowing each coat to dry completely before applying the next.
8. Adding Finishing Touches: Sealing and Protecting the Surface
Once you’ve achieved the desired color and coverage, consider adding a clear topcoat or sealant to protect the painted surface and enhance its durability. Choose a sealant suitable for your desk’s material and the type of paint you used, such as a water-based polyurethane for wood desks or a clear enamel for metal desks. Apply the sealant according to the manufacturer’s instructions, using a clean paintbrush or foam roller to achieve an even coat. Allow the sealant to dry completely before reassembling your desk and returning it to your workspace. With the addition of a protective topcoat, your freshly painted desk will be ready to withstand daily use and maintain its beauty for years to come.
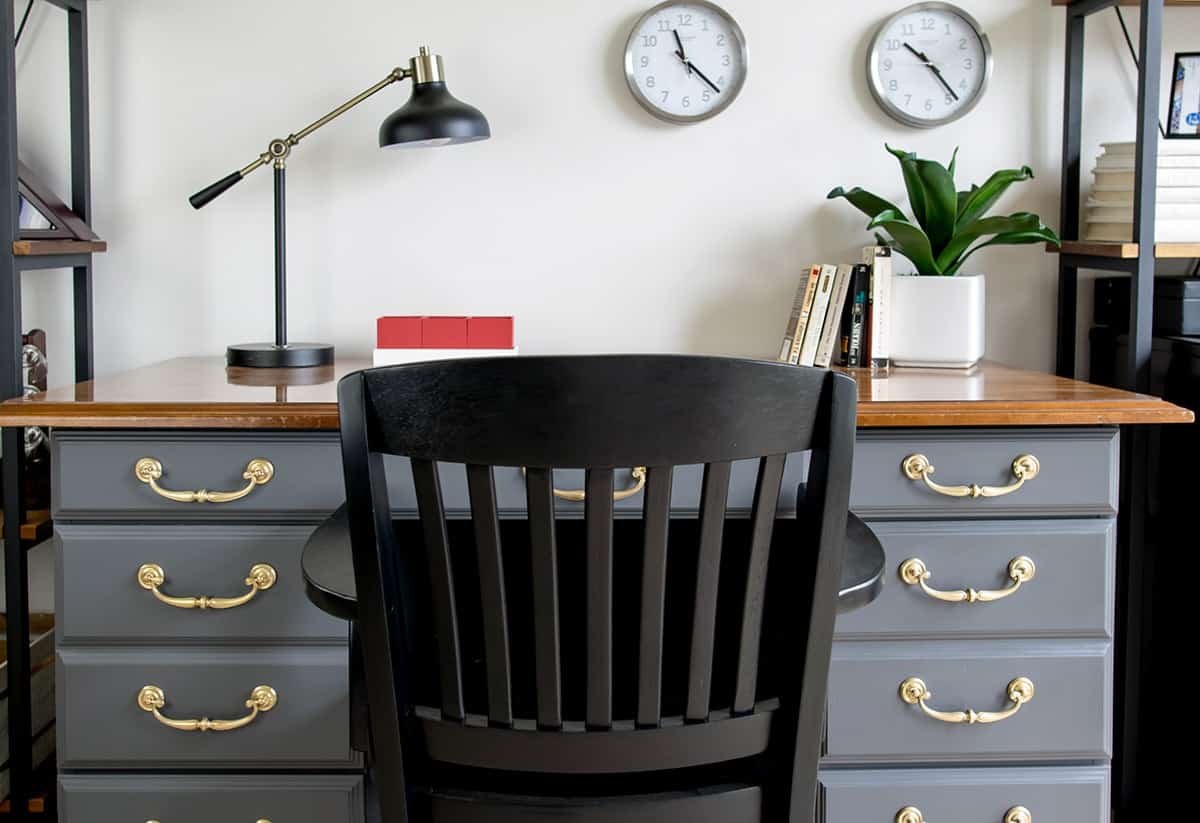
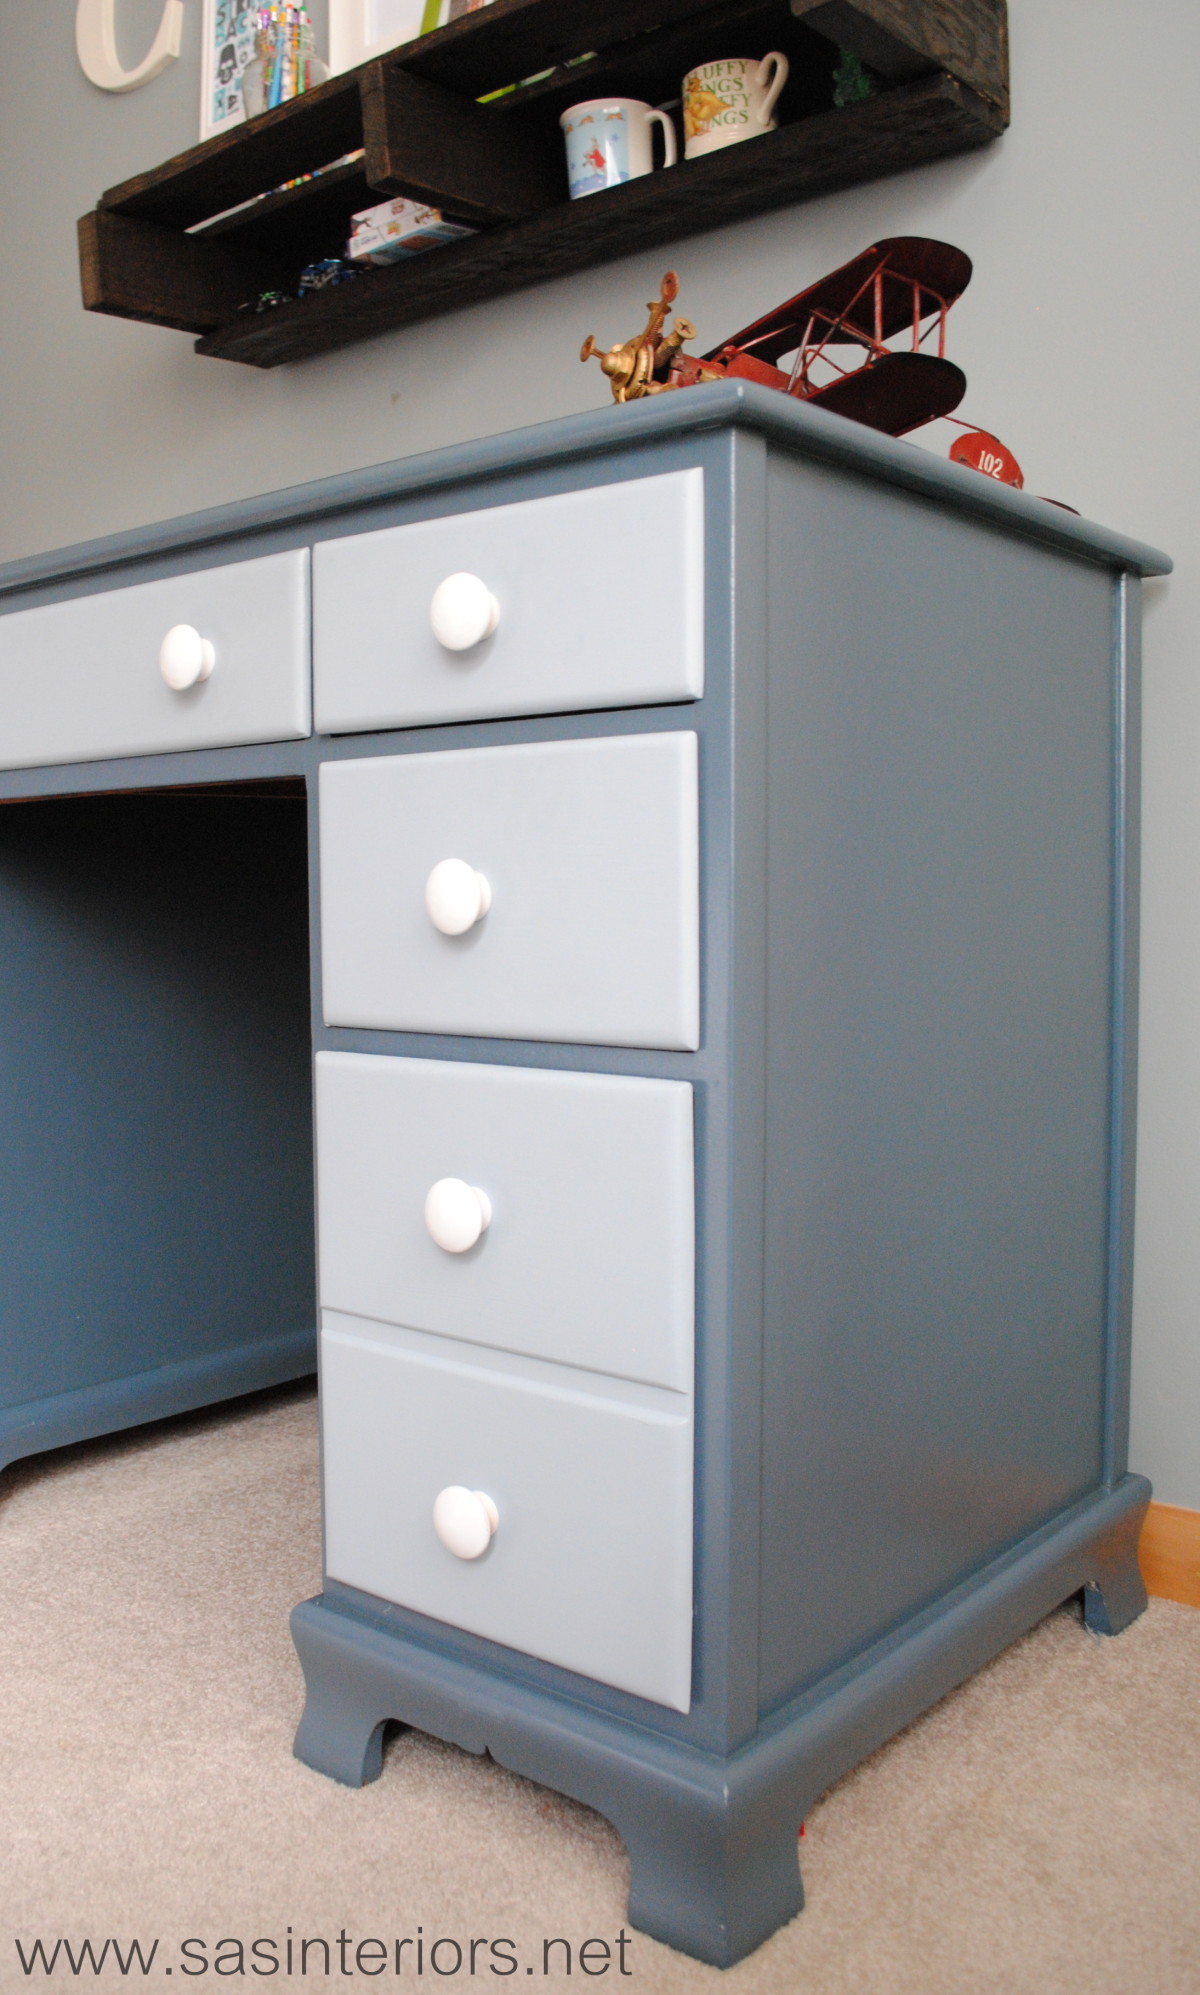
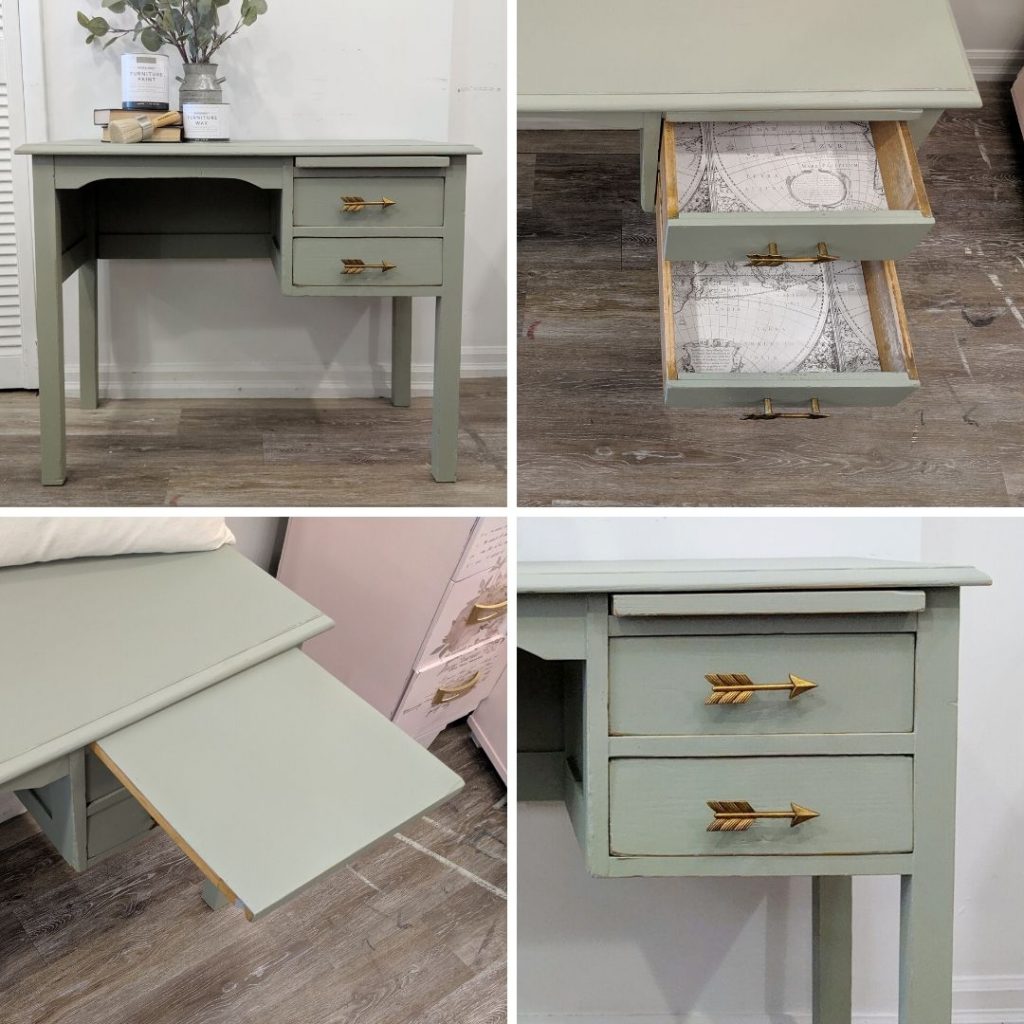
9. Reassembling and Enjoying Your Revamped Workspace
Once the paint and sealant have dried thoroughly, it’s time to reassemble your desk and put the finishing touches on your revamped workspace. Carefully reinstall any hardware, such as drawer pulls or knobs, and organize your desk accessories and supplies to create an inviting and functional workspace. Take a moment to admire your handiwork and bask in the satisfaction of transforming your desk from drab to fab. With a fresh coat of paint and a few simple steps, you’ve breathed new life into your workspace and created a personalized environment that inspires creativity and productivity every time you sit down to work.