Introduction
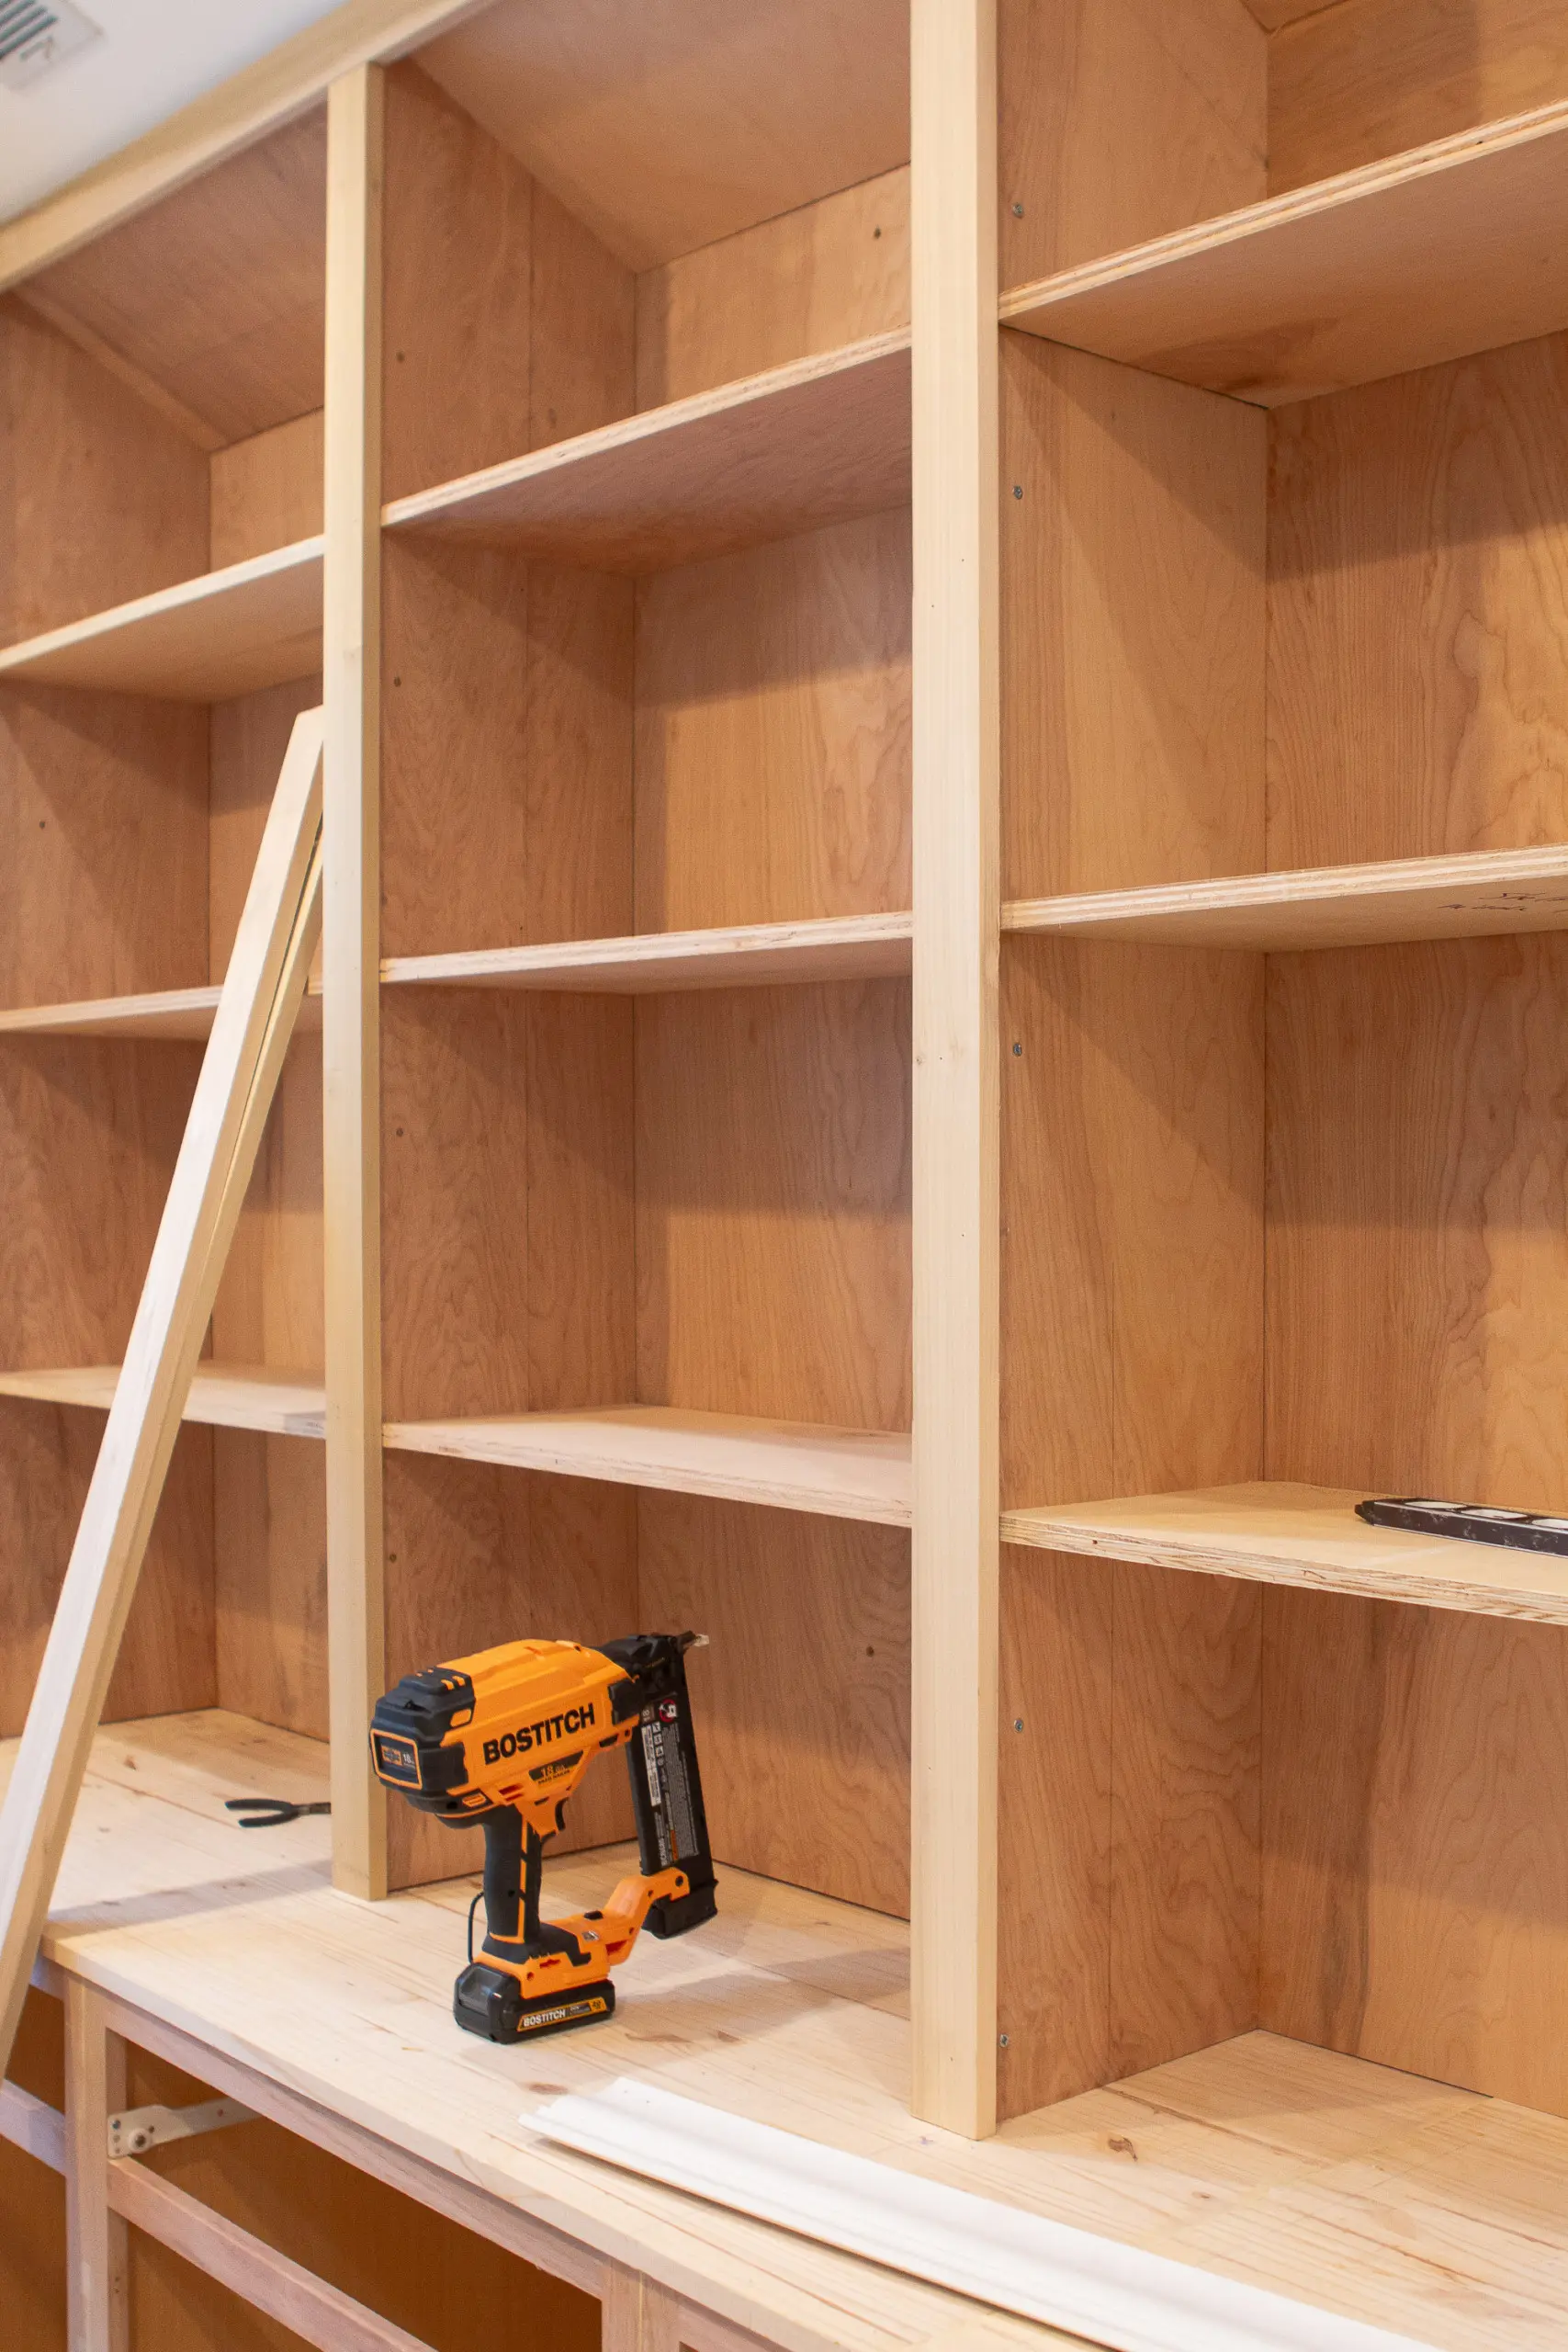
Creating a bookshelf is not just about storage; it’s about crafting a piece of furniture that reflects your personality and style. Whether you’re an avid reader or simply want to display your favorite collectibles, building your own bookshelf allows you to tailor it to your needs and preferences. In this guide, we’ll explore various tips and tricks to help DIY enthusiasts craft the perfect bookshelf.
Designing Your Bookshelf
Before you start building, it’s essential to plan the design of your bookshelf. Consider factors such as the available space, the number of books or items you want to store, and the overall aesthetic you want to achieve.

Choose the Right Materials
Selecting the right materials is crucial for both the durability and appearance of your bookshelf. Options range from traditional wood to modern metal or even repurposed materials like crates or pallets. Ensure that your chosen materials align with your design vision and budget.
Measuring and Planning
Accurate measurements are key to a successful DIY project. Take precise measurements of the space where the bookshelf will be placed, accounting for factors like ceiling height and any obstructions. Use these measurements to create a detailed plan or blueprint for your bookshelf.
Selecting Tools and Equipment
Having the right tools can make the construction process much smoother. Basic tools like a saw, drill, level, and measuring tape are essential, but depending on your design, you may need additional equipment such as a router or sander. Invest in quality tools to ensure precision and safety.
Building Techniques
There are various techniques for constructing a bookshelf, ranging from simple to complex. Choose a method that aligns with your skill level and desired outcome. Common techniques include basic carpentry, joinery, and even modular or adjustable designs.
Customization Options
One of the advantages of DIY bookshelf projects is the ability to customize the design to suit your preferences. Consider adding features like adjustable shelves, built-in lighting, or decorative elements such as molding or trim. Personal touches like paint or stain can also enhance the overall look of your bookshelf.
Assembly and Installation
Once you’ve constructed the individual components of your bookshelf, it’s time to assemble them and install the unit in its designated space. Take care to follow the assembly instructions closely, ensuring that everything fits together securely. Use anchors or brackets to secure the bookshelf to the wall for added stability, especially if it’s tall or heavy.
Finishing Touches
The finishing touches can elevate your bookshelf from functional to fabulous. Sand any rough edges and apply a coat of paint, stain, or sealant to protect the wood and enhance its appearance. Consider adding decorative hardware such as knobs or handles for a polished look.
Organizing Your Bookshelf
Once your DIY bookshelf is complete, it’s time to arrange your books and belongings in a way that is both functional and visually pleasing. Consider organizing items by category, size, or color to create a cohesive and inviting display.
Maintaining Your Bookshelf
Regular maintenance will help keep your DIY bookshelf looking its best for years to come. Dust the shelves and surfaces regularly, and periodically check for signs of wear or damage. Make any necessary repairs or touch-ups promptly to prevent further deterioration.
Conclusion
Crafting the perfect bookshelf is a rewarding DIY project that allows you to showcase your creativity and woodworking skills. By following these tips and tricks, you can design and build a bookshelf that not only serves its practical purpose but also adds beauty and character to your home. So roll up your sleeves, gather your tools, and get ready to create a masterpiece that will hold your cherished books and treasures for years to come.


