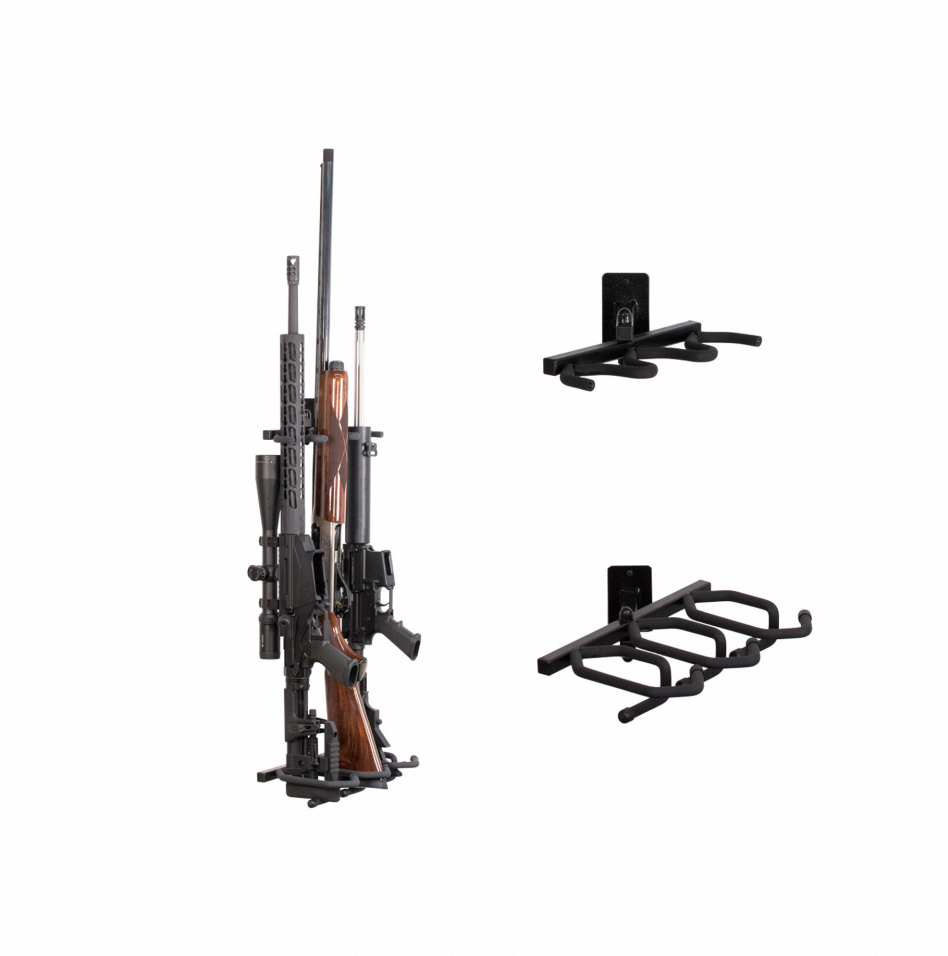
Properly cleaning and maintaining your gun rack is essential to ensure the longevity and functionality of your firearms. A well-maintained gun rack not only keeps your firearms organized but also protects them from damage and rust.
Step 1: Empty the gun rack
Before starting the cleaning process, remove all firearms and accessories from the gun rack. This ensures that you have unrestricted access to all parts and corners of the rack.
Step 2: Dusting and vacuuming
Using a soft brush or a microfiber cloth, dust off the entire surface of the gun rack, including the shelves, supports, and any decorative elements. Pay close attention to the corners and crevices where dust tends to accumulate. After dusting, use a vacuum cleaner with a brush attachment to remove any remaining debris or dirt.
Step 3: Inspect for damage
While cleaning, carefully inspect the gun rack for any signs of damage or wear. Look for cracks, loose screws, or any other issues that may compromise the structural integrity of the rack. If you notice any damage, repair or replace the affected parts before continuing with the cleaning process.
Step 4: Cleaning solution preparation
Prepare a mild cleaning solution by mixing a few drops of dish soap or a specialized gun rack cleaner with warm water. Avoid using harsh chemicals or abrasive cleaners as they can damage the finish of the gun rack. Test the cleaning solution on a small, inconspicuous area of the rack to ensure that it does not cause any discoloration or damage.
Step 5: Wipe down the gun rack
Dip a soft cloth or sponge into the cleaning solution and wring out any excess liquid. Gently wipe down the entire surface of the gun rack, paying special attention to areas with visible stains or dirt buildup. For stubborn stains, use a soft-bristle brush to scrub the affected area, taking care not to scratch or damage the finish. Rinse the cloth or sponge frequently in clean water to prevent the spread of dirt.
Step 6: Drying the gun rack
After wiping down the gun rack, use a clean, dry cloth to remove any excess moisture. Make sure to dry all parts of the rack thoroughly to prevent the formation of rust or water stains. If necessary, use a hairdryer on the lowest heat setting to speed up the drying process, ensuring that the gun rack is completely dry.
Step 7: Lubrication and rust prevention
To maintain the functionality of your gun rack, apply a thin layer of gun oil or a specialized rust prevention product to all metal parts. This helps protect against moisture and corrosion, ensuring that your firearms remain in optimal condition. Follow the manufacturer’s instructions for proper application and use caution when handling any lubricants or rust prevention products.
Step 8: Reassemble and organize
Once the gun rack is completely dry and lubricated, reassemble it according to the manufacturer’s instructions. Make sure all screws and fasteners are tightened securely. Once reassembled, organize your firearms and accessories on the rack, ensuring that they are properly secured and arranged in a safe and accessible manner.
Step 9: Regular maintenance
To keep your gun rack in top condition, make it a habit to regularly inspect, clean, and maintain it. Dust the rack periodically and wipe it down with a clean, damp cloth to remove any surface dirt. Check for any signs of damage or wear and address them promptly. Additionally, lubricate the metal parts and reapply rust prevention products as needed.
By following these steps, you can properly clean and maintain your gun rack, ensuring its longevity and functionality. Remember to always prioritize safety when handling firearms, and consult the manufacturer’s instructions for any specific cleaning or maintenance recommendations. With proper care, your gun rack will provide a secure and organized storage solution for your firearms for years to come.