Removing Sharpie marks from a whiteboard can be a daunting task, especially since these permanent markers are designed to be long-lasting. However, with the right techniques and tools, you can restore your whiteboard to its original state. In this article, we will explore various methods to effectively remove Sharpie marks, ensuring your whiteboard remains clean and functional for all your writing needs.
Understanding the Challenge of Sharpie on Whiteboards
The Nature of Sharpie Ink
Sharpie markers contain a special type of ink that is designed to be permanent. This ink is made from a combination of dyes and solvents, which makes it adhere strongly to surfaces. When applied to non-porous materials like whiteboards, the ink can create a stubborn stain that is not easily removed with regular cleaning methods. Understanding this can help you choose the most effective removal techniques.
Why Traditional Cleaners Often Fail
Most traditional whiteboard cleaners are formulated to remove dry-erase markers, not permanent ink. These cleaners may not be effective against Sharpie marks, which is why you might find yourself struggling to get rid of those unsightly stains. This distinction is crucial, as it emphasizes the need for specialized techniques or materials to tackle Sharpie ink effectively.
Essential Tools and Materials for Removal
Common Household Items
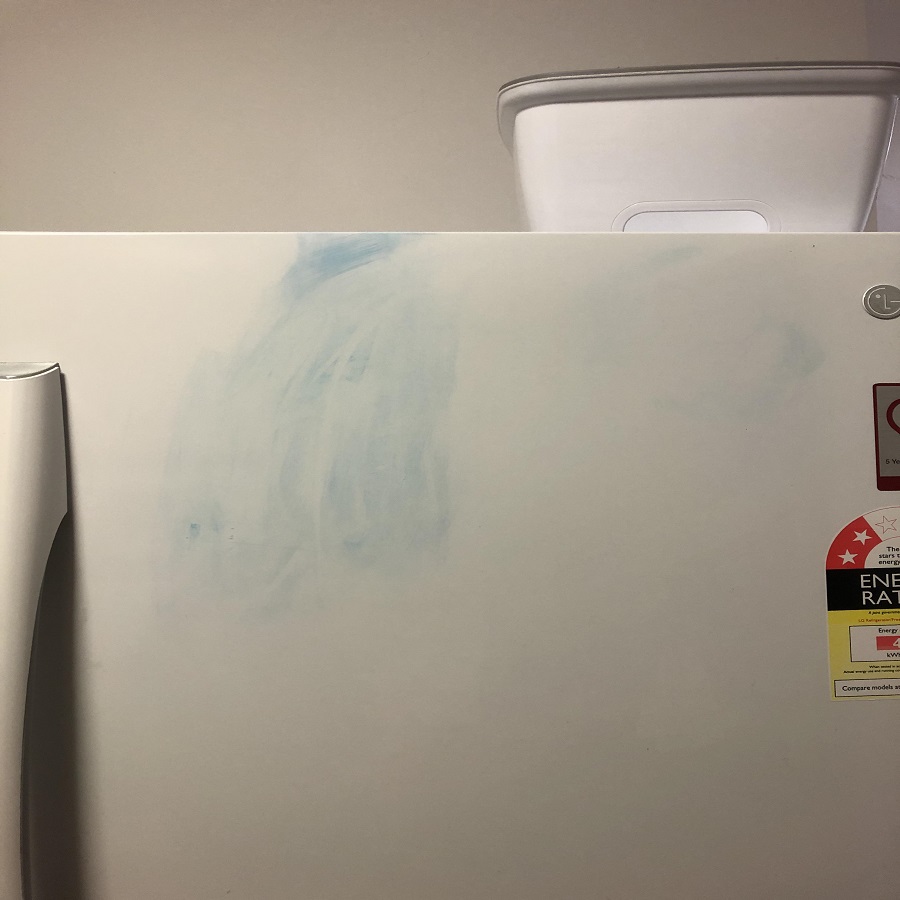
Before resorting to commercial products, you might want to try some common household items that can help remove Sharpie marks. Isopropyl alcohol, for instance, is a powerful solvent that can break down the ink. Additionally, vinegar and baking soda can also serve as effective alternatives for less stubborn stains.
Commercial Products
If household items don’t do the trick, there are several commercial products specifically designed to remove permanent marker stains. These include rubbing alcohol wipes, acetone, and specialized ink removers. It’s advisable to check the label to ensure compatibility with whiteboard surfaces before application.
Method 1: Using Isopropyl Alcohol
Preparing the Area
Before you begin, ensure that the whiteboard is clean and free from any dust or debris. This will prevent any additional scratches or damage during the cleaning process. You may want to lay down a cloth or paper towels to catch any drips from the alcohol.
Applying the Alcohol
Soak a cotton ball or clean cloth in isopropyl alcohol. Gently dab the stained area, allowing the alcohol to penetrate the Sharpie ink. Avoid rubbing too hard, as this might spread the ink or damage the surface of the whiteboard. Let it sit for a minute or two to break down the ink.
Wiping Away the Ink
After the alcohol has had time to work, use a clean section of the cloth to wipe away the ink. You may need to repeat this process several times, depending on the severity of the stain. Once the ink is removed, wipe the area with a damp cloth to remove any residue from the alcohol.
Method 2: Using Dry-Erase Marker
Understanding the Technique
An interesting and often overlooked method for removing Sharpie marks is to use a dry-erase marker. This technique involves layering the dry-erase ink over the Sharpie marks. The solvent in the dry-erase ink can help dissolve the permanent ink, making it easier to wipe away.
Applying the Dry-Erase Marker
Choose a dry-erase marker that is darker than the Sharpie mark. Trace over the Sharpie stain completely, ensuring that the area is well-covered. Allow the ink to sit for a few moments to let it penetrate the Sharpie mark.
Wiping Off the Marks
Using a dry-erase eraser or a clean cloth, wipe the area gently. You should notice that the Sharpie ink comes off with the dry-erase marker ink. This method is particularly effective for fresh marks but may require multiple applications for older stains.
Method 3: Utilizing Acetone
Safety Precautions
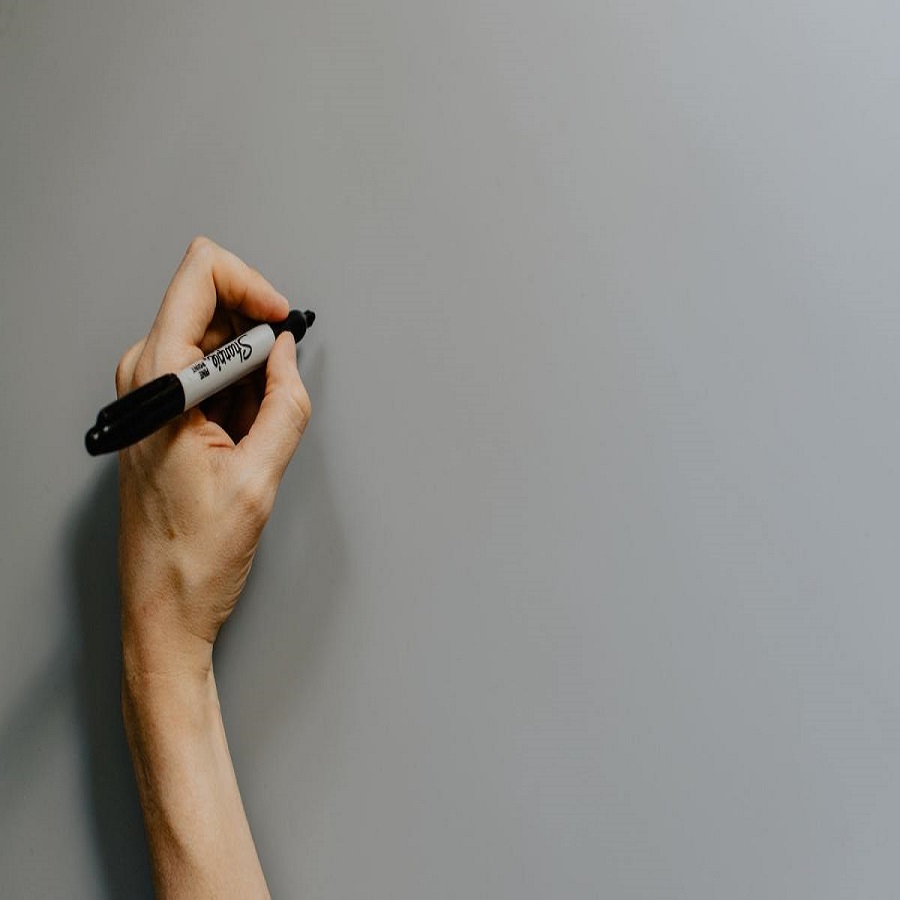
When using acetone, it’s essential to take safety precautions due to its potent chemical properties. Work in a well-ventilated area and consider wearing gloves to protect your skin. Always test the acetone on a small, inconspicuous area of the whiteboard first to ensure it doesn’t damage the surface.
Applying the Acetone
Dampen a cloth or cotton ball with acetone. Similar to the isopropyl alcohol method, gently dab the stained area without rubbing. Allow the acetone to work for a short period, which will help dissolve the Sharpie ink.
Cleaning Up
After a few moments, use a clean cloth to wipe away the ink. You may find that the Sharpie stains lift off more easily compared to using alcohol. Once removed, clean the area with a damp cloth to eliminate any remaining acetone residue.
Method 4: Exploring Vinegar and Baking Soda
The Power of Vinegar
Vinegar is a versatile cleaning agent with natural properties that can break down tough stains. When combined with baking soda, it creates a powerful cleaning solution that can tackle Sharpie marks effectively.
Creating the Paste
To use this method, mix equal parts of vinegar and baking soda to form a paste. Apply the paste directly onto the Sharpie marks, covering the area thoroughly. The reaction between the vinegar and baking soda will help lift the ink from the surface.
Scrubbing and Wiping
After allowing the paste to sit for about five minutes, use a soft cloth to scrub the area gently. The abrasive nature of the baking soda will help lift the ink without damaging the whiteboard. Once the marks are gone, wipe the area clean with a damp cloth to remove any residue from the paste.
Preventative Measures to Avoid Future Stains
Choosing the Right Markers
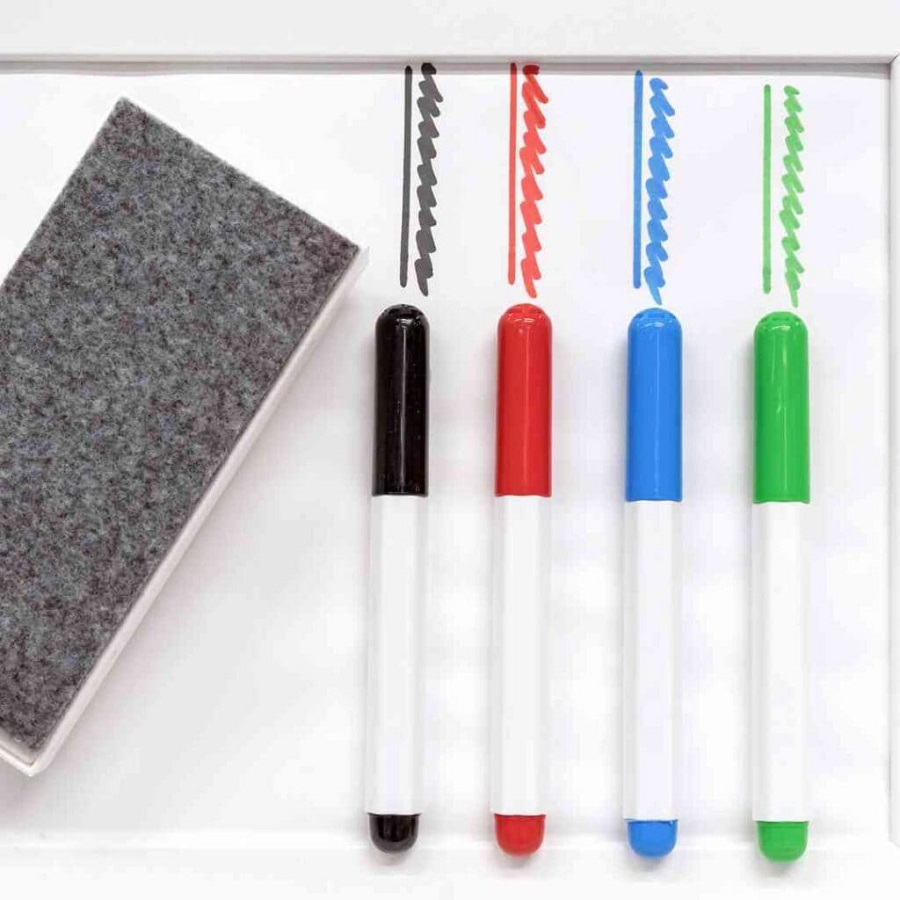
One of the best ways to prevent Sharpie stains on your whiteboard is to avoid using permanent markers in the first place. Always opt for dry-erase markers that are specifically designed for use on whiteboards. These markers come in various colors and are easily erasable, ensuring your board remains clean.
Implementing a Cleaning Routine
Establishing a regular cleaning routine for your whiteboard can help prevent ink buildup over time. After each use, take a moment to wipe down the surface with a dry cloth or an appropriate whiteboard cleaner. This habit will keep your board in good condition and reduce the likelihood of stubborn stains developing.
Maintaining Your Whiteboard
Regular Cleaning Practices
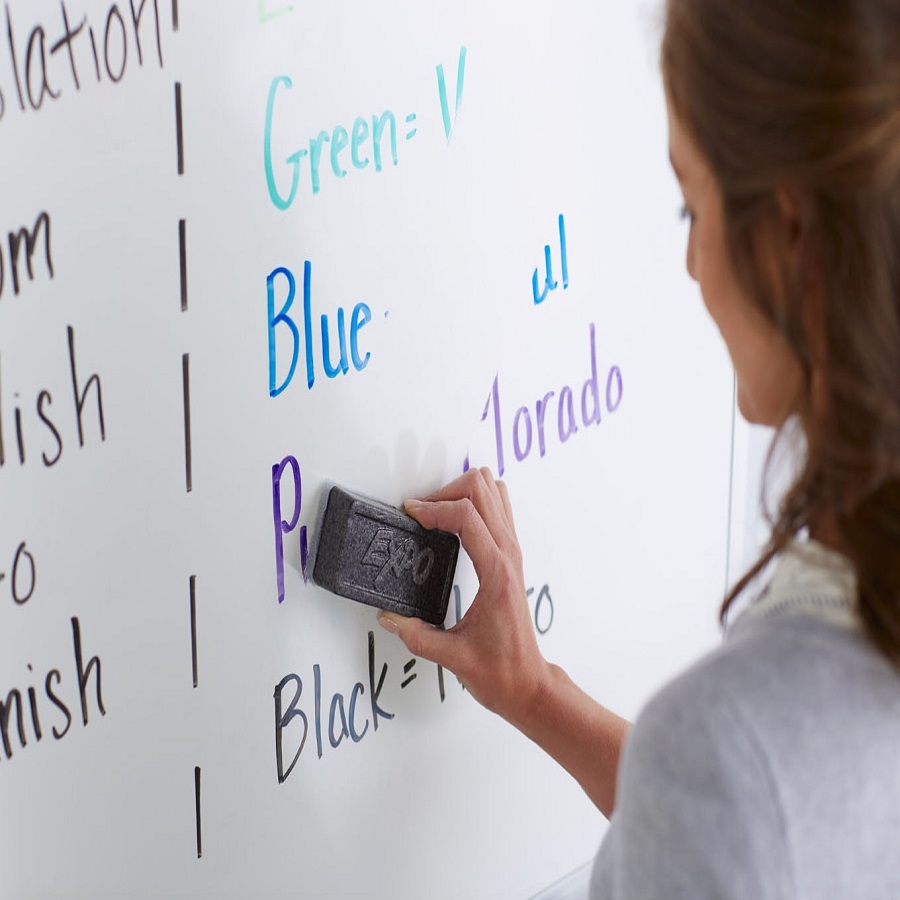
Incorporating regular cleaning practices into your routine is key to maintaining your whiteboard’s clarity and usability. Aim to wipe down the board after each use with a dry cloth or an appropriate whiteboard cleaner. This helps to remove any residue left by dry-erase markers and prevents ink buildup. Establishing a weekly deep-cleaning session, where you use a cleaner specifically formulated for whiteboards, can further enhance the board’s longevity and appearance.
Choosing the Right Whiteboard Surface
When purchasing a new whiteboard, consider the surface material carefully. Different materials have varying levels of durability and ease of cleaning. For example, porcelain or glass whiteboards tend to resist staining better than melamine boards. Investing in a higher-quality whiteboard can save you time and effort in the long run, as they are less likely to absorb ink and easier to clean.
Final Thoughts on Sharpie Removal
Patience and Persistence
Removing Sharpie marks from a whiteboard can require patience and persistence. It may take multiple attempts and different methods to achieve the desired results, especially for older or stubborn stains. Don’t get discouraged; with the right approach, you can successfully restore your whiteboard.
Embracing the Learning Process
Every removal attempt provides an opportunity to learn about your tools and techniques. Whether you find success with isopropyl alcohol or the dry-erase marker method, understanding what works best for your particular whiteboard will help you become more proficient in maintaining its cleanliness.
Maintaining Your Whiteboard’s Appearance
Ultimately, the goal is to keep your whiteboard looking fresh and inviting. Regular maintenance, coupled with quick action against any Sharpie mishaps, will help preserve your board for years to come. By implementing these strategies, you can ensure that your whiteboard remains a valuable tool for communication and creativity in your workspace or home.
