Disassembling an office chair might seem like a daunting task, but with the right tools and a clear understanding of the process, it can be straightforward and manageable. Whether you’re moving to a new office, cleaning, or simply upgrading your chair, knowing how to properly disassemble it ensures you can handle the job with confidence. This guide provides step-by-step instructions to help you through the process efficiently.
Understanding Your Office Chair
Types of Office Chairs
Before beginning the disassembly process, it’s important to understand the type of office chair you have. Office chairs come in various styles, including task chairs, executive chairs, and ergonomic chairs. Each type may have different mechanisms and components, which can affect the disassembly process. Familiarize yourself with your chair’s specific features, such as adjustable armrests, lumbar support, or reclining mechanisms, as these will influence how you take it apart.
Key Components of an Office Chair
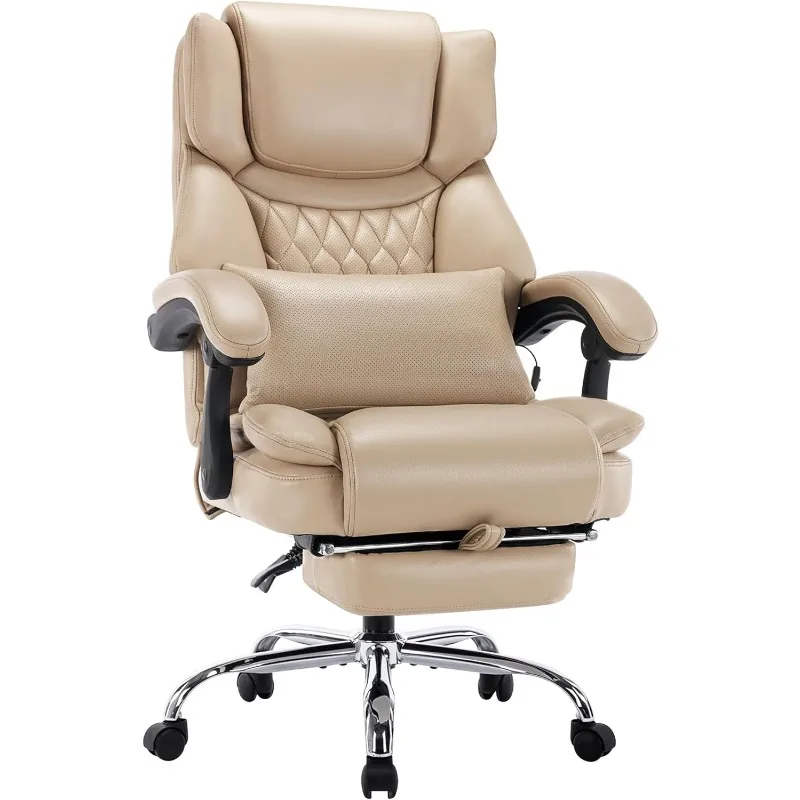
To effectively disassemble an office chair, you need to identify its key components. Most office chairs consist of several parts: the seat, backrest, armrests, base, and wheels. Additionally, many chairs have a gas lift mechanism that allows for height adjustment. Understanding how these components are connected will help you know what tools you need and how to approach the disassembly process.
Tools Required for Disassembly
Essential Tools
To disassemble an office chair, you’ll need a few basic tools. The most common tools required include a screwdriver (both Phillips and flathead), an Allen wrench set, and possibly a wrench or pliers. Having these tools on hand will help ensure that you can remove screws, bolts, and other fasteners without damaging the chair.
Optional Tools
Depending on the design of your office chair, you might also need additional tools. For example, a rubber mallet can be useful for tapping components loose without causing damage. A small container or bag for storing screws and other small parts will help keep everything organized during the process. Ensuring you have the right tools and accessories will make disassembly smoother and more efficient.

Preparing for Disassembly
Clearing the Workspace
Before starting, prepare your workspace to ensure a smooth disassembly process. Choose a clean, flat surface such as a workbench or a large table where you can lay out all the components. Make sure the area is well-lit and free of clutter. This will help you keep track of all parts and tools, reducing the risk of losing any components.
Protecting the Chair
To prevent damage during disassembly, it’s a good idea to protect the chair and its parts. Lay down a soft cloth or towel on the surface where you’ll be working. This will prevent scratches or dents on the chair and provide a cushioned surface for any small parts that may fall. Additionally, if your chair has any removable or delicate parts, consider wrapping them in a soft cloth to protect them.
Removing the Armrests
Identifying the Fasteners
Most office chairs have armrests that are attached with screws or bolts. To start disassembling, locate the fasteners that hold the armrests in place. Typically, these can be found on the underside of the armrest or where the armrest connects to the chair’s seat. Use the appropriate screwdriver or Allen wrench to remove these fasteners.
Detaching the Armrests
Once you have removed the screws or bolts, gently lift the armrests away from the seat. If the armrests are stubborn or seem stuck, check for any additional fasteners or clips that might be holding them in place. It’s important to remove the armrests carefully to avoid damaging any of the connecting parts.
Separating the Seat and Backrest
Locating the Connectors
The seat and backrest of an office chair are usually connected by bolts or screws. To separate these components, you need to locate the connectors that hold them together. These are typically found at the rear of the chair, where the backrest meets the seat. Depending on your chair’s design, there may be multiple connectors or a single, central attachment point.
Detaching the Backrest
Use the appropriate tool to remove the screws or bolts connecting the backrest to the seat. Once the fasteners are removed, carefully lift the backrest away from the seat. If the backrest is connected with a metal bracket or additional hardware, be sure to keep track of these parts for reassembly.

Removing the Base and Casters
Unscrewing the Base
To remove the base of the chair, locate the central column that connects the base to the seat. This column is often attached with a large bolt or retaining clip. Use a wrench or appropriate tool to loosen and remove this fastener. Once removed, carefully lift the base away from the central column.
Detaching the Casters
The casters (or wheels) on the base of the chair can typically be removed by pulling them out of their sockets. Depending on the design, you may need to press a release button or use pliers to assist in removing them. Ensure you remove each caster carefully to avoid damaging the base or the wheels themselves.
Removing the Gas Lift Cylinder
Identifying the Cylinder
The gas lift cylinder is the component that allows the chair to adjust in height. It is usually located within the central column of the chair base. To remove it, you need to access the part where it connects to the base. This might involve removing any additional covers or components that are in the way.
Extracting the Cylinder
To extract the gas lift cylinder, use a wrench or pliers to loosen any retaining clips or fasteners. Once loosened, carefully pull the cylinder out of the base. Be cautious during this step, as the gas lift mechanism can be under pressure and may require a bit of force to remove.

Disassembling the Seat Mechanism
Accessing the Mechanism
The seat mechanism controls the chair’s tilt and recline functions. To disassemble it, you need to access the mechanism, which is usually located underneath the seat. Look for any screws or bolts that are securing the mechanism to the seat.
Removing the Mechanism
Use a screwdriver or Allen wrench to remove the fasteners holding the seat mechanism in place. Once the fasteners are removed, carefully lift the mechanism out of the seat. Pay attention to any springs or additional parts that might be connected, and keep them organized for reassembly.
Organizing and Storing Parts
Keeping Parts Organized
As you disassemble the office chair, it’s important to keep all parts and fasteners organized. Use small containers or bags to store screws, bolts, and other components. Label each container if necessary to make reassembly easier. Keeping parts organized will help you avoid confusion and ensure you don’t lose any crucial components.
Storing Components Safely
Store the disassembled parts in a safe and accessible location. Avoid placing them in areas where they might get damaged or misplaced. If you plan to transport the chair or store it for an extended period, consider wrapping the parts in protective materials to prevent scratches or other damage.
Reassembling the Office Chair
Following the Reverse Order
When it’s time to reassemble the office chair, follow the reverse order of disassembly. Start by reattaching the seat mechanism and then reattach the backrest to the seat. Once the backrest is secured, reattach the armrests and then the base and casters. Finally, insert the gas lift cylinder and ensure all components are securely fastened.
Testing for Stability
After reassembling the chair, test it to ensure all components are functioning correctly. Check the height adjustment, tilt mechanism, and armrests to ensure they operate smoothly. Sit on the chair and make sure it feels stable and comfortable. If any parts seem loose or malfunctioning, double-check your assembly and make any necessary adjustments.
Conclusion: Efficiently Disassembling and Reassembling Your Office Chair
The Importance of Proper Disassembly
Properly disassembling an office chair is essential for moving, cleaning, or making repairs. Understanding each step and keeping parts organized ensures that the process is efficient and that you can reassemble the chair correctly. By following these instructions, you can confidently handle the disassembly and reassembly of your office chair.